


Step inside the world of bias cut sewing, where fabric transforms from a flat textile into a fluid, draping masterpiece. It’s the Atlanta design secret behind those iconic, body-skimming gowns and the elegant, cascading draperies you see in the most luxurious Buckhead homes.
This isn’t just another sewing technique. It’s a completely different way of thinking about how fabric works. Let's get into it.
The Secret Behind Flawless Drape And Fit
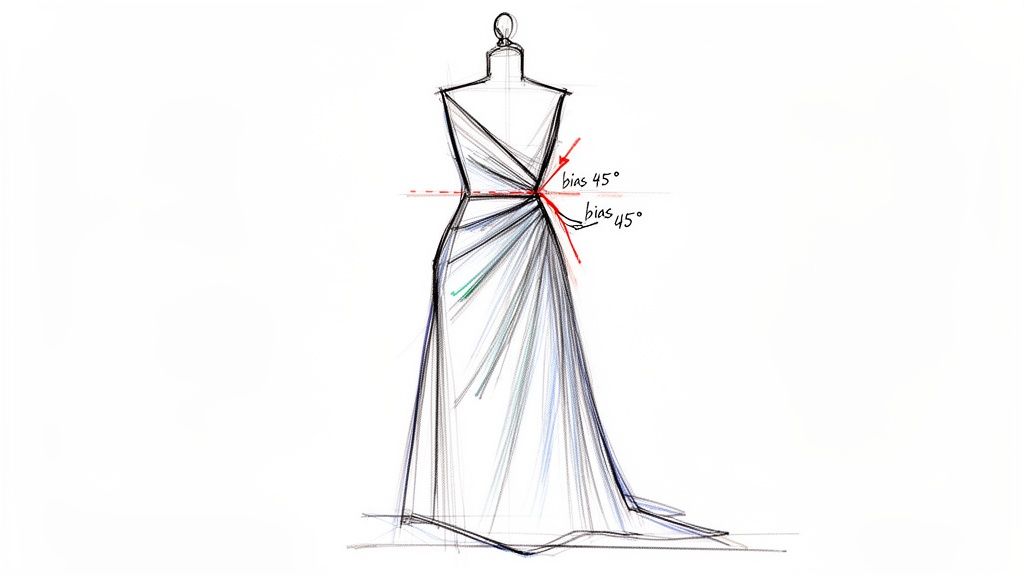
Here's the deal. Every woven fabric has a grain—threads running lengthwise (warp) and crosswise (weft). To cut on the bias means slicing your fabric at a perfect 45-degree angle to those threads.
Why is that little turn so important?
It completely unlocks the fabric's hidden potential. Suddenly, it has a surprising amount of stretch and a liquid-like drape you just can't get any other way.
Think of it as the difference between a starched button-down and a silk scarf. One is structured and rigid; the other flows effortlessly. That beautiful flow is the magic of the bias.
A Legacy of Luxury and Movement
This technique isn’t new; it’s a hallmark of high-end design with a rich history. The legendary French designer Madeleine Vionnet made it her signature in the 1920s, changing fashion forever with gowns that moved with the body instead of constricting it. Her work defined an era of elegance, turning bolts of stiff silk into draping works of art.
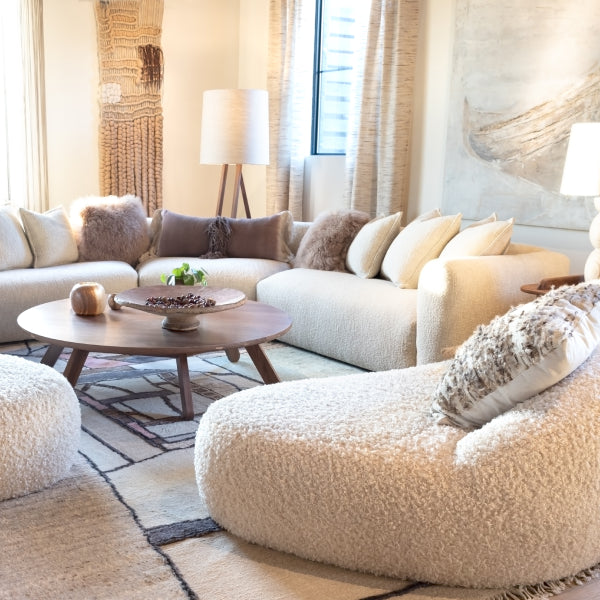
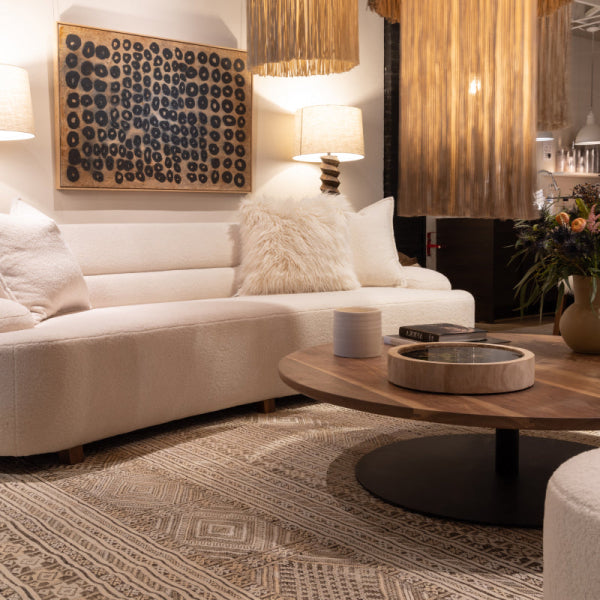
That same principle is just as relevant today, both in couture and in high-end interiors across Atlanta. It's the reason a custom slipcovered Verellen furniture piece in a Buckhead living room has that relaxed-yet-sophisticated look. It’s how designers in Roswell and Alpharetta achieve those perfectly cascading draperies that frame a window without looking stiff or fussy.
The bias cut is more than a technique—it's a design philosophy. It's about respecting the fabric's natural character and allowing it to express its inherent movement and grace.
Why It Matters For Your Projects
Getting a handle on bias cut sewing is non-negotiable for anyone serious about craftsmanship. Whether you're an ambitious home sewer or an interior designer sourcing designer fabrics in Alpharetta, mastering the bias opens up a new world of creative possibilities.
This is the key to creating:
- Flattering Garments: Clothing that skims the body's curves for a graceful, elegant silhouette.
- Luxurious Home Décor: Upholstery, pillows, and draperies that feel soft, inviting, and impeccably tailored.
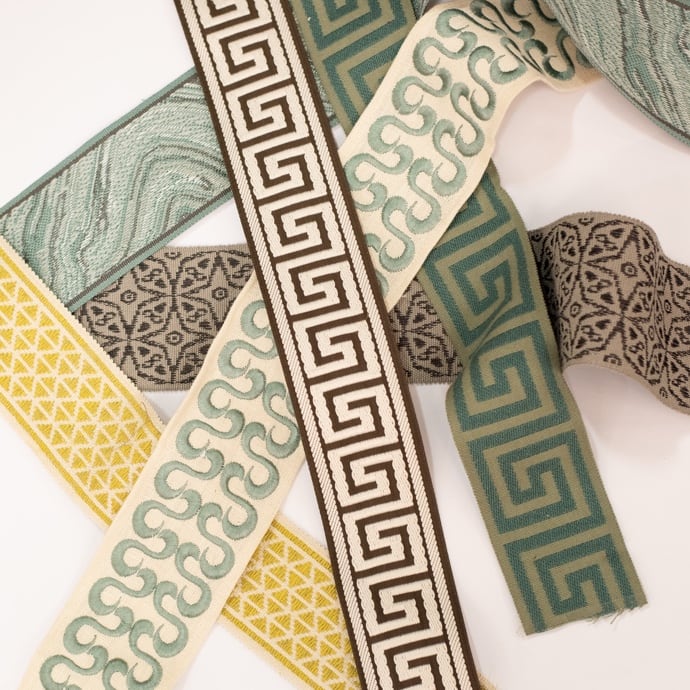
- Perfectly Piped Edges: Bias-cut strips are the undisputed standard for creating custom piping and binding that curves smoothly without puckering—essential for luxury furniture in Atlanta.
The influence of the bias cut is undeniable. By 1930, Vionnet's atelier was turning out over 10,000 bias-cut dresses annually. The method is still essential today, used in 15-20% of luxury upholstery projects where a perfect drape is the ultimate goal.
With the global bias cutter market projected to hit nearly $800 million by 2033, investing in this skill ensures your work has the enduring quality that defines timeless design. You can read the full research about the growing bias cutter market to see just how relevant it remains.
Choosing And Preparing The Right Fabric
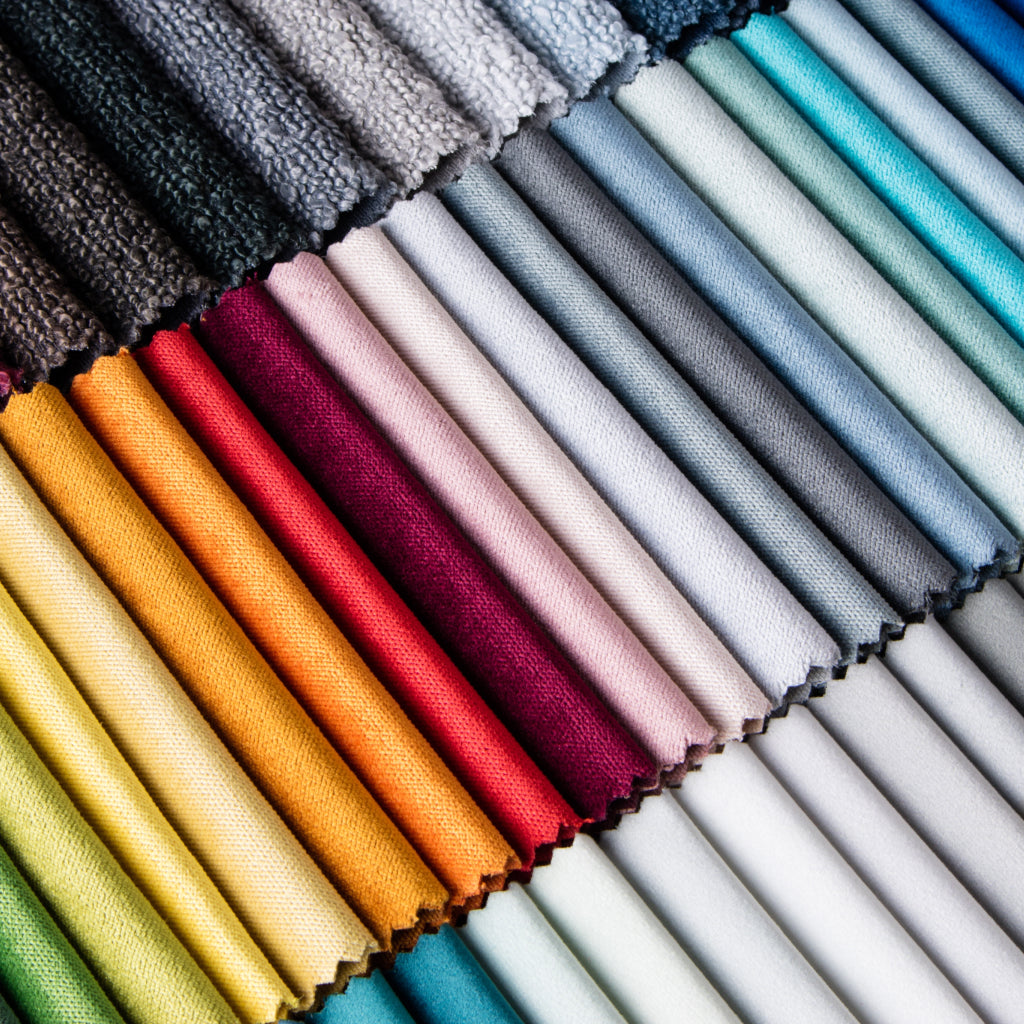
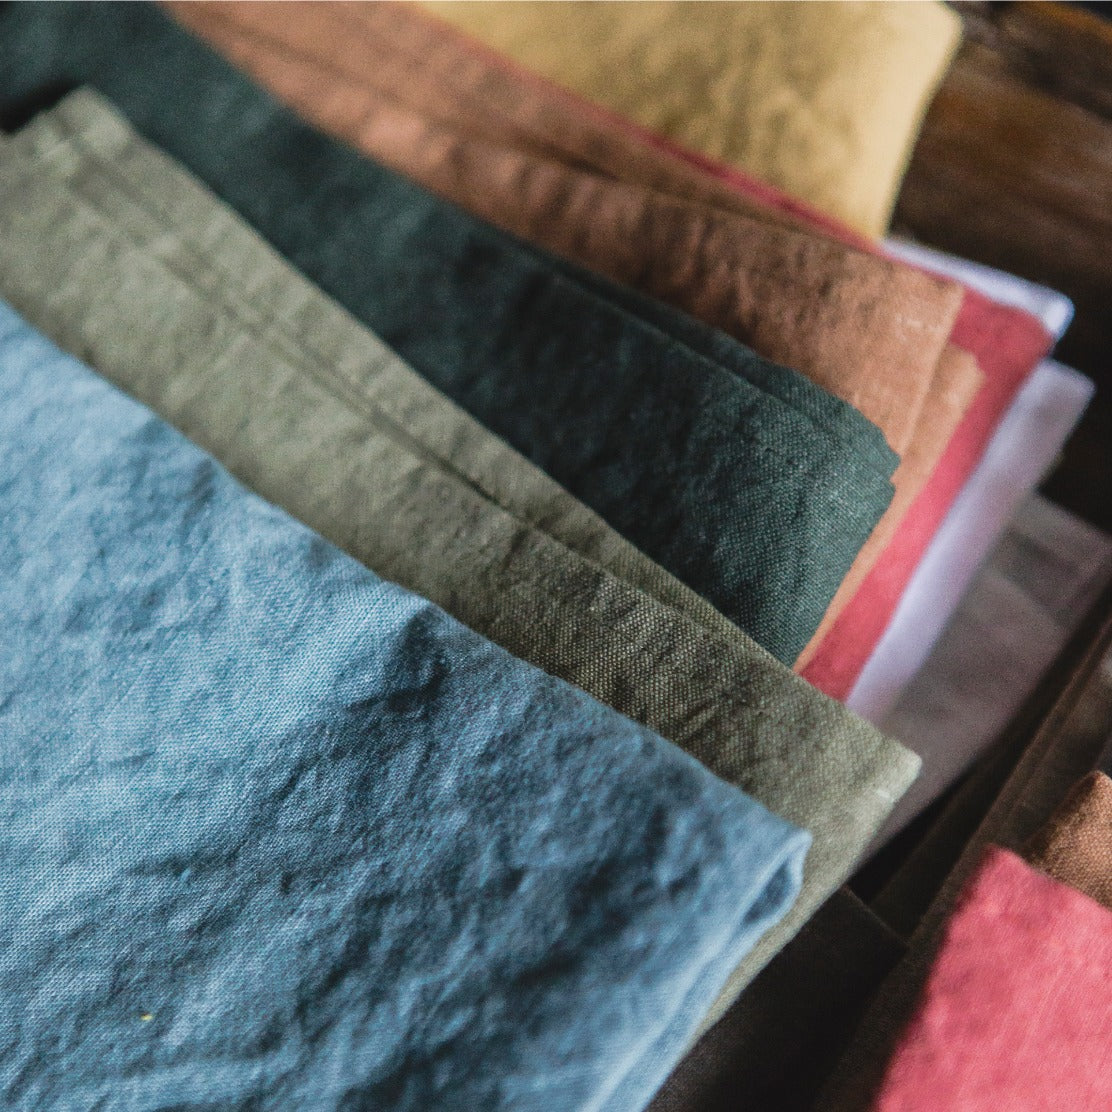
When it comes to bias-cut sewing, not all fabrics are created equal. That liquid drape you're dreaming of? It all starts with the right textile from our Atlanta fabric showroom.
The best choices are almost always lightweight fabrics with a loose, supple weave. These materials have the flexibility to stretch and move along that crucial 45-degree angle. Try this with heavier fabrics, and you'll find they fight the bias every step of the way, giving you stiffness instead of grace.
The Ideal Candidates For A Perfect Drape
As you browse designer fabrics, let your hands do the talking. You're looking for textiles that feel alive, that almost ripple when you hold them up.
Here’s where to start your search for fine fabrics in Alpharetta:
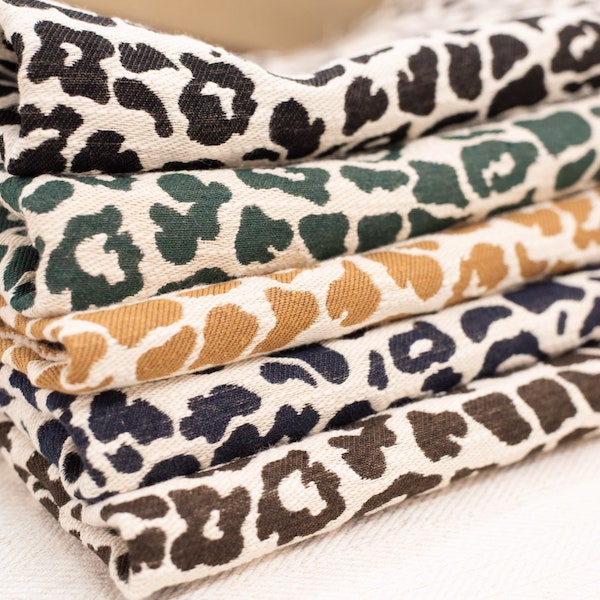
- Natural Fibers: The undisputed champions. Silks, lightweight crepes, satin, and charmeuse are classics for a reason—their drape is sublime. For home projects, a beautiful Belgian linen from a premium mill like Libeco offers a relaxed, sophisticated hang perfect for custom upholstery.
- Rayon and Viscose: These semi-synthetics beautifully mimic the qualities of silk but are often friendlier on the wallet. They are wonderfully fluid, making them a fantastic choice for practicing your skills.
- Modern Performance Fabrics: Don't write off innovation. You can even use performance fabrics from brands like Crypton for bias-cut applications, especially for creating custom piping on a Wesley Hall sofa. The bias cut allows the fabric to hug every curve smoothly, creating a flawless finish on high-use furniture.
The secret is simple: if the fabric drapes beautifully when you hold it from a corner, it will perform stunningly on the bias. Trust your touch as much as your eyes.
Fabric Suitability For Bias Cut Projects
Here's a quick cheat sheet to help you pick the perfect material. Some fabrics are a dream; others will test your patience.
| Fabric Type | Bias Drape Quality | Difficulty Level | Best Suited For |
|---|---|---|---|
| Silk Charmeuse | Excellent | Advanced | Slips, gowns, blouses |
| Crepe de Chine | Excellent | Intermediate | Dresses, skirts, linings |
| Rayon Challis | Very Good | Beginner | Blouses, casual dresses, scarves |
| Lightweight Linen | Good | Intermediate | Casual tops, skirts, home decor |
| Cotton Voile | Good | Beginner | Linings, lightweight blouses |
| Satin | Very Good | Advanced | Formalwear, lingerie (can be slippery!) |
| Velvet | Excellent | Advanced | Gowns, formal tops (crushed velvet is easier) |
Choosing a fabric with the right balance of drape and stability is your first step toward a successful project.
The Non-Negotiable Prep Work
Found the perfect fabric? Great. Now the real work begins. Preparation is everything in bias-cut sewing. Skipping these steps is a recipe for a warped, stretched-out disaster.
First, pre-wash your fabric. Do it exactly as you plan to care for the finished piece. Natural fibers love to shrink, and you need that to happen before you cut.
Next, press it meticulously. Get out your steam iron and banish every wrinkle. You're aiming for a perfectly flat, pristine canvas.
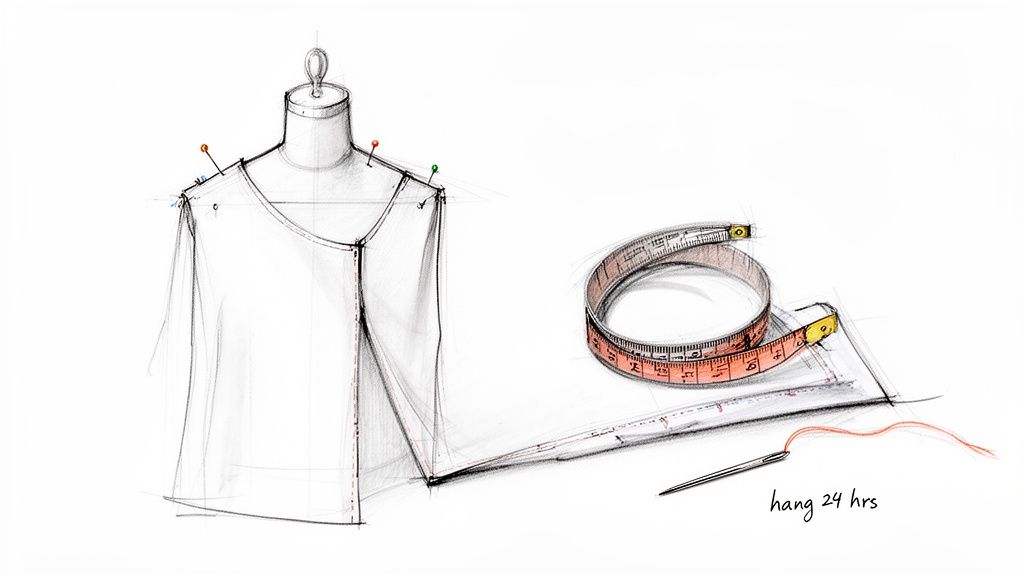
Finally, and this is what separates the amateurs from the pros: let your cut pieces hang for at least 24 hours. Seriously. Pin them to a hanger or drape them over a dress form and just let them be. The bias is inherently unstable, and the fabric's weight will cause it to stretch and "grow." Letting it hang allows it to settle into its final shape before you sew.
This single act of patience is what prevents wavy hems and distorted seams. It’s the true mark of craftsmanship. If you're working with something especially delicate, take some time to learn more about different types of white silk fabric to give yourself an edge.
A Precise Approach To Cutting On The Bias
Cutting on the bias is where precision meets artistry. This is a game of accuracy where every millimeter counts. There’s little room for error, but with the right approach, it's methodical, not intimidating.
First things first: forget folding your fabric in half. For bias-cut sewing, working with a single, pristine layer is non-negotiable. You’ll need to lay your fabric out completely flat on the largest cutting surface you have. This single-layer method is the only way to prevent the shifting and distortion that can ruin a project.
Laying The Foundation For A Perfect Cut
Your tools are your best friends here. While sharp shears can work, a rotary cutter and a self-healing mat are the gold standard. A rotary cutter glides through fabric without lifting or distorting it—critical when you’re dealing with shifty silks and crepes.
Pair your cutter with pattern weights. They are far superior to pins, holding pattern pieces firmly in place without causing puckering. Don't have special weights? Canned goods or smooth rocks work beautifully.
The goal is to keep your fabric as still and flat as a calm lake.
This quick overview shows the critical prep work you need to do before your blade ever touches the fabric.
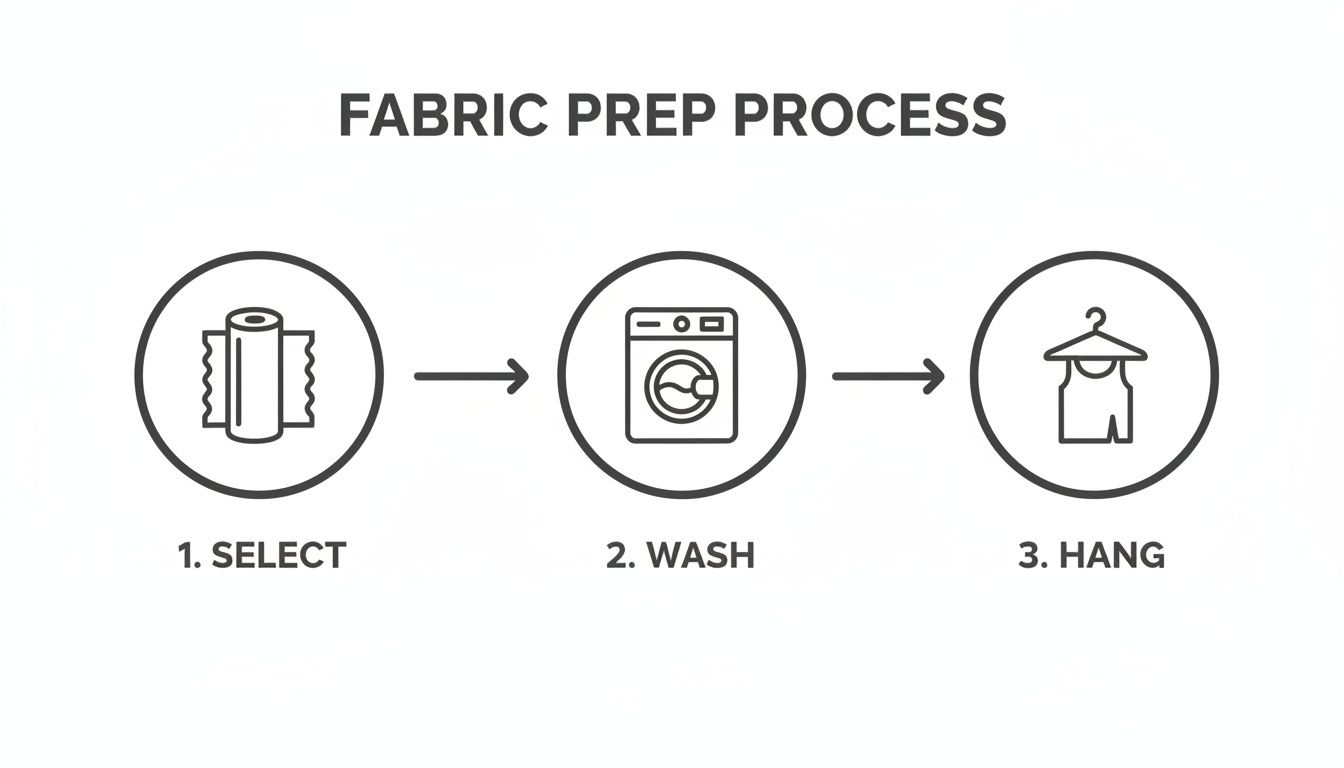
Each step—selecting, washing, and hanging—is essential for managing shrinkage and letting the fabric settle. It's all about creating a stable foundation for your cut.
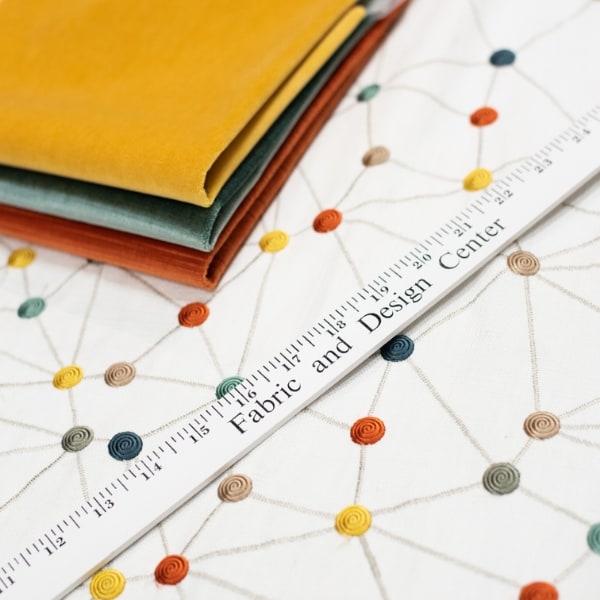
Finding And Marking Your True Bias
So, how do you find that perfect 45-degree angle? Grab a large, clear ruler with angle markings. Align one straight edge of the ruler with the selvage (the finished edge), and the 45-degree line on your ruler will point directly to the true bias.
Mark this line lightly with a chalk pencil or a disappearing ink pen. Once you have your bias grainline established, you need to mark it on every single pattern piece. This is not a step to eyeball. Align your pattern’s grainline arrow perfectly with the bias line you just drew.
Cutting on the bias demands patience. Rushing is the fastest way to a stretched-out, misshapen garment. Treat it like a meditation—slow, deliberate, and precise.
Taming Difficult Fabrics
Slippery fabrics like silk charmeuse can feel like they have a life of their own. To tame them, try sandwiching your fabric between two layers of tissue paper before you cut. The tissue provides just enough friction to hold the fabric in place. A circle skirt calculator can also be a neat tool to visualize how pattern layouts impact fabric usage.
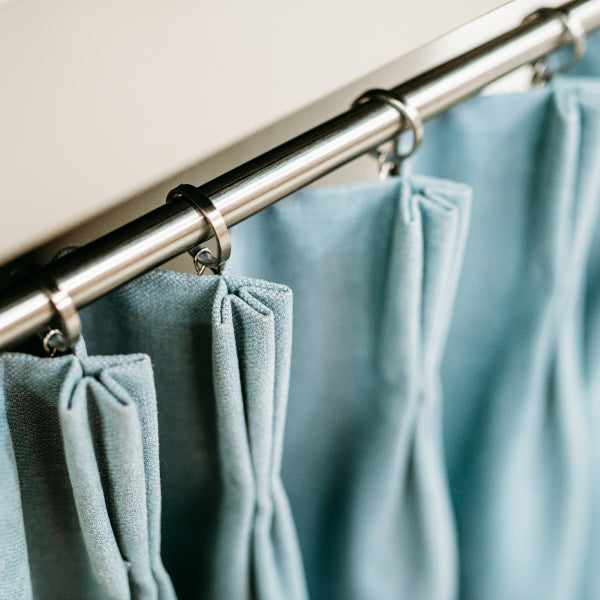
This precision is exactly why top Atlanta interior design resources like ours are trusted. It’s what allows Lee Industries chairs and other custom pieces to look exquisite for years. In home décor, bias-draped windows retain their shape 50% better over 10 years—a quality benchmark that aligns perfectly with the heirloom-quality pieces our clients create.
Finally, handle your freshly cut pieces with care. Avoid lifting them by a single corner. Instead, slide cardboard or your cutting mat underneath to move them safely. For more tips on getting details right, check out our detailed seam allowance guide.
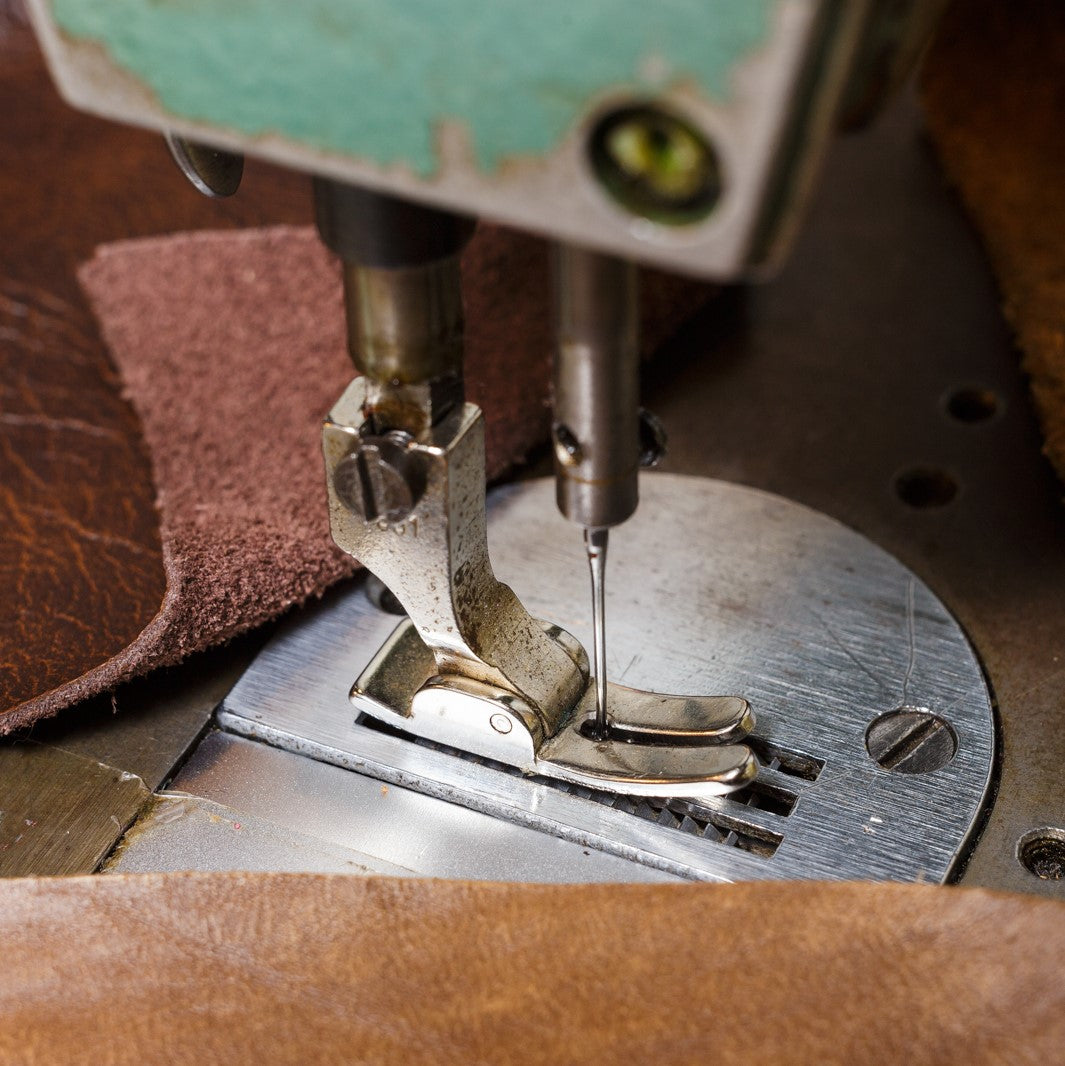
Sewing Bias-Cut Seams Like A Pro
Alright, you've cut your pieces. Now the real fun begins. Sewing a bias-cut garment is a totally different ballgame. It’s less about wrestling fabric into submission and more about gently guiding it. If you fight its beautiful quality, you’ll end up with a mess. But if you work with it? Pure magic.
The most critical step happens before you even thread your machine. You have to staystitch any curved or diagonal edges the moment they’re cut. I’m talking about necklines, armholes, and V-necks.
Staystitching is a simple line of straight stitches sewn just inside your seam allowance. Think of it as a guardrail, preventing delicate edges from stretching out of shape. Seriously, don't skip this. It’s the single most important thing for a professional-looking result.
Getting Your Machine Settings Just Right
Your sewing machine is your partner, so set it up for success. A standard straight stitch is too rigid for a bias seam; it has zero "give." The minute the garment stretches, you'll hear those dreaded pops as stitches break.
You need a stitch with built-in flexibility.
- Try a Narrow Zigzag: My go-to for bias seams. Set your machine to a super narrow zigzag stitch—a width of about 0.5mm and a length of 2.5mm. It looks straight but has just enough stretch to move with the fabric.
- Use a Stretch Stitch: If your machine has a dedicated stretch stitch (it usually looks like a little lightning bolt), that’s another fantastic option.
Your needle choice also makes a huge difference. For slinky fabrics like silk or rayon, a sharp microtex needle (size 60/8 or 70/10) is non-negotiable. These needles pierce delicate threads cleanly without causing snags.
The Gentle Art of Guiding, Not Pulling
As you sew, your first instinct will be to pull the fabric through the machine. Resist that urge. Pulling on a bias seam, even a little, will stretch it out, and once it's stretched, there's no going back.
Your only job is to guide the fabric, letting the machine's feed dogs do the work. Keep your hands light on either side of the needle, simply steering the layers together. Let the fabric flow. Don't force it.
Sewing on the bias is a lesson in letting go. Support the fabric's weight, guide it gently, and trust the process. The less you interfere, the better your seams will look.
Finishing Your Seams for a High-End Look
Bias-cut garments are often made from sheer or lightweight fabrics, which means the inside needs to be as beautiful as the outside. A bulky serged edge can ruin the delicate drape.
This is where the French seam shines. This classic couture technique completely encloses the raw edges, resulting in a clean, durable, and stunningly professional finish. It’s the hallmark of high-quality construction.
This dedication to quality is a massive industry. The market for industrial bias cutters is projected to nearly double from $0.45 billion in 2024 to $0.85 billion by 2034. This reflects the demand for precision in high-end goods, from fashion to custom upholstery. It’s what prevents puckering in premium Belgian linens from Libeco that grace exquisite furniture, like the Verellen sofas we feature in our high-end furniture Buckhead showroom. You can dig into the numbers on the bias cutter market's growth to see why this technique remains a cornerstone of quality.
For our designers in the Lewis and Sheron Trade Program, this precision makes a custom piece last 2-3 times longer than its mass-produced counterpart.
Adding Professional Finishing Touches
The final details are where a good project transforms into an exceptional one. A poorly handled hem can ripple and completely undermine the fluid silhouette. These finishing techniques give your work that bespoke polish—the kind you’d expect from high-end furniture by Ambella or a custom Lee Industries chair.
The single most important rule for hemming a bias-cut garment? Patience. It's non-negotiable.
Once you’ve sewn the main seams, let the garment hang for a minimum of 24 to 48 hours. This allows the bias grain to stretch and settle under its own weight, a process called "dropping out." Skipping this is a surefire way to get a wonky hemline.
Creating The Perfect Hem
After the fabric has settled, it's time to mark an even hem. Get the garment on a dress form or put it on yourself. Then, have a friend help you mark a level line parallel to the floor. This becomes your new cutting line.
Trim carefully along your new line. Now you can choose a hemming method that’s lightweight and flexible.
- The Narrow Machine Hem: Creates a clean, modern finish. Turn the raw edge under by ¼ inch, press, then turn it under another ¼ inch and press again. Stitch close to the fold.
- The Hand-Rolled Hem: The gold standard for delicate fabrics like silk. It’s an almost invisible, feather-light finish that delivers an unparalleled couture result.
- The Bias-Faced Hem: Got a curved hem? A facing made from a bias-cut strip of self-fabric gives a beautifully clean, stable finish.
If you want to master your hand-stitching, our guide on the blind hemming stitch by hand is another excellent option.
Inserting Zippers Without Distortion
Adding a zipper to a bias-cut project can feel intimidating. The stretchy fabric is prone to waving around the rigid zipper tape. The secret is stabilization. You must give the seam allowance a backbone.
Your finishing touches are the final conversation you have with your project. Make sure they speak of quality, care, and an appreciation for the fabric's inherent beauty.
Start by cutting two narrow strips of lightweight, fusible interfacing, each the length of your zipper. Iron these strips directly onto the seam allowance where the zipper will sit. This is a game-changer, preventing the fabric from stretching.
Another pro-level trick is to use twill tape. Baste this non-stretch stabilizer to the seam line before you put the zipper in. It provides all the structure you need. With that foundation, you can sew your zipper with confidence for a smooth, flat, professional application. This is the kind of detail that defines quality, whether in a handmade garment or the custom upholstery services at our Atlanta fabric showroom.
Common Questions About Bias Cut Sewing
Even when you follow the instructions, sewing on the bias can throw a few curveballs. It’s a technique that feels almost alive in your hands. Let's walk through some of the most common hurdles.
Why Does My Bias Cut Dress Stretch Out After I Sew It?
Ah, the classic bias-cut dilemma. You're not alone. That gorgeous 45-degree grainline gives the fabric its drape, but gravity is a powerful force. The fabric's own weight will cause it to "grow" over time.
The fix is a two-step preventative measure:
- Let it hang. After cutting, you must let your pieces hang for at least 24 hours before sewing. This gives the fabric time to do most of its stretching.
- Staystitch right away. Any curved edge, like a neckline, is especially vulnerable. Stabilize these areas with staystitching immediately after cutting to prevent distortion.
Nailing these two habits is the secret to a garment that holds its shape.
Can I Use Any Sewing Pattern For A Bias Cut Project?
While you could technically cut any pattern on the bias, I wouldn't recommend it. For the best results, stick to patterns designed for it. These patterns are drafted by designers who get it—they've already accounted for how bias-cut fabric stretches and drapes.
Look for simple silhouettes meant to flow, like slip dresses, camisoles, or cowl necks. If you adapt a standard pattern, you will almost certainly have to size down. The built-in stretch will make the final garment much larger than intended.
Don't fight the fabric's nature. Choosing a pattern designed for the bias is like picking the right dance partner—it guarantees everything moves together in perfect harmony.
What Is The Best Way To Finish Seams On Delicate Fabrics?
When you're working with lightweight fabrics like silk or crepe, your seam finish needs to be just as elegant. A bulky serged edge can ruin the drape.
The gold standard here is the French seam. This couture technique is worth the extra time. It completely encloses the raw edges within the seam, creating a pristine finish on both the inside and outside. It’s strong yet delicate and whispers quality.
How Much Extra Fabric Do I Need For A Bias Cut Layout?
You will always need more fabric for a bias-cut project. Laying pattern pieces diagonally across the fabric creates a lot of triangular waste in the corners.
As a rule of thumb, plan on buying at least 25-50% more fabric than the pattern calls for on a standard layout. If you're wrestling with a large-scale print, you might need even more. Always check the pattern envelope; many will provide a more generous yardage requirement for a bias layout. Trust me, running out of fabric mid-project is a heartache you want to avoid.
From the first snip to the final press, bias sewing is a journey that elevates your craft. Whether you're creating a timeless dress or adding fluid elegance to your home, mastering these techniques is key. For your next project, explore the exquisite designer fabrics and custom upholstery options at Lewis and Sheron Textiles—Atlanta's destination for quality, from Buckhead to Marietta.
Discover the perfect fabric for your masterpiece at https://lsfabrics.com.