


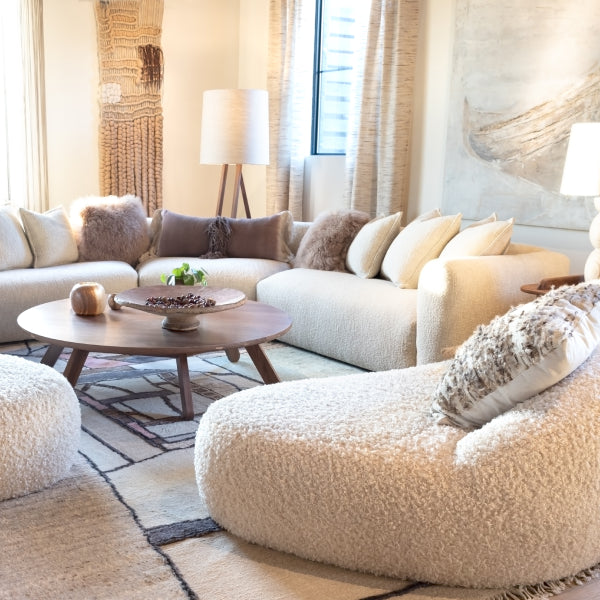


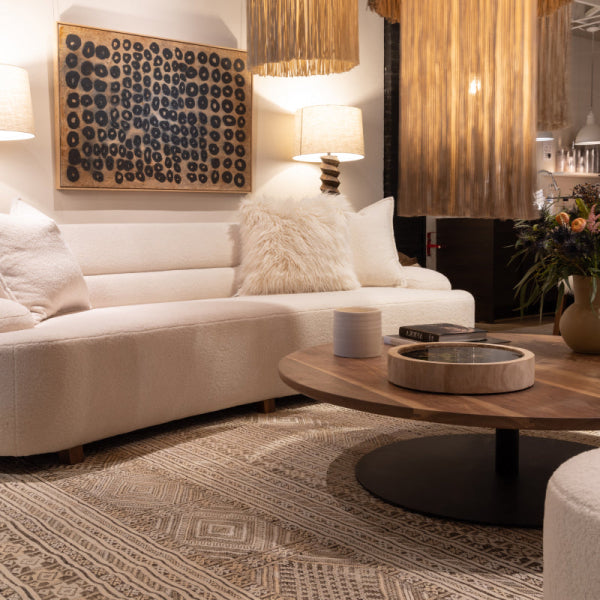


You know that chair—the one with incredible bones but fabric that’s seen better days? That’s not just old furniture. It’s a canvas. Reupholstering a chair is your chance to transform a piece, giving it a personal stamp with exquisite designer fabrics and making it the focal point of any room.
Giving Your Favorite Chair a Second Life
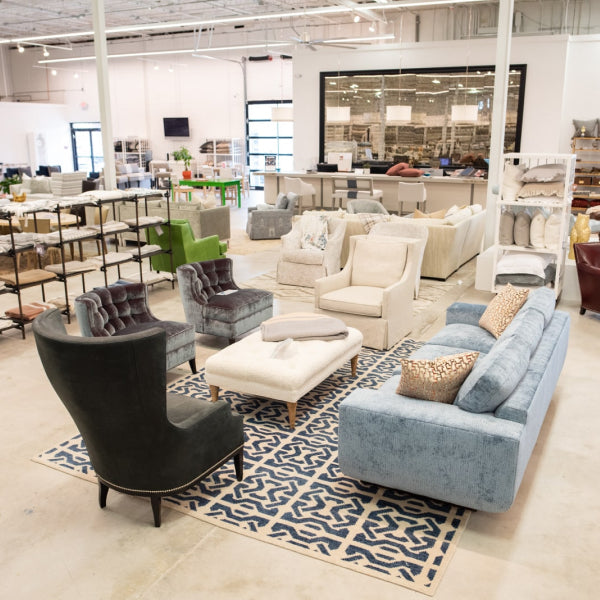
Let's get one thing straight: this isn't about salvaging an old piece. This is about transformation. It’s an opportunity to turn something you’ve overlooked into the new star of your home—a piece that looks like it was hand-picked from one of Buckhead’s premier high-end furniture stores.
Think of this guide as your personal design playbook. We're walking you through the entire process, from that first crucial inspection to the final, satisfying staple. It's the same approach Atlanta interior designers take when they craft a custom upholstery masterpiece.
From Tired to Timeless
You’ll learn the techniques pros use and discover how to select a fabric from incredible collections—think Verellen or Lee Industries—that not only looks stunning today but will endure for years. This is more than a weekend DIY; it's an investment in quality and your unique style.
It’s a smart choice, too. The US market for upholstered furniture is projected to hit $27.64 billion by 2030, and chairs are the fastest-growing part of that trend. It proves that discerning homeowners recognize the value in reviving quality pieces.
Of course, fabric is only part of the story. The chair’s frame might need some love, too. For a complete restoration, check out these antique restoration tips to ensure the wood is as beautiful as its new covering.
At Lewis and Sheron, we see reupholstery as an art form. It’s a way to honor the solid craftsmanship of makers like Wesley Hall and Ambella while giving a piece a fresh, modern narrative with gorgeous textiles from our Atlanta fabric showroom.
Whether your project is in Roswell, Alpharetta, or right here in Buckhead, the formula is the same: start with a great frame, choose an exceptional fabric, and never skimp on the details.
Ready to begin? Let's dive in.
Choosing Your Tools and Designer Fabrics
Before you pull a single staple, let’s talk strategy. A successful reupholstery project—one that looks less like a DIY experiment and more like a custom piece from a Buckhead gallery—hinges on two things: professional-grade tools and absolutely breathtaking fabric.
This isn’t the time to make do. Having the right arsenal makes the process cleaner, faster, and frankly, more enjoyable. Think of it as setting the stage for a masterpiece.
Gearing Up for Success
You don’t need a workshop worthy of a West Paces Ferry artisan, but a few key items are non-negotiable. These tools are the difference between a frustrating afternoon and a flawless finish.
Before you even think about fabric, get properly equipped. The right gear saves time and protects both the furniture's frame and your hands from unnecessary strain.
Essential Reupholstery Tools and Materials
| Tool/Material | Purpose | Pro Tip |
|---|---|---|
| Staple Remover | Safely pries out old staples without gouging the wood frame. | Look for one with a comfortable grip. You'll be using this a lot, so ergonomics matter! |
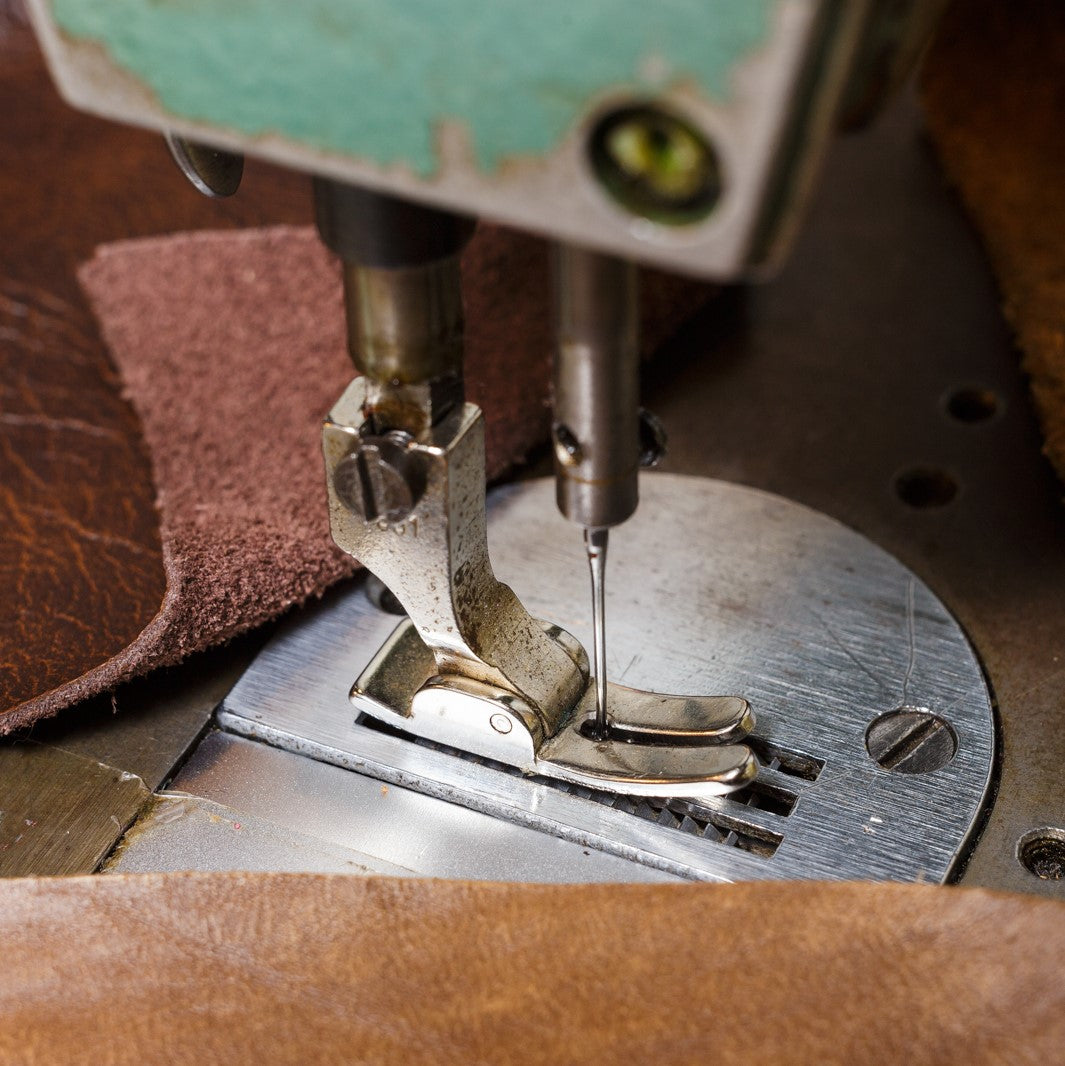
| Pneumatic Staple Gun | Drives staples deep into hardwood frames for a secure, long-lasting hold. | A manual gun won't cut it. An electric model is a good alternative, but pneumatic offers unmatched power and consistency. |
| Sharp Fabric Shears | For making clean, precise cuts that prevent fraying. | Designate these for fabric only—never use them on paper or other materials, as it will dull the blades instantly. |
| Webbing Stretcher | Achieves the necessary tension for jute or elastic webbing. | This simple tool is a game-changer for getting a firm, supportive seat base that won't sag. |
| Upholstery Needles | Curved needles for hand-sewing seams, and a regulator needle for adjusting stuffing. | A small investment that makes intricate finishing work like button tufting or closing seams much easier. |
| Chalk or Fabric Pen | Marks cutting lines and placement points on your fabric. | Always test on a scrap piece first to ensure the marks can be easily removed from your chosen textile. |
| Measuring Tape | Essential for accurate measurements of fabric, foam, and frame dimensions. | A flexible tailor's tape is ideal for navigating the curves and contours of furniture. |
Having these items on hand will make you feel like a pro and ensure your project moves smoothly. With the right equipment ready, the real fun begins: selecting the fabric that will bring your chair to life.
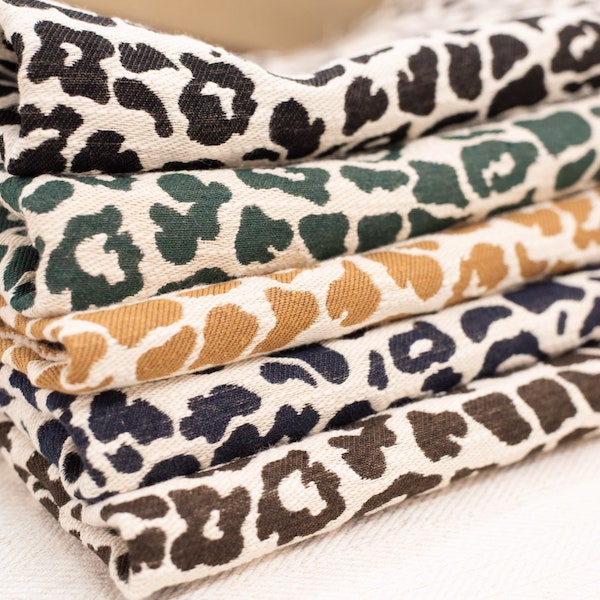
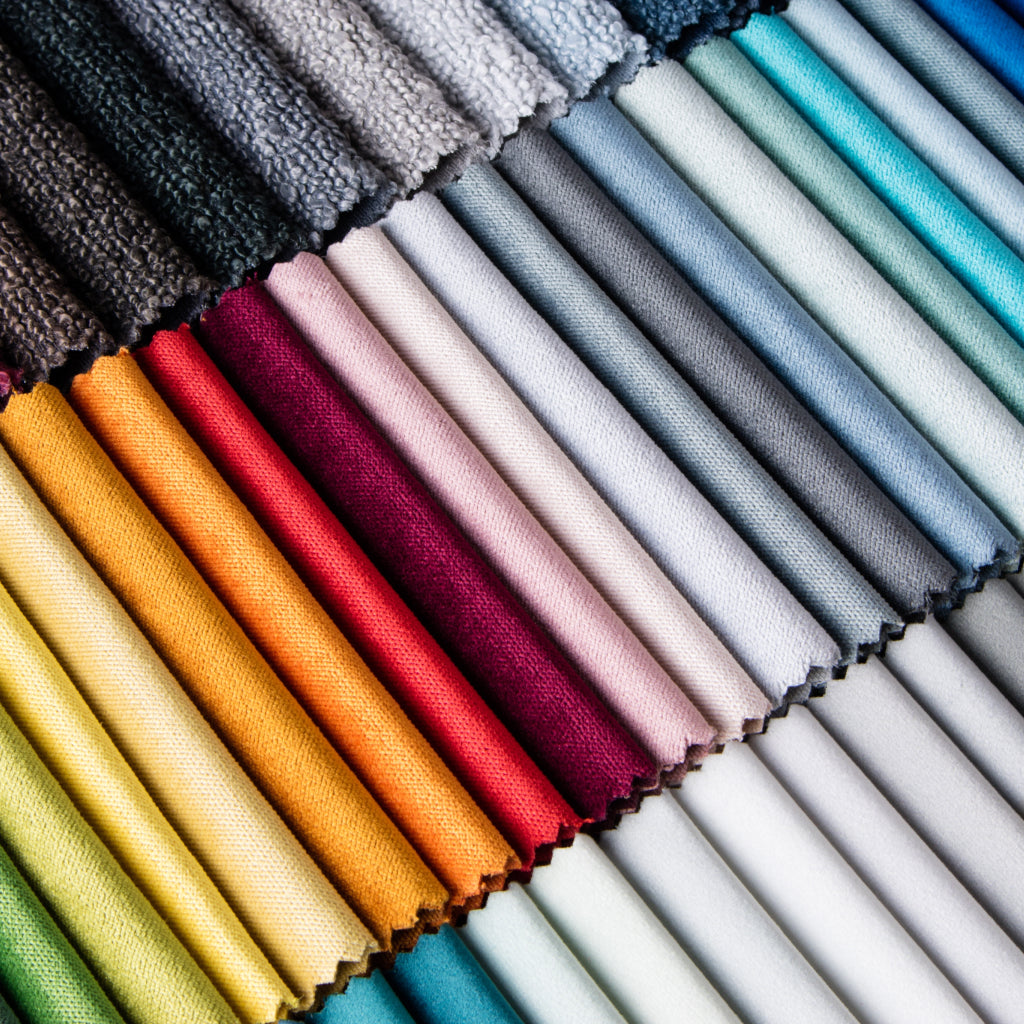
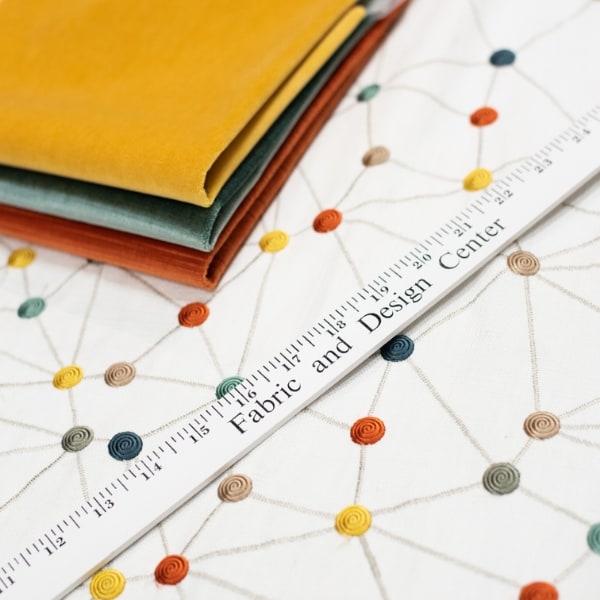
Selecting Exquisite Designer Fabrics
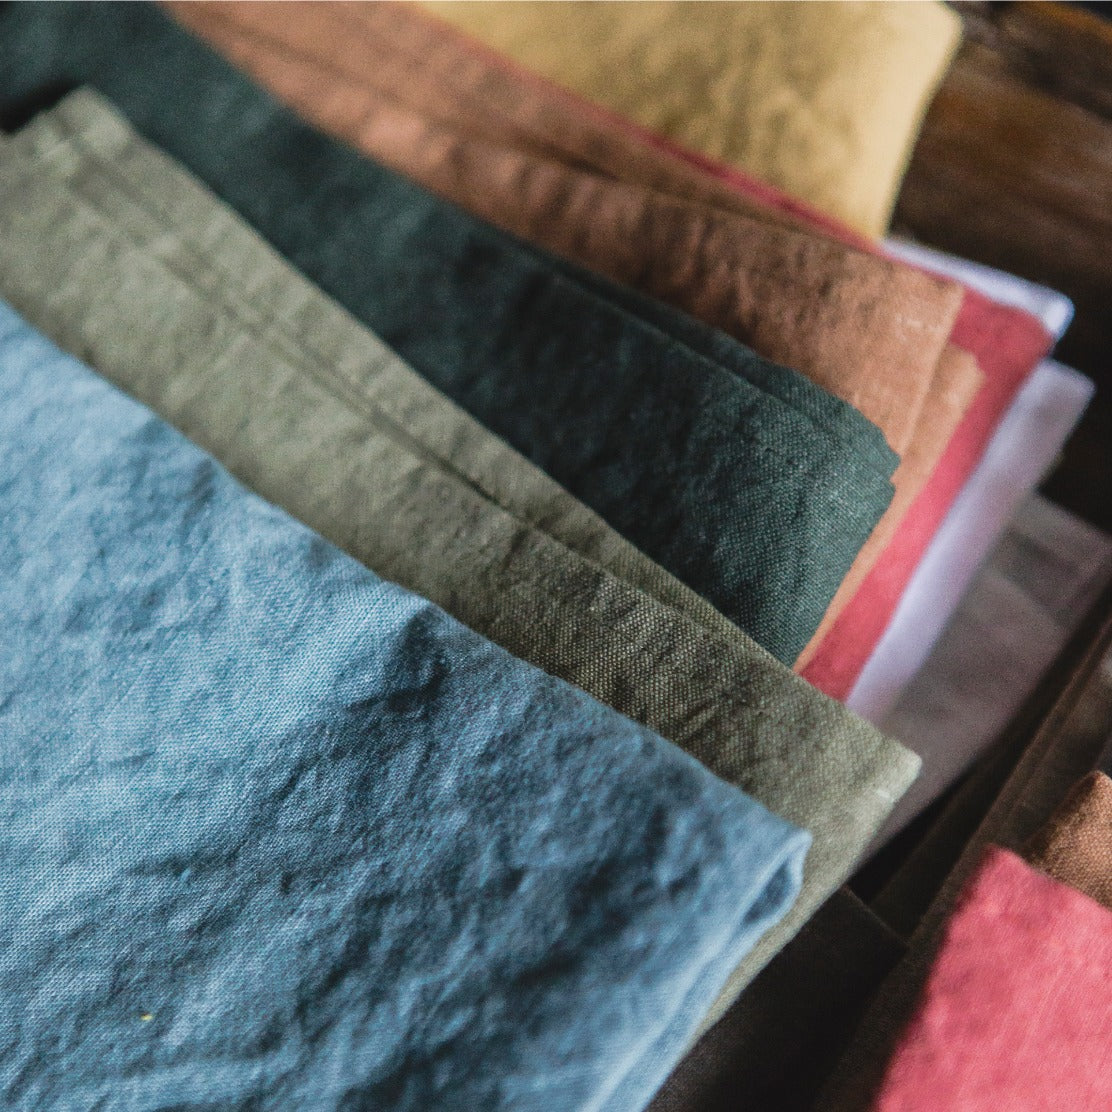
The fabric is the soul of the chair. It’s what transforms a sturdy frame into a statement piece. This is where a project elevates from good to unforgettable, and it’s why designers from Milton to Marietta make their way to our Atlanta fabric showroom.
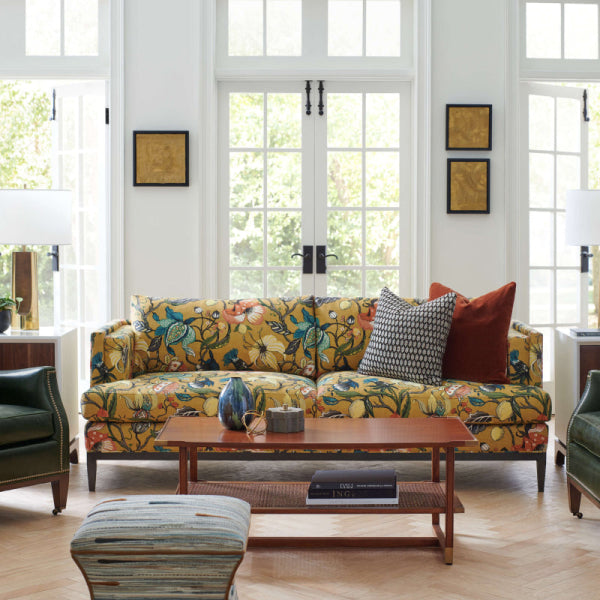
Choosing a high-quality textile is everything. A gorgeous fabric from a premium collection not only looks spectacular but is engineered to perform. Its durability, texture, and the way it handles light create that coveted high-end look you see in Wesley Hall sofas or Lee Industries chairs.
A luxury finish demands a luxury fabric. The weave, the dye, the very feel of the textile—it all contributes to the final story your chair tells. This is the secret ingredient that turns a simple project into a piece of custom furniture.
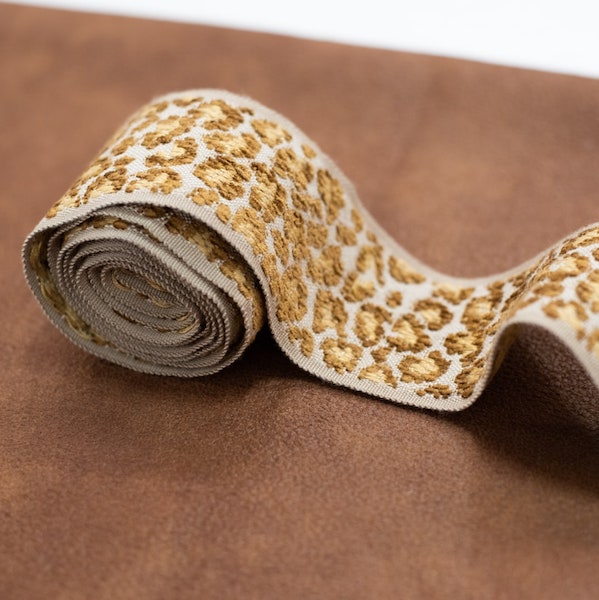
Understanding the material is key. A plush velvet might be perfect for a cozy armchair, echoing the comfort of a Verellen piece, while a crisp Belgian linen offers a sophisticated, airy feel ideal for a dining chair. For a deeper dive into material selection, our guide on the best fabric for reupholstering chairs is an invaluable resource.
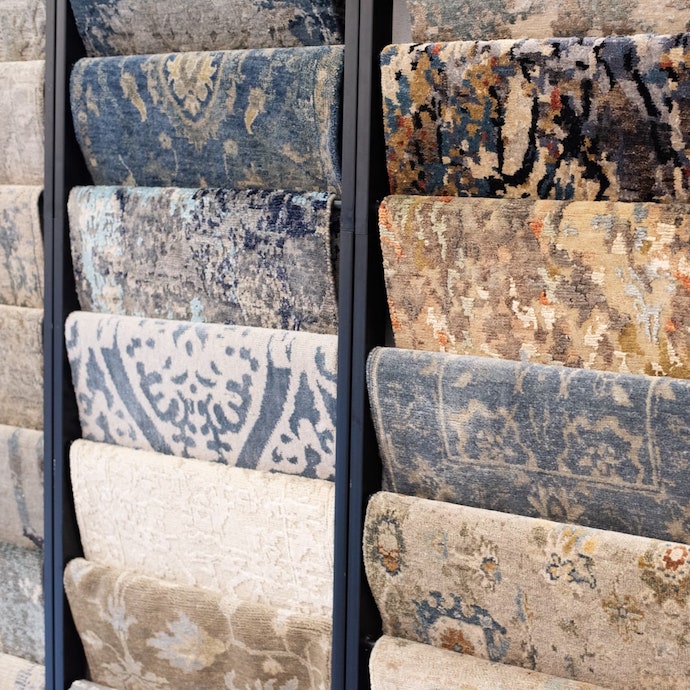
Once you've gathered your tools, the next exciting step is selecting the perfect designer fabrics to bring your vision to life. To get inspired, you can explore a diverse range of designer fabrics to find the ideal material for your chair.
When you visit our Buckhead showroom, you’re not just buying fabric; you’re tapping into an expert design resource. We help designers and homeowners—many through our Lewis and Sheron Trade Program—calculate precise yardage, avoiding costly mistakes. We also explain durability ratings (like Wyzenbeek double rubs), ensuring the fabric you love is tough enough for its intended use, whether it’s a high-traffic family room in East Cobb or a formal sitting area in a luxury furniture Roswell home. This is the foundation for creating a piece that’s truly timeless.
The Art of Meticulous Deconstruction
Alright, let's get into the most revealing part of the process. Taking a chair apart isn’t demolition; it’s a careful, methodical deconstruction. Each layer tells a story about how it was made. This is your chance to play detective and understand the piece from the inside out.
The pro’s technique is simple: work in reverse of how it was built. Think of it like unwrapping a gift, one layer at a time. Decorative trim comes off first, then the bottom dust cover, and finally, the main fabric panels.
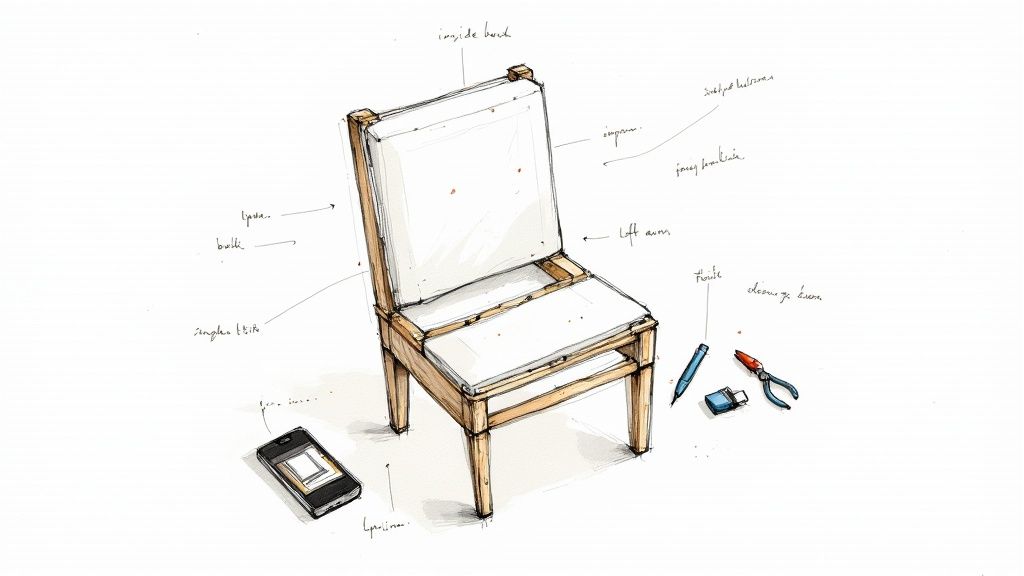
Your smartphone is your most valuable tool here. Seriously. Take photos and videos of everything. Document how the fabric is folded at the corners, the order of the layers, and where every single staple line runs. You’ll thank yourself later when you're staring at a pile of parts.
Creating Your Road Map
As you remove each piece of old fabric, label it. Use a marker and write its exact location on the back: 'Inside Back,' 'Right Arm Top,' or 'Front Seat Cushion.' These old pieces are now your perfect, custom-fit templates for that exquisite new designer fabric from our Atlanta fabric showroom.
This meticulous process is your insurance policy against guesswork during reassembly. No more staring at a pile of fabric wondering where it all goes. It’s a system, and it works.
This deconstruction phase is where you learn the chair's secrets. It's the moment of truth that separates a simple fabric swap from a full-blown furniture restoration project.
This is also your first real look at the chair’s skeleton. You get to see the craftsmanship hidden beneath the surface, much like the foundational quality you’d find in a piece from Verellen or Wesley Hall.
Assessing the Chair's Bones
With the fabric gone, you can finally inspect the frame. Is it solid hardwood? Are the joints tight and secure? Push and pull on the arms and legs. Any wobble or creak is a red flag that needs addressing now—not after you’ve applied your gorgeous new fabric.
For instance, reupholstering a standard dining chair means flipping it over and preparing to remove hundreds of staples—often 200-300 per chair. As you strip away fabric that might have been there since the 1980s, you'll uncover the raw frame. Industry stats show that 20-30% of vintage chairs will need some form of frame repair, like reinforcing a cracked joint with wood glue and clamps. You can find more industry trends and repair statistics on IBISWorld.com.
Pay close attention to the springs and webbing. Are the springs still springy, or are they sagging and broken? Is the webbing stretched out and brittle? This foundation is the core of your chair’s comfort and longevity.
Think of it this way: the most beautiful home in Forsyth County is only as good as its foundation. The same goes for your chair. A flawless new exterior deserves a solid, reliable interior. This is your opportunity to ensure the piece is structurally sound for another generation, making your custom upholstery project a true investment. By taking the time to deconstruct with care, you’re not just preparing for the next step—you’re honoring the chair’s history and setting it up for a brilliant future.
Rebuilding the Foundation for Lasting Comfort
With the old fabric stripped away, you get to see the chair’s true bones. This is where the real craft comes in—the part that separates a quick DIY cover-up from a piece worthy of a high-end furniture store on Buckhead's East Paces Ferry Road. Any stunning designer fabric, especially the fine fabrics Alpharetta designers seek in our showroom, deserves a flawless and solid foundation.
This stage is all about structure. It’s the invisible work that makes all the difference in lasting comfort and durability. Think of it like prepping a canvas; the smoother and stronger it is, the more beautiful the final painting will be.
Strengthening the Frame
First, inspect the very bones of your chair. Don't be shy—give it a good shake. Push and pull on the arms, legs, and back. Any wiggle, creak, or groan is a red flag for a loose joint that needs your immediate attention.
Most loose joints are an easy fix with good wood glue and a few clamps. Carefully work a quality wood glue into the joint's gap, clamp it tight, and let it sit overnight. Crucial tip: wipe away excess glue with a damp cloth before it dries. It will save you a major headache later. A solid, wobble-free frame is the non-negotiable first step.
The integrity of the frame is everything. It's the silent partner to the beautiful fabric, ensuring the chair feels as luxurious as it looks. A wobbly chair, no matter how exquisitely upholstered, will always feel cheap.
Rebuilding the Core Support System
Next, turn your attention to the webbing and springs. This is the heart of your chair's comfort. If the old webbing is sagging, frayed, or brittle, it has to go. Pry out the old tacks or staples and remove it completely.
Replacing it is straightforward but requires some muscle. You’ll need a webbing stretcher, a specialized tool that gives you the leverage needed to pull the new webbing drum-tight across the frame.
- Jute Webbing: The traditional choice, known for its incredible strength and minimal stretch. It's a classic for a reason.
- Elastic Webbing: This offers a bit more give and is often used for chair backs to create more flexible, comfortable support.
The goal is to weave a tight, interlocking lattice that provides a firm, resilient base for the padding to come. This isn't just a suggestion; it's a critical step. A properly webbed seat can support significant weight and is fundamental to the chair's longevity.
The Art of Perfect Padding
Now for the part you can really feel: the padding. This is your chance to elevate the chair's comfort far beyond what it was originally. Old foam gets brittle and compressed over time, so replacing it is almost always a smart move. This is also where you can fix issues like a sagging seat. For more tips on this common problem, check out our detailed guide on fixing sagging sofa cushions.
The global trade for upholstered furniture is a massive $33 billion industry, and the techniques used by top producers are rooted in these exact foundational steps. Professionals stretch webbing into an interlocking pattern that can support up to 300 pounds. The foam padding that comes next is just as crucial; using a high-density foam (between 1.8 to 2.5 lbs/ft³) has been shown to extend a chair's life by 20-25%. You can discover more insights about the global upholstered furniture industry if you're curious.
You'll be working with a few key materials:
- High-Density Foam: This is the main event for cushion and support. Always cut it slightly larger than the area you're covering so it fits snugly. An electric carving knife is the secret weapon here for getting clean, precise cuts.
- Dacron Batting: Think of this as a soft polyester blanket that wraps over the foam. It softens the foam’s sharp edges, keeps the fabric from shifting, and gives the final piece that smooth, rounded, professional look.
- Cotton Batting: Often used over springs or as an extra layer of padding, it provides a natural, breathable cushion.
Building up these layers correctly is what creates those smooth, crisp lines you see on custom furniture in showrooms from Roswell to Milton. It’s meticulous work, but your patience here will pay off tenfold when you finally sink into your newly restored, incredibly comfortable chair.
Applying Your New Fabric for a Flawless Finish
This is it. The moment your vision, all that careful deconstruction, and foundational work finally come to life. Using your meticulously labeled old fabric pieces as patterns, you’re about to transform a bolt of designer fabric into a stunning, custom-fit masterpiece. It’s the most rewarding step, where patience and precision pay off in spectacular fashion.
Think of your old fabric pieces as a bespoke suit pattern. Lay them out on your new material, paying close attention to the grain and any directional patterns. A large, clean floor space in your Marietta or Alpharetta home is perfect for this.
Give yourself about two inches of extra fabric around each pattern piece. This buffer is your safety net, allowing for adjustments when you start pulling and stapling. It’s always better to trim excess later than to wish you had more to work with.
The Art of Tension and Taut Lines
The secret to a professional look—the kind you’d see in a Wesley Hall sofa or Lee Industries chair—is tension. This creates those crisp, clean lines and eliminates dreaded wrinkles or puckers. The technique is straightforward but requires a feel for the fabric.
Always start from the center and work your way out. Place one temporary staple in the center of the front, then pull the fabric taut (not stretched to its limit, just firm) and place another staple in the center of the back. Repeat this for the sides. This simple four-point anchor creates an even foundation to build from.
From there, work from the center staples out toward the corners on all four sides, placing staples about an inch apart. You’re smoothing the fabric from the middle outwards, ensuring even tension across the entire surface.
Navigating Patterns and Challenging Curves
Working with stripes, plaids, or a large floral repeat? This requires an extra layer of strategy. Your goal is to ensure the pattern flows seamlessly across the chair and lines up perfectly at the seams.
- Center Your Dominant Motif: For a bold pattern, decide where you want the main element to sit. On a chair back, this is usually dead center.
- Match Your Seams: When cutting pieces that will be sewn together, like a cushion, align the pattern on both pieces before you cut.
- Keep Stripes Straight: Use the chair's frame as your guide to ensure horizontal and vertical lines are perfectly parallel to the edges.
Corners and curves are where amateurs often get tripped up. The key is making small relief cuts—tiny snips in the fabric—that allow it to lay flat around a curve without bunching. For corners, you’ll create neat, tailored folds, almost like wrapping a present. Pull the fabric around the corner, create a clean pleat, and secure it tightly with staples.
This foundational process—from frame repair to webbing and padding—is what supports the entire project. This infographic breaks down the core steps that ensure your chair's new look is built to last.

As you can see, a solid frame, tight webbing, and smooth padding create the invisible structure essential for a high-end finish.
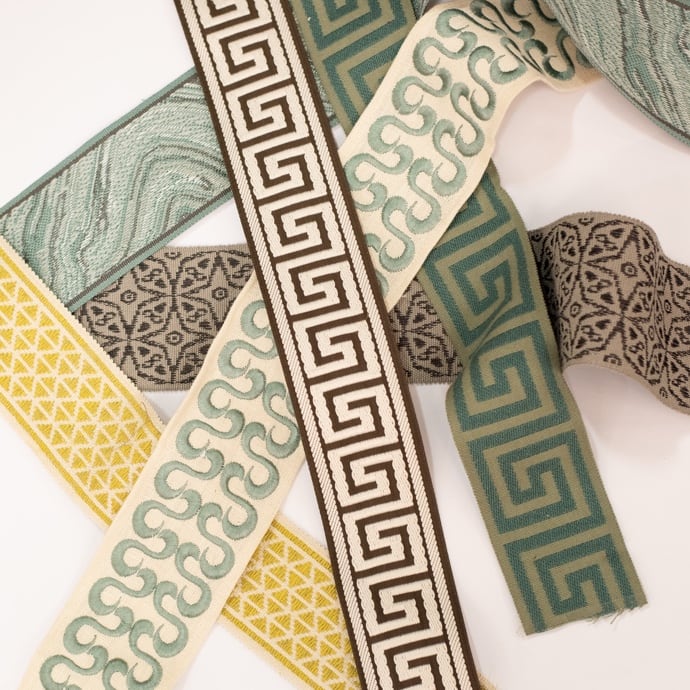
Adding the Finishing Touches
The final details are what elevate your project from a simple DIY job into a piece of custom upholstery that looks like it belongs in an Atlanta interior design portfolio. This is where you add the jewelry.
- Double Welting (or Piping): This elegant cord covers your staple lines, creating a beautifully finished edge. You can make your own using your primary fabric or a contrasting one for a pop of color. It’s typically attached with a hot glue gun for a clean, invisible bond.
- Decorative Nailhead Trim: For a more traditional or transitional look, nailhead trim adds a touch of classic sophistication. Spacing is everything, so use a guide or measure carefully to keep your lines perfectly straight.
This process is a cornerstone of sustainable design, a practice gaining momentum within a global upholstery market valued at $85 billion and projected to grow. By using tools like pliers and staple guns to refresh a quality piece, you can potentially save 60-70% compared to buying a new chair, which can easily cost between $500 and $2,000. For more on this growing market, you can read the full research on upholstery furniture trends.
Taking the time to apply fabric with care is an act of craftsmanship. It honors both the quality of the furniture and the beauty of the fine fabrics you've chosen from our Atlanta fabric showroom.
Stand back and admire your work. You've not only saved a piece of furniture but have also created a bespoke item that perfectly reflects your style—a true conversation starter for your Cumming or Forsyth County home.
Your Top Reupholstery Questions, Answered
Even seasoned designers have questions. In our high-end furniture Buckhead showroom, we hear them all the time from clients knee-deep in projects from East Cobb to Forsyth County. Think of this as the friendly advice you'd get leaning against a cutting table, surrounded by bolts of exquisite fabric.
Let's clear up the common questions so you can finish your project with confidence.
How Do I Know If a Chair Is Worth Reupholstering?
This is the big one, and it all comes down to the bones. Don't be shy—flip that chair over and give it a good, hard look.
Is the frame solid wood? Do the joints feel tight and sturdy, or does it wobble? Quality furniture from makers like Verellen, Wesley Hall, or Lee Industries is built to last for generations, making it the perfect candidate for a fabric refresh.
The rule of thumb we share with Atlanta interior design professionals is simple: if the frame is better than what you could buy new for the same price as the reupholstery project, you're making a smart investment. A cheap, particleboard frame is rarely worth the time and effort.
How Much Fabric Do I Actually Need?
There’s nothing worse than getting halfway through, only to realize you don't have enough of your perfect fabric. A simple dining chair seat might only need about a yard, but a full-sized wingback can easily demand 7 to 10 yards, especially if you're working with a large pattern that needs careful matching.
Here’s a quick guide for estimation:
- Dining Chair Seat: ~0.75 yards
- Armless Side Chair: 2-3 yards
- Armchair: 5-7 yards
- Wingback Chair: 7-10 yards
My advice? Always buy a little extra. It's your insurance policy against mistakes and gives you enough for pattern matching or creating a matching welt cord. Our trade furniture program specialists can help you calculate this perfectly.
Can I Just Reupholster Over the Old Fabric?
We get asked this a lot, and the answer is a firm but friendly "please don't." It might seem like a clever shortcut, but it's a recipe for a lumpy, unprofessional finish. The old fabric can keep the new material from lying flat, and worse, it can trap dust, allergens, and old odors.
More importantly, if you don't strip the chair, you miss the crucial step of inspecting and repairing the frame, springs, and padding. The real luxury in a piece from a brand like Ambella furniture is the quality you can't see. Honor that craftsmanship by starting with a clean slate.
What Fabric Is Best for Homes with Kids and Pets?
Life happens, especially in busy family homes in Roswell and Milton. But you don't have to sacrifice style for durability. The magic words you're looking for are "performance fabrics."
Look for textiles with a high "double rub" count—anything over 30,000 is considered heavy-duty. Features like stain resistance are a game-changer. Brands like Crypton have engineered incredible fabrics that repel spills and clean up easily. We have a huge collection of these high-performance options, so you can have a chair that's both beautiful and bulletproof.
This is a smart move for many homeowners. With the global furniture market at an estimated 450 million units, more people are choosing reupholstery to extend the life of quality pieces. In the U.S. alone, the Furniture Repair & Reupholstery industry is a $2.1 billion business. To dive deeper, you can learn more about upholstery furniture findings on marketreportanalytics.com.
When Should I Call a Professional Instead?
Be honest with yourself about your skills, tools, and time. A simple dining seat is a fantastic weekend project. A complex, tufted armchair with curved lines? That's another beast entirely.
If your chair has deep button tufting, intricate channel backs, or needs significant frame and spring repair, it's probably time to call in a professional. Expert upholsterers have the specialized tools and years of experience to handle these challenges flawlessly. Wondering about the investment? We break it all down in our guide explaining how much reupholstery typically costs.
Ultimately, the goal is a beautiful piece you'll love for years. Whether you do it yourself or entrust it to an expert, it’s a decision that celebrates timeless design and your own personal style.
Ready to find the perfect fabric or chat about your project with an expert? Visit Lewis and Sheron Textiles in our Buckhead showroom. Let's create something beautiful together. Explore our collections of luxury furniture Atlanta and services at https://lsfabrics.com.