


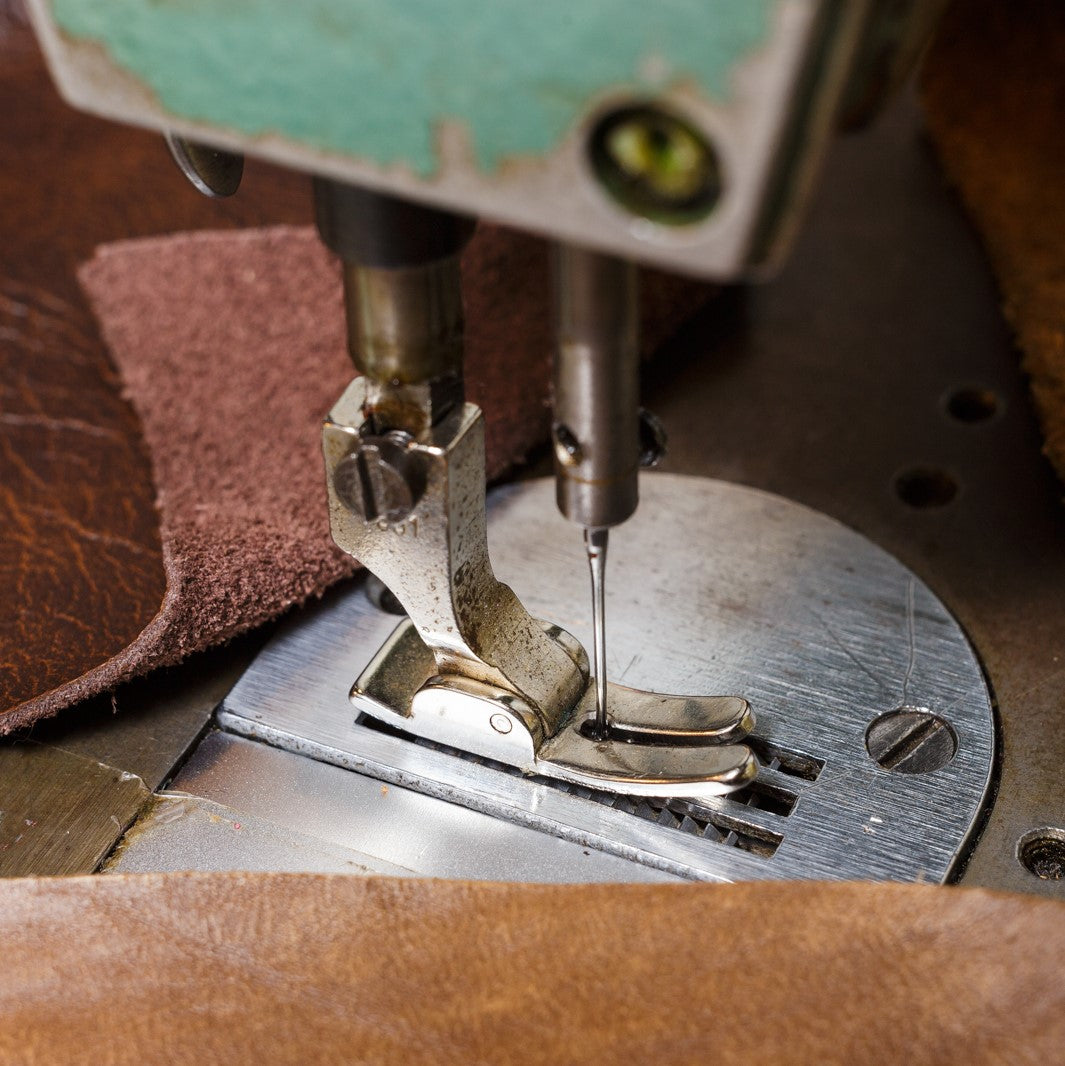


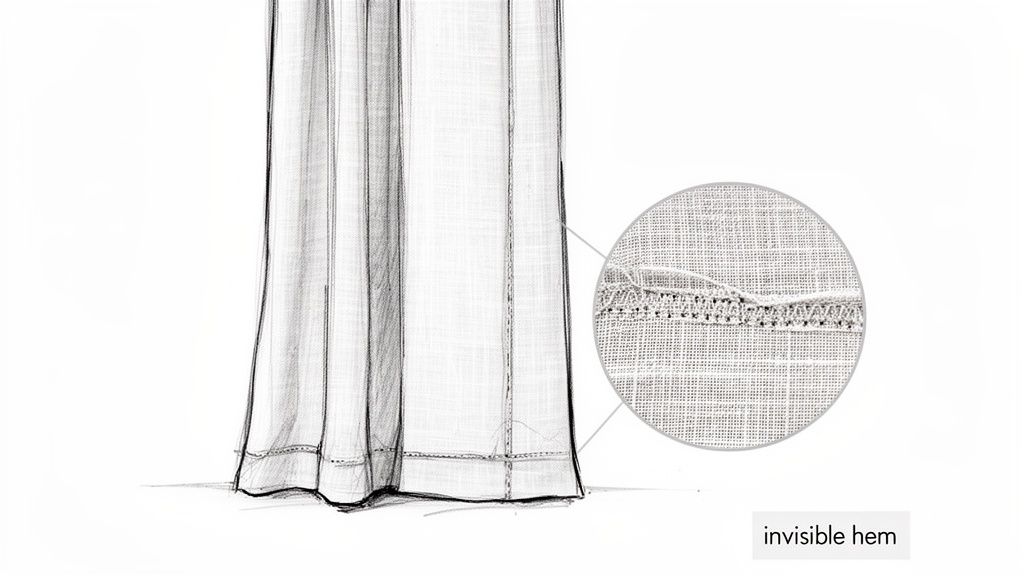
The blind hemming stitch by hand is one of those classic techniques that separates the truly bespoke from the mass-produced. It’s the secret behind creating a nearly invisible finish on everything from fine garments and custom drapery to tailored upholstery.
This method uses tiny, hidden stitches to catch just a single thread on the "public" side of the fabric. The result? A perfectly secure hemline, but with zero distracting machine lines. It's the key to achieving that high-end, designer look we all covet.
The Secret to a Truly Invisible Hem
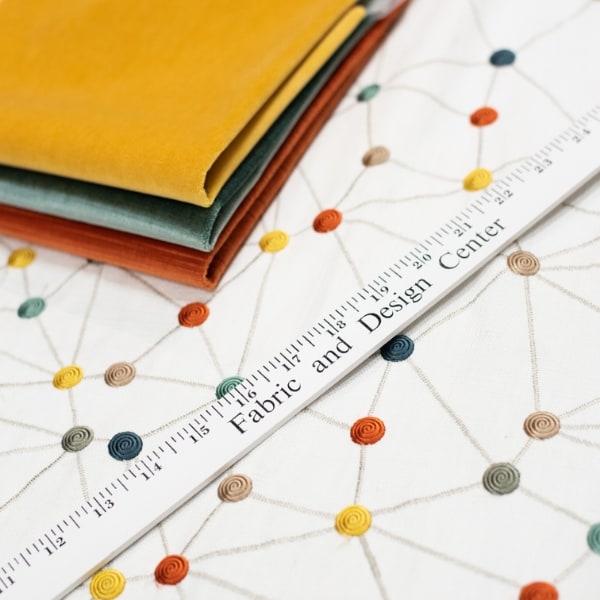
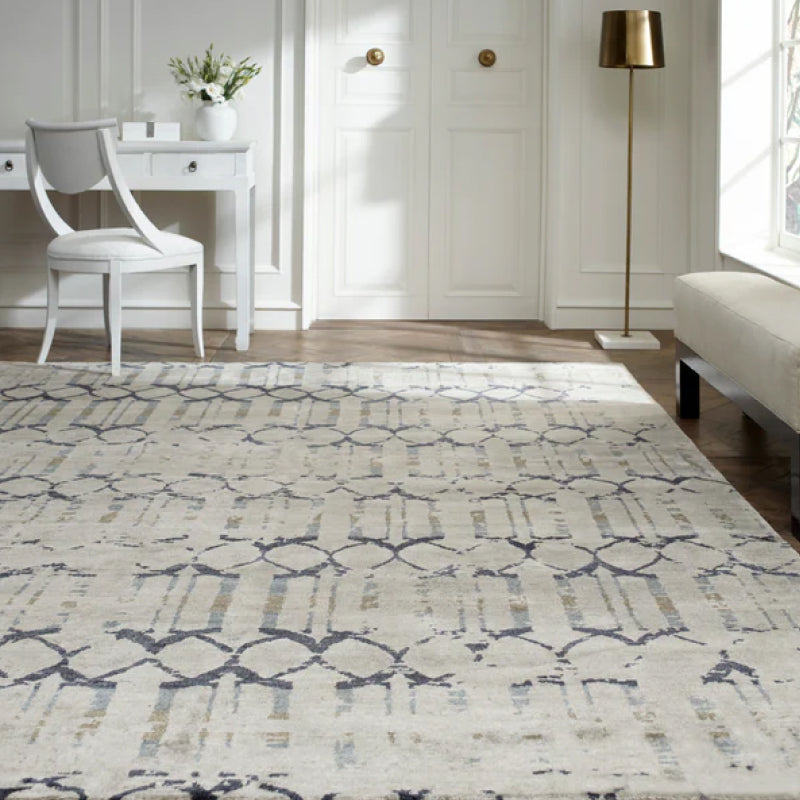
Step inside our Buckhead showroom and you’ll understand why Lewis and Sheron has been Atlanta’s destination for exquisite furniture and fine fabrics for decades. From the handcrafted lines of Verellen and Wesley Hall to the curated textures of Lee Industries, every piece tells a story of quality, comfort, and design mastery.
That seamless, premium finish is almost always achieved with a skill that machines simply can't replicate: the perfect blind hemming stitch by hand.
This is about so much more than just finishing an edge. It’s about elevating a piece from something standard to something truly exceptional. For the interior designers in Atlanta and homeowners from Milton to Marietta that we work with, understanding this technique is key to appreciating what goes into luxury furniture and fine fabrics.
When you see a stunning piece of high-end furniture in Buckhead with no visible stitching on the hem, you're looking at a serious commitment to quality—one that puts artistry far ahead of speed.
A Timeless Mark of Quality
The blind hemming stitch isn't just a sewing method; it’s a tradition. It’s one of the few hand-sewing techniques that has survived, largely unchanged, from 20th-century couture workrooms to today’s custom upholstery studios on Collier Rd.
Old-school sewing manuals describe a "blind stitch" that meticulously catches only one or two threads to render the hem invisible. A machine might finish a hem in five minutes, but an experienced sewer could spend up to 40 minutes on the same length, placing anywhere from 150 to 250 individual stitches. That dedication is what defines luxury construction. You can learn more about its history and why it endures through the annals of sewing history.
Beyond the impeccable look, this method offers some real practical benefits:
- A Softer Drape: Hand-sewn hems are far more flexible. This allows designer fabrics—especially the fine linens and silks you'll find in our Atlanta fabric showroom—to hang naturally, without the stiff, rigid line a machine stitch can create.
- Total Invisibility: On delicate or patterned fabrics, a machine stitch can interrupt the visual flow. A blind hem simply disappears, letting the exclusive textile be the star of the show.
- Unmatched Precision: Hand stitching gives you total control when working with tricky curves or sharp corners on custom upholstery, something designers in our Trade Program value immensely.
For our discerning clients seeking luxury furniture in Roswell and Alpharetta, the absence of a visible stitch line is the quiet signature of custom work. It’s a small detail that speaks volumes about the quality of the craftsmanship.
Ultimately, taking the time to master the blind hemming stitch by hand is about honoring the fabric. It’s a nod to both the artisans who designed the textile and the craftspeople who built the furniture. It’s that final, thoughtful touch that transforms a beautiful piece of fabric into a timeless part of a home.
Gathering Your Tools for Flawless Results
A perfect blind hem begins long before you make the first stitch. It all starts with having the right tools on hand. Think of it like a chef’s mise en place—thoughtful preparation isn’t just a step in the process; it’s the entire foundation for a flawless result. This is your setup for achieving a finish worthy of the luxury textiles we showcase in Buckhead.
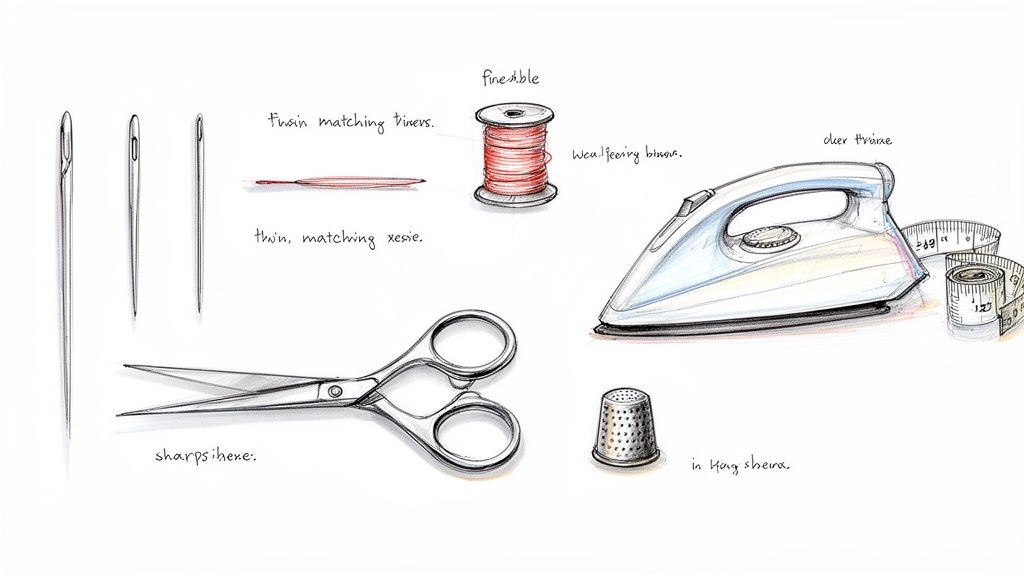
Forget rummaging through a cluttered sewing box. To execute a truly invisible blind hemming stitch by hand, you need a curated kit. These aren't just tools; they're your partners in precision, making sure every single stitch is deliberate and effective.
The Essentials for Precision Work
Your core toolkit is simple but non-negotiable. Each item plays a critical role in creating a hem that looks professionally finished, whether you’re working on custom drapery for a home in Milton or reviving upholstery on a classic Wesley Hall sofa.
To get started, here’s what you absolutely must have:
- A Fine, Sharp Needle: Look for a "between" or a dedicated "blind hem" needle. These are shorter and finer than what you’d normally use, giving you the control to pick up just a single thread of fabric. For most projects, a size 8 or 9 is the sweet spot.
- High-Quality Thread: The goal is for your thread to virtually disappear. Always match the color to your fabric, but if you're stuck between two shades, go with the one that's slightly darker. A quality all-purpose polyester or even silk thread is your best bet—it’s strong but won’t add bulk.
- Sharp Shears or Scissors: Clean, crisp cuts are everything. They prevent fraying and make for a much neater folded edge. A dedicated pair of fabric shears is a must.
- A Reliable Steam Iron: I can't stress this enough—a good iron is crucial for pressing sharp, clean folds into your hem before you start stitching. This step sets the stage for accuracy and makes the whole process smoother.
The right equipment makes the difference between a frustrating task and a meditative craft. It's the secret to achieving that polished, high-end look that Atlanta’s top interior designers strive for.
Elevating Your Technique
Once you have the basics, a few extra items—what we in the business call sewing notions—can dramatically improve your results. For a deeper dive, you can explore our guide to understanding essential sewing notions that every serious sewer should have in their kit.
Consider adding these to your setup:
- A Quality Thimble: Don’t skip this! A good thimble protects your finger and, more importantly, helps you push the needle through thicker fabrics with precision and control.
- Thread Wax or Conditioner: Running your thread through a small amount of beeswax is a game-changer. It strengthens the thread, prevents annoying tangles, and helps it glide effortlessly through the fabric.
- A Seam Gauge or Clear Ruler: Accuracy is everything in hemming. A seam gauge is designed for this very task, allowing for perfectly precise and consistent measurements when you fold and press your hem allowance.
Choosing the right tool for the job isn't just about making the work easier; it's about respecting the fabric and the project. Here's a quick breakdown to help you select the best options.
Essential Tools for Blind Hemming
| Tool | What to Look For | Why It Matters |
|---|---|---|
| Needle | "Blind hem" or "between" needles, size 8 or 9. Should be sharp and fine. | A fine tip allows you to pick up a single fabric thread, which is the key to an invisible stitch. |
| Thread | All-purpose polyester or silk. Match the color, or choose one shade darker. | The right thread blends seamlessly into the fabric and provides strength without adding bulk. |
| Scissors | Dedicated fabric shears with a sharp, clean cutting edge. | A crisp, straight edge on your fabric makes for easier, more accurate folding and pressing. |
| Iron | A steam iron with adjustable heat settings. | Steam and heat set sharp creases, creating a precise guideline for your stitches. |
| Thimble | Metal or leather; find one that fits your middle finger comfortably. | Protects your finger and gives you the leverage to push the needle through dense fabric easily. |
| Seam Gauge | A small metal ruler with a sliding marker. | Ensures your hem is a perfectly consistent width all the way around—no more guesswork. |
With these tools laid out, you're setting yourself up for a process that feels less like a chore and more like the craft it truly is.
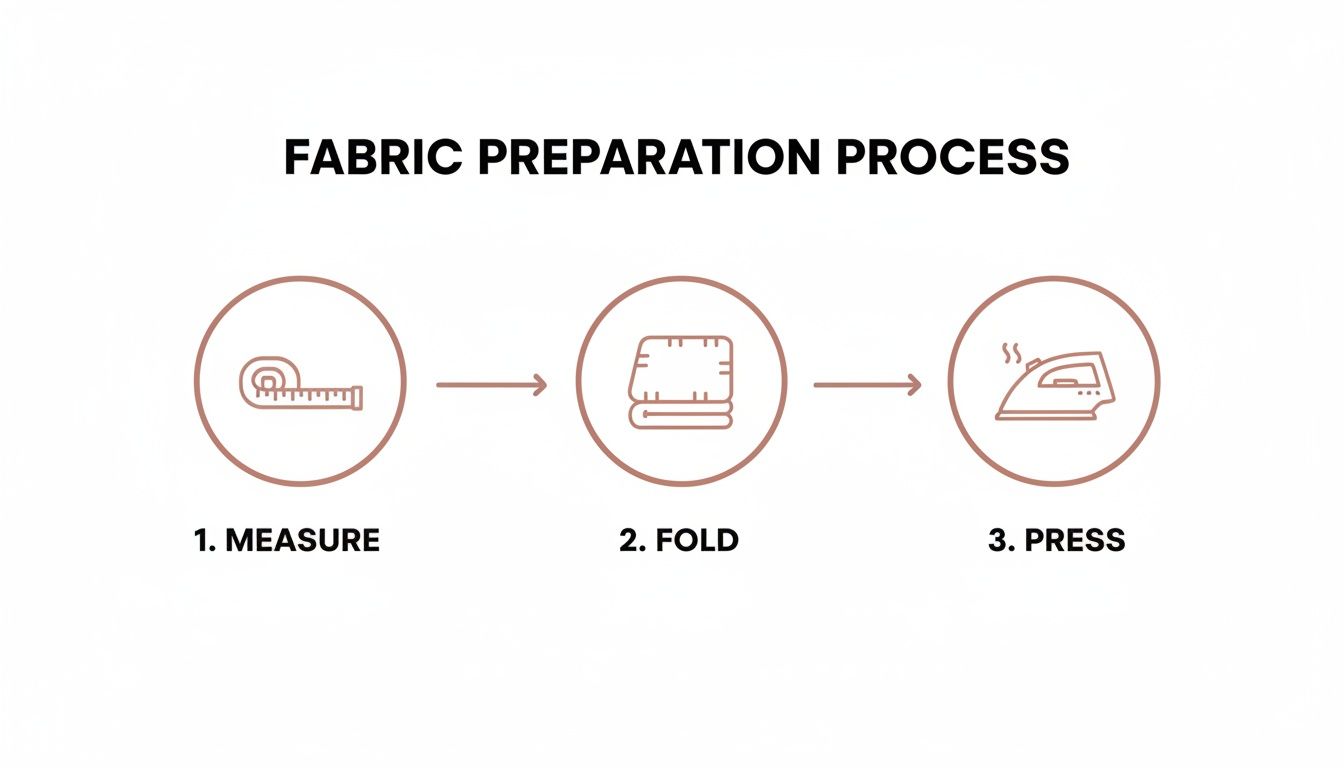
Preparing Your Fabric Like a Pro
An invisible hem is built on meticulous prep work. This is where the magic happens, long before a needle touches the fabric. Don't think of it as a chore—it's laying the groundwork for a flawless, pucker-free finish.
Patience and precision pay off here. Whether you’re hemming custom drapery for a client in East Cobb or putting the final touch on a Wesley Hall sofa skirt, the steps you take now define the entire result. A perfectly prepped hem creates a crisp, stable edge that makes the stitching process incredibly smooth and predictable.
Measure and Press for a Flawless Foundation
First things first: establish your hem allowance. This isn’t a place for guesswork. A seam gauge is your best friend here, helping you measure and mark your hemline with absolute precision. For a deeper dive into how allowances affect the final look, our guide on choosing the right seam allowance is an excellent Atlanta interior design resource.
Once you've measured, it’s time for the ironing board. This is arguably the most critical step. A hot iron with plenty of steam is what you need to create those sharp, defined creases.
Here’s the process for a classic, clean finish:
- Fold Up the Raw Edge: Start by turning the raw edge of your fabric up by about 1/2 inch toward the wrong side and give it a firm press. This first fold encases the raw edge, preventing any future fraying.
- Create the Hem: Now, fold the hem up again to your desired final depth, making sure that first little fold is tucked neatly inside. For custom drapery, a deep, luxurious hem of 4 inches is a common professional standard.
- Press with Purpose: Press this final fold with steam to really set the crease. This creates a sharp, stable edge that will act as your guide for the blind hemming stitch by hand.
The Double-Fold Technique for Luxury Weight
For heavier fabrics, like the rich velvets you might choose for a Verellen sofa, the double-fold technique is the gold standard. This method, used in high-end workrooms from Buckhead to Forsyth County, adds just enough weight to help the fabric hang beautifully.
The technique is simple but effective: fold the hem up once to the full depth, press it, and then fold it over on itself again. This creates a substantial, clean-finished hem that feels just as luxurious as it looks.
A well-pressed hem is more than just a guideline; it's a promise to the fabric that you'll honor its quality with impeccable craftsmanship. It’s the difference between a homemade look and a truly bespoke finish.
By preparing your fabric correctly, you’re not just making the stitching easier. You're ensuring the final product has the structure, drape, and invisible finish that defines high-end design.
Mastering the Art of the Stitch
Alright, this is where the magic really happens. We're moving from theory to practice, and I'm walking you through the actual motions of creating a perfect blind hemming stitch by hand. Forget those confusing diagrams you've seen elsewhere.
This is all about finding a smooth, easy rhythm. Think of it as a delicate dance between your needle, the hem allowance, and the main fabric. Getting this right is what creates that truly professional, high-end finish. Let's dive in.
Finding Your Rhythm
First, anchor your thread securely but invisibly. The best way to do this is inside the hem allowance. Just run your needle through the folded edge for about half an inch, then stitch back on itself to create a tiny, hidden knot. No one will ever see it.
Now for a little trick that makes all the difference: fold the hem allowance back on itself by about a quarter of an inch. This move exposes the very top edge of the hem, giving you a perfect line to work along. It’s your secret weapon for control and accuracy.
The actual stitching motion is a simple two-part sequence.
- Catch a Single Thread: Just below your folded-back hem, use the very tip of your needle to pick up the smallest possible bit of the main fabric. Seriously, aim for just one or two threads. Keep this tiny stitch parallel to the hem.
- Travel Through the Fold: Next, angle your needle diagonally up and slide it through the folded edge of the hem for about ¼ to ½ inch. Pull the thread through until it’s snug—but not tight!
That's the whole dance. Repeat this pattern: a tiny bite from the main fabric, followed by a short journey through the folded hem, all the way around your project.
The meticulous prep work of measuring, folding, and pressing gives your needle a perfect roadmap to follow, ensuring every stitch is flawlessly supported.
Tension and Technique Tips
Maintaining even tension is what truly separates an amateur hem from a professional one. Pull the thread too tight, and you’ll get puckering on the right side. Too loose, and the hem won’t be secure. Your goal is a gentle, consistent pull that allows the fabric to lie perfectly flat and smooth.
This level of detail is exactly why professional workrooms charge a premium for hand hemming. A single 54-inch drapery panel with a double 4-inch hem can easily require 300–400 individual stitches to get that flawless, ripple-free hang. It's especially crucial for the fine fabrics in Alpharetta where catching just one or two threads is the only way to prevent any stitches from showing through.
The secret to a beautiful blind hem isn’t about speed; it’s all about consistency. Once you find a comfortable rhythm, the stitch starts to feel second nature. It becomes an almost meditative process that yields spectacular results.
As you work—especially on bigger projects like drapery panels or when learning how to make custom tablecloths—periodically unfold the hem and lay it flat. Flip it over and check the right side to make sure your stitches are truly invisible. This quick check-in lets you adjust your tension or stitch size before you’ve gone too far.
Corners and curves require more finesse, but it's simple once you know the trick. On a curve, place your stitches slightly closer together; this helps the fabric ease around the bend without bunching up. For a sharp corner, secure your stitch right at the pivot point before you turn the fabric. With these pointers, you're ready to add an elegant, invisible finish to any project.
Adapting Your Technique for Different Fabrics
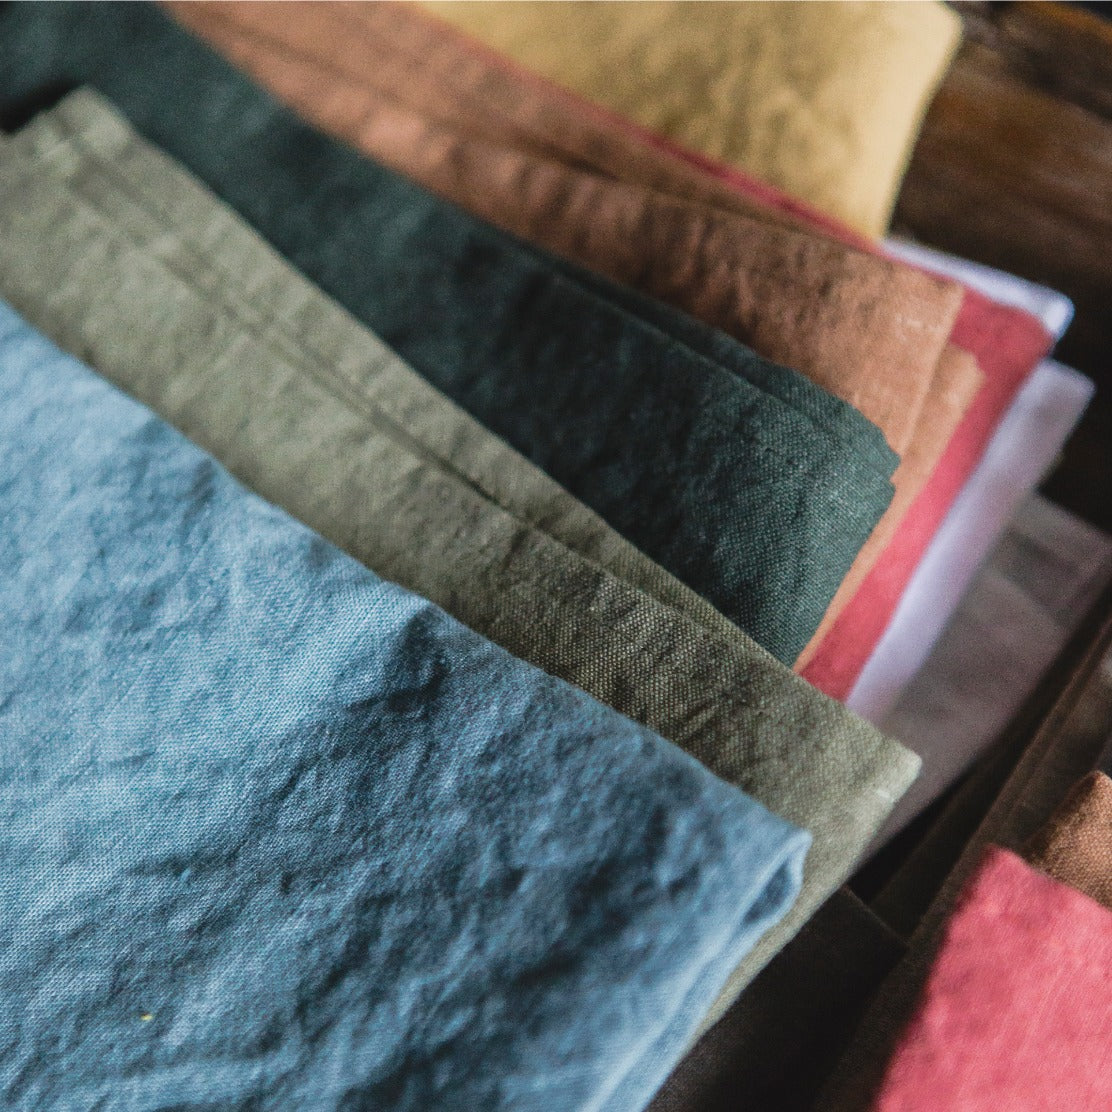
Not all textiles are created equal, and your hemming technique shouldn't be, either. A gossamer-thin silk sheer demands a completely different approach than a robust Belgian linen destined for custom upholstery in a Buckhead high-rise. The secret to a flawless finish lies in adapting your hand to the fabric you’re holding. This is where true craftsmanship shines.
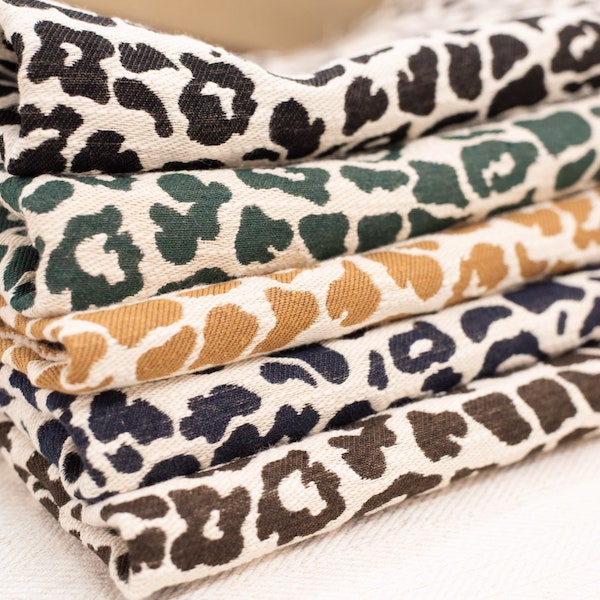
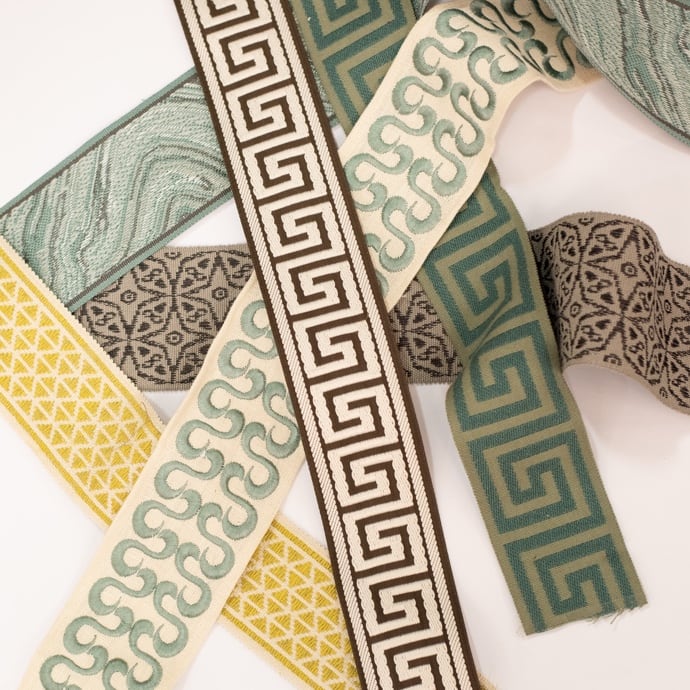
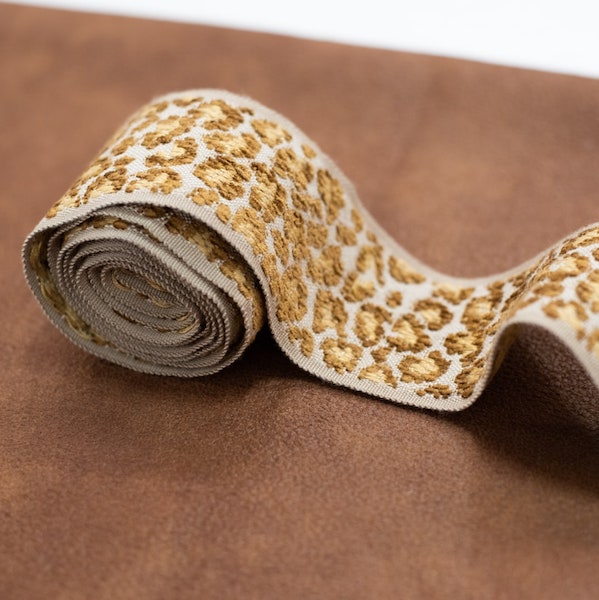
The exquisite designer fabrics filling our Atlanta showroom—from delicate velvets to hearty bouclés—each have their own personality. Your job is to listen to what the material needs and adjust your tools and technique accordingly. This thoughtful approach ensures your handiwork enhances the fabric's natural beauty, rather than fighting against it.
Handling Silks and Sheers
Lightweight and slippery fabrics like silk or sheer linen can feel intimidating, but they just require a lighter touch. The key here is all about finesse.
- Needle and Thread: Go finer than you think. A size 10 or 11 needle paired with a lightweight silk thread is your best friend. The goal is to leave the smallest possible footprint.
- Stitch Spacing: Keep your stitches small and spaced a bit closer together, maybe around ¼ inch apart. This is crucial for preventing the hem from sagging or rippling over time.
- Tension Control: Use the absolute lightest tension possible. Pulling even slightly too tight will cause immediate and very visible puckering on these delicate materials.
Navigating Upholstery-Weight Fabrics
When you're working with the substantial textiles you'd find on Verellen furniture or Lee Industries chairs, your technique needs to be more robust. These fabrics are thankfully more forgiving, but they demand strength. Understanding the different various upholstery materials is a huge help here, as it informs how you prepare and stitch for the best results.
For these heavier materials:
- Needle and Thread: A slightly larger needle, like a size 7 or 8, will help you penetrate the dense weave without a struggle. Use a strong, all-purpose polyester thread that can handle the weight.
- Stitch Size: You can afford a slightly larger "bite" of fabric in the hem allowance, but your stitch on the public side must remain tiny—just one or two threads is all you want to catch.
- Spacing: Feel free to increase your stitch spacing to about ½ inch. If you place them too close together on a thick fabric, you can accidentally create a stiff, rigid edge.
For textured fabrics like velvet or bouclé, the texture itself is your ally. The pile or loops are fantastic at concealing your stitches, giving you a little extra room for error. The key is to stitch in the direction of the nap to keep your work completely hidden.
Honestly, the best advice I can give is to practice on a scrap piece first. Every fabric from our showroom has a unique feel, and a few practice stitches will tell you everything you need to know to achieve that perfect, invisible finish on your final piece.
Common Questions About the Blind Hem Stitch
Even the most seasoned designers we work with run into snags now and then. So, let’s talk through some of the most common questions we hear in our showroom about mastering the blind hemming stitch by hand. These are the practical, real-world troubleshooting tips that will refine your technique for that truly invisible finish.
Why Are My Stitches Showing on the Front?
This is, without a doubt, the number one frustration. If you can see little dimples or tiny stitches on the public side of your fabric, it almost always means you're picking up too much fabric with your needle. The entire secret to an "invisible" stitch is catching only a single thread from the front.
It sounds impossible, but it’s all about a light, controlled touch. Before you tackle a Verellen sofa skirt or a set of custom draperies, practice on a scrap of the same material. Use a fine, sharp needle and consciously aim for the smallest possible "bite" of fabric. You also need to check your tension. A thread pulled too tight will create a pucker that makes even the tiniest stitch visible. Your stitch should be snug, but it should never strangle the fabric.
How Do I Keep My Stitch Spacing Consistent?
Consistency gives a hem that professional, rhythmic flow. It really does come with practice, but a few simple tricks can help you get there faster. Many artisans I know use their thumbnail as a rough guide, spacing each stitch about a thumbnail's width apart—somewhere between 1/4 to 1/2 inch.
The goal is to find a steady rhythm, not to achieve micrometer-perfect measurements. Uneven stitches can cause a hem to ripple or hang awkwardly, so focus on a relaxed, repeatable motion. If you're hemming a large project, remember to take breaks. Fatigue is the enemy of fine, even stitching.
A consistent hem is a quiet statement of quality. It tells a story of patience and an eye for detail, which is something our interior design clients value above all else.
What Kind of Thread Is Best for a Blind Hem?
Your thread should be a chameleon, blending into its surroundings. Always aim to match your fabric in both color and weight. If you can't find a perfect color match among our fine fabrics, here's the professional trick: choose a thread that is one shade darker. It will recede into the shadows of the fold much more effectively than a lighter one will.
A high-quality, all-purpose polyester or a fine silk thread works beautifully for most projects. For delicate sheers, a 100wt silk thread is so fine it virtually disappears. Here's a pro tip from our workroom: run your thread through a bit of beeswax or a thread conditioner. It strengthens the fibers, prevents frustrating tangles, and helps the thread glide through dense upholstery fabric like a dream.
How Do I Secure the End Without a Bulky Knot?
A clunky knot can ruin an otherwise perfect hem. A secure finish is crucial, but it must also be completely hidden. When you reach the end of your hem, the trick is to create a tiny, strong knot that lives entirely inside the hem allowance.
Take a small final stitch through the hem allowance only. Before pulling the resulting loop completely closed, pass your needle through it twice. Now, gently pull the thread tight to form a secure little knot right against the fabric. For extra peace of mind on heavy drapery, you can repeat this. Finally, bury the tail by running the needle inside the hem fold for about an inch before snipping it flush. The end is now secure and totally invisible.
At Lewis and Sheron Textiles, we believe true luxury lies in the details. From the exquisite hand of our designer fabrics to the impeccable craftsmanship of a hand-sewn hem, these are the elements that create timeless interiors. Explore our collections of luxury furniture in Atlanta and discover the resources that have made us the city's design destination for generations at https://lsfabrics.com.