


A lot of Atlanta homeowners reach this point the same way. You're standing over a beautiful chair, sofa, or bench that still has good bones, but the fabric has faded, loosened, or stopped reflecting the room you've built around it. It might be a Roswell estate-sale armchair with remarkable lines, a Buckhead sofa that has anchored your living room for years, or a pair of custom chairs in Sandy Springs that deserve better than being sent to storage.
For a certain kind of homeowner, reupholstery isn't a budget shortcut. It's stewardship. You're trying to preserve the frame, the proportions, the comfort, and the character that made you buy the piece in the first place.
That's where an electric upholstery stapler comes in. Used well, it gives a serious DIYer enough control to refresh light-to-medium upholstery projects with a cleaner finish and less physical strain than a manual gun. Used carelessly, it can scar wood, tear fabric, and leave a luxury piece looking amateur in a single afternoon.
Giving Your Statement Furniture a Second Life
The pieces worth saving usually aren't the ones that arrived flat-packed in a box. They're the ones with shape. A precisely shaped back. A curved arm. A seat profile that looks expensive because it took someone real skill to build it.
In homes across Buckhead, Alpharetta, and North Atlanta, those are often the pieces people hesitate to touch. That hesitation is healthy. A quality frame can outlast multiple layers of fabric, but only if each refresh respects what's underneath.
Why this tool matters on better furniture
The stapler itself has a longer story than commonly known. The powered stapler's lineage traces back to 1866 with Samuel Slocum's patent, followed by George W. McGill's practical spring mechanism in 1879, and a gun-like stapling device in 1893. Powered models became essential upholstery tools in the mid-20th century, with electric versions later offering a more convenient alternative to pneumatic systems, as outlined in this history of stapling technology.
That history matters because it explains the role of the electric model today. It isn't a gimmick. It's the practical middle ground between a tiring hand stapler and a pneumatic setup that asks for more equipment, more noise, and more force than many home projects need.
Practical rule: If your project is a dining chair, accent chair seat, headboard panel, or a light furniture repair, an electric upholstery stapler can be the right tool. If you're rebuilding a deeply padded luxury sofa frame, the tool may not be the limiting factor. Your project choice will be.
DIY as preservation, not improvisation
The best DIY upholstery work doesn't feel improvised. It feels measured. You remove fabric carefully. You study the original fold lines. You keep every panel in order. You pay attention to where the upholsterer before you used restraint and where they used force.
That mindset matters more than bravado. If you're weighing whether to tackle a favorite piece, this guide on how to reupholster furniture is a useful companion to the workbench side of the process.
Luxury furniture, custom upholstered furniture, and heirloom-quality furniture all ask the same question of a DIYer. Can you improve the surface without compromising the structure? An electric stapler can help you do that, but it only rewards patience. It won't rescue rushed work.
Preparing for a Flawless Upholstery Project
Preparation is where expensive-looking results are decided. By the time you pull the trigger on your stapler, most of the important choices have already been made.

Strip the piece without harming the frame
Start slowly. Remove dust covers, trim, tacks, and old staples in the reverse order they were installed. Keep a small container for hardware and a second one for old staples so they don't end up underfoot or embedded in fabric.
With high-end furniture, the danger isn't just cosmetic damage. Gouging the frame with careless staple removal can weaken edge areas where your new staples need to bite. On a custom chair or designer bench, preserving clean wood at the tack line is part of preserving the value of the piece.
A smart habit is to label each removed fabric panel and note grain direction or pattern placement before discarding anything. That old fabric is your roadmap.
Match the staple to the job
Many DIY projects go sideways because people shop for the stapler first and treat staples like an afterthought. Upholstery doesn't work that way.
According to this upholstery staple selection guide, professionals commonly use 20- to 22-gauge fine-wire staples. Common leg lengths include 1/4 inch for thin panels, 3/8 inch for attaching fabric and padding to the frame, and 9/16 inch for securing structural elements like webbing.
A quick reference helps:
| Application | Common staple choice |
|---|---|
| Thin panel work | 1/4 inch leg |
| Fabric and padding to frame | 3/8 inch leg |
| Webbing or heavier structural layers | 9/16 inch leg |
| General upholstery wire type | 20- to 22-gauge fine-wire |
The point isn't to memorize numbers for the sake of it. The point is fit. Thin material with an overly long staple can punch through. Thick layered assemblies with a short staple may not hold.
Match the staple to the material stack, not to your guess about what “looks strong.”
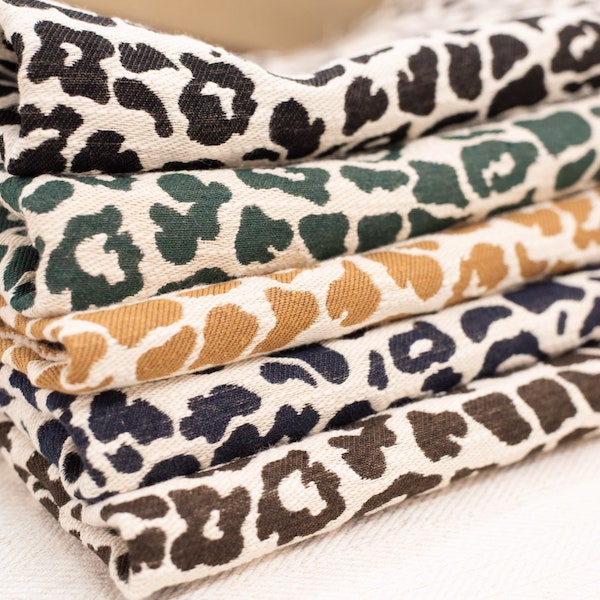
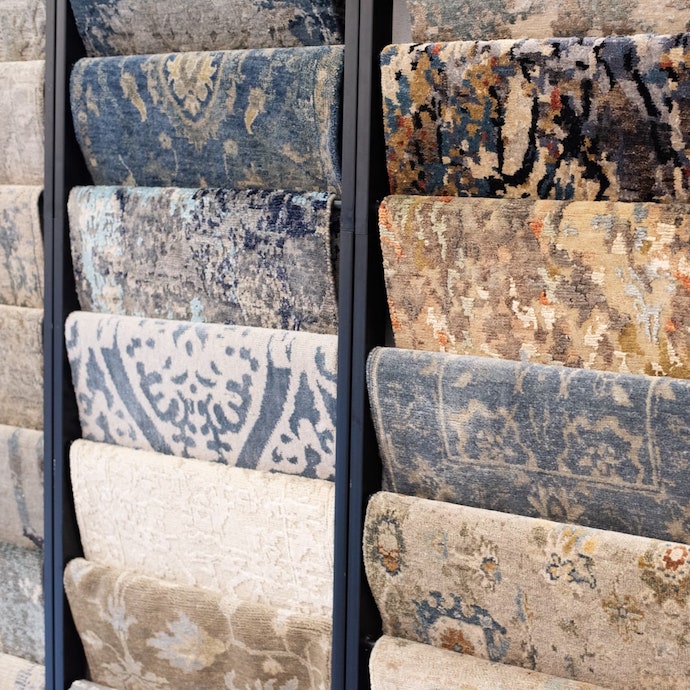
Choose fabric with the frame in mind
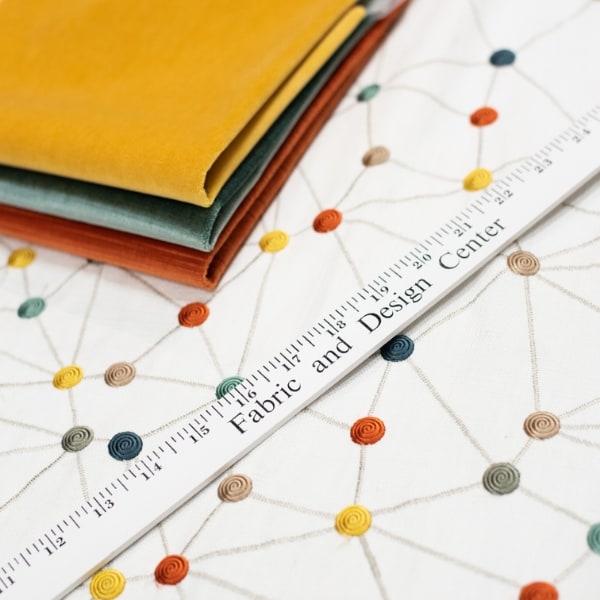
A luxury sofa in Atlanta or a set of custom chairs in Alpharetta usually deserves more thought than “what color works.” The right upholstery fabric has to suit the shape of the piece, the room, and the way the furniture is used. Tight curves, visible seams, directional textures, and large repeats all affect how difficult the stapling phase will be.
Before ordering yardage, it helps to use a proper upholstery fabric measuring guide. Measuring accurately is part of protecting premium materials. Running short forces compromises. Overordering blindly can be expensive.
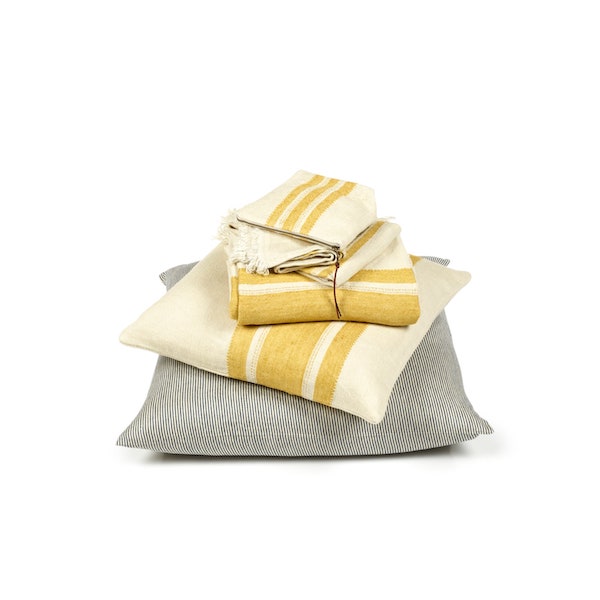
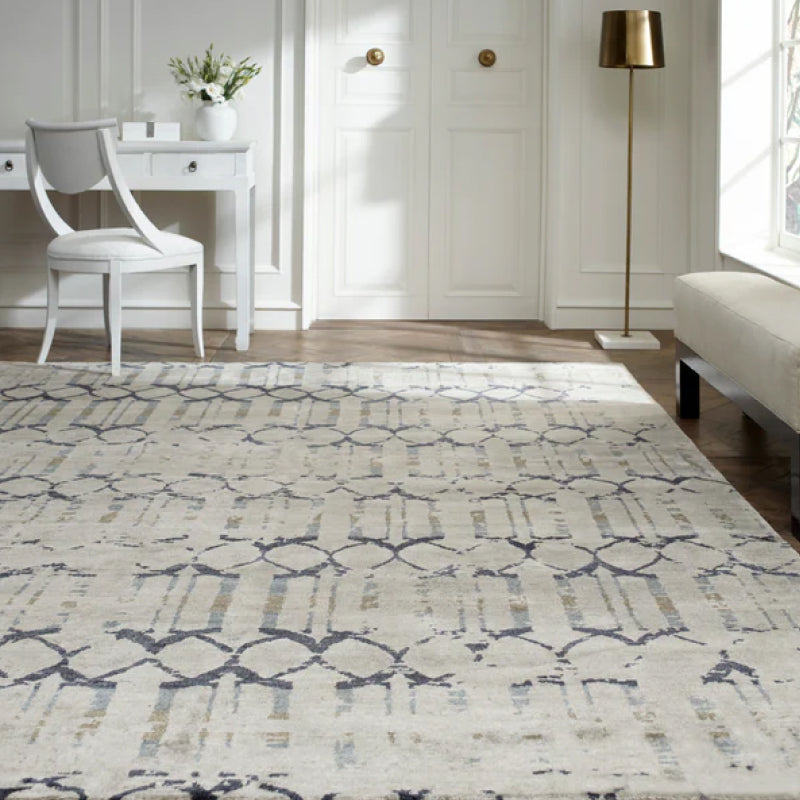
For design-conscious homes in Buckhead, Roswell, or Sandy Springs, the prettiest fabric isn't always the easiest one to upholster. Velvet, large-scale patterns, and delicate weaves can enhance a room, but they leave less room for error.
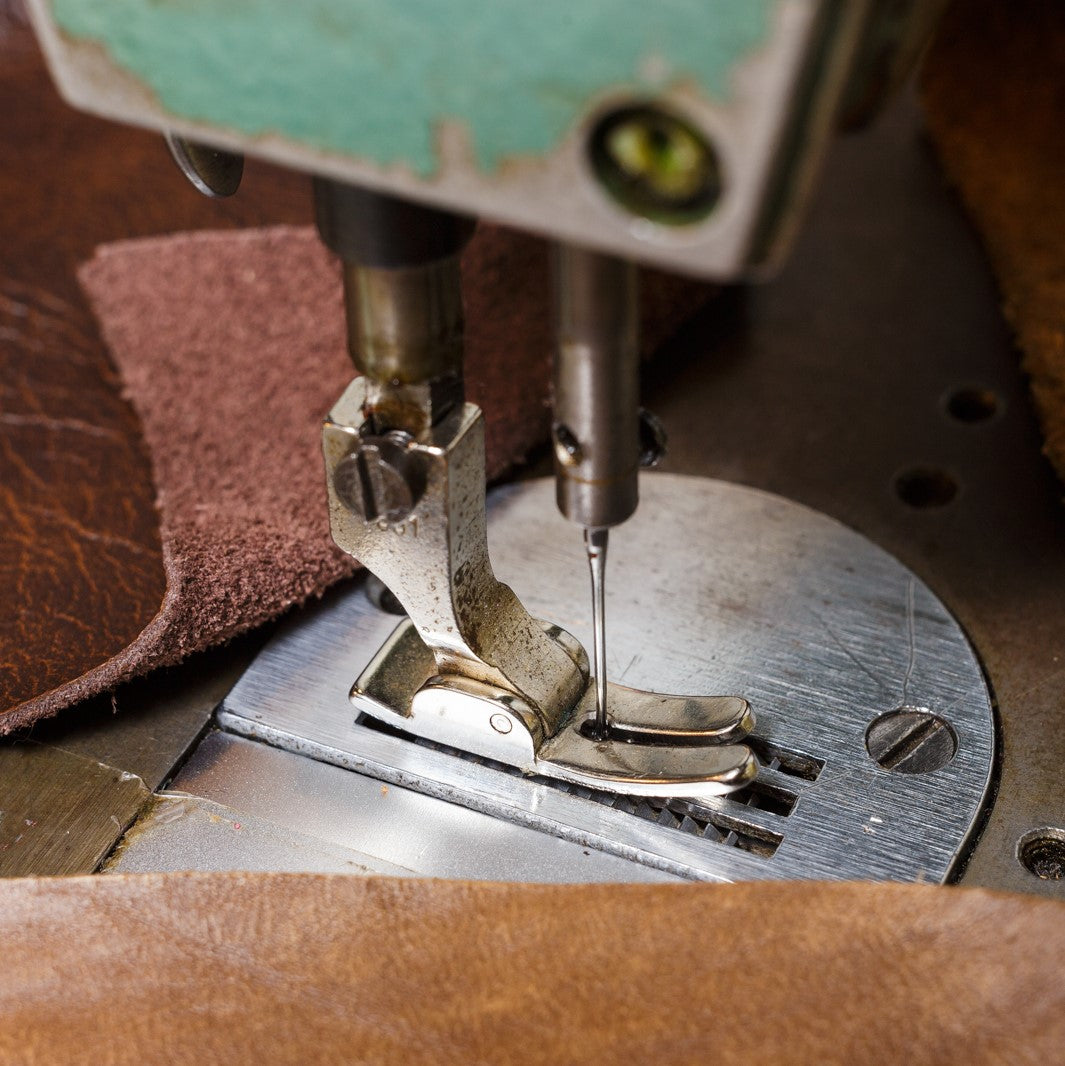
Mastering Your Electric Stapler Setup and Safety
You only need one bad test shot to scar a visible rail or bruise an expensive fabric. On a basic DIY chair, that is frustrating. On a designer dining chair or an heirloom bench, it can cut straight into the piece's value.
An electric upholstery stapler rewards careful setup. The tool has less driving force than a pneumatic gun, so small setup mistakes show up fast in the finished work. That is not a reason to avoid the project. It is a reason to work methodically.
Read your stapler before you trust it
Every stapler has its own limits. Some handle hardwood edges better than others. Some sit comfortably in the hand for an hour. Others feel fine for ten minutes, then start to pull your wrist off line and your staple pattern starts to wander.
Check three things before loading the first strip: the staple type your tool accepts, whether the magazine closes cleanly, and whether your power source lets you move around the piece without dragging across finished wood or fresh fabric. Cord management matters more than people expect, especially on exposed frames and tight backs.
If your stapler offers depth or power adjustment, start lower than you think. Increase only after a test shot proves the crown seats flat. Old frames around Atlanta often mix dense hardwood, softer repair blocks, and brittle dry sections in the same piece. One setting rarely suits all of it.
Build a setup routine and stick to it
A consistent routine protects both the furniture and your pace.
- Confirm staple compatibility with the stapler, not just the project.
- Load a fresh strip correctly and make sure the magazine is fully latched.
- Set the work at a comfortable height so the stapler nose can meet the surface squarely.
- Clear your support hand path before every shot, especially under arms and seat rails.
- Keep scrap materials nearby that match the actual fabric, padding, and wood as closely as possible.
Professionals do this every time because it prevents the slow, expensive mistakes. Missed staples, bent legs, torn face fabric, and accidental scratches usually start with rushed setup.
Test on scrap before the furniture
Scrap testing is how you protect investment pieces.
Use a stack that mirrors the job. That means the same fabric if possible, similar padding, and a wood substrate that behaves like the frame. Fire a few staples, then inspect them closely. The crown should sit flat. The fabric should stay clean. The legs should hold without telegraphing through or sinking so deep that they cut the textile.
If the test fails, stop there. Change the setting, the staple length, the angle, or the tool.
Hope is expensive in upholstery.
Safety is mostly about body position
Standard tool safety still applies. Unplug the stapler before clearing a jam. Keep fingers out of the firing path. Wear eye protection when working around old staples or brittle frames.
For upholstery, body position deserves equal attention. Do not twist over a chair arm and fire one-handed. Do not brace a seat with your knee while reaching underneath. Set the piece on horses, a bench, or a table so you can press the nose down firmly and squarely.
That square contact does two jobs at once. It reduces the chance of a ricochet or partial drive, and it gives a cleaner result on the furniture.
On a luxury sofa, custom headboard, or family piece with sentimental value, control matters more than speed. A careful DIYer can do very nice work with an electric stapler. A rare frame, fragile show wood, or expensive textile deserves a higher threshold for risk. That is the point where calling a professional is not giving up. It is protecting the piece.
Pro Techniques for Designer Quality Finishes
Designer-quality upholstery doesn't come from firing more staples. It comes from knowing where to place fewer, better ones.

Electric upholstery staplers are generally light-to-medium duty tools. They're ideal for chair reupholstery and furniture repairs, and they offer more portability with less driving force than pneumatic staplers, which are favored for dense materials or high-volume work, as explained in this comparison of electric and air staplers for upholstery.
That trade-off should shape your technique. If your tool doesn't hit like a pneumatic gun, your process needs to be cleaner.
Corners reveal the whole job
Nothing exposes amateur upholstery faster than a bulky corner. On custom chairs and high-quality couches, corners have to look intentional from every angle, including the side view.
Use temporary positioning before committing. Pull the fabric into place, smooth it, and study where the excess naturally wants to fold. One corner may need a sharp tuck. Another may need a softer wrap because the frame line is rounded.
For crisp corners:
- Anchor the center first. Set a few staples away from the corner so the tension is stable before you fold.
- Reduce bulk before folding. Extra layers stack quickly and make the corner look swollen.
- Place final staples where trim or underside placement will conceal them. Visible fastening ruins a finished edge.
Curves demand even tension
Curved armrests and serpentine frames are where luxury furniture earns its price tag. They also punish uneven pulling. If you tug aggressively at one point and loosely at another, you'll see puckers or pattern distortion immediately.
Work from the visual center outward. Add staples in a balanced sequence so the tension stays even across the curve. This matters especially on statement furniture pieces where the silhouette is part of the design.
The fabric should look smooth, not stretched. Taut enough to hold shape, gentle enough to preserve weave and pattern.
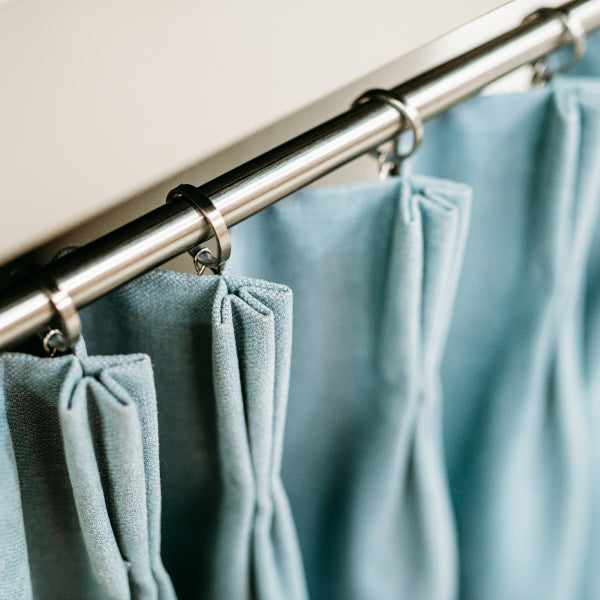
Pleats and hidden fastening make it look custom
Pleats should feel controlled, not accidental. A few well-planned folds often look better than a crowded cluster of tiny ones fighting for space. Hold the fold, check the line from the front, then staple from the least visible area first.
A simple quality check helps here:
| Area | What you want to see |
|---|---|
| Outside back | Smooth plane, no ripples |
| Arms and curves | Even pull, no drag lines |
| Corners | Defined shape, minimal bulk |
| Staple line | Hidden, straight, or trim-ready |
The gap between serviceable DIY and designer furniture quality usually comes down to restraint. Better upholstery often means fewer corrections, fewer random staples, and more attention to what the eye notices first.
Troubleshooting Common Stapling Frustrations
A missed staple on a kitchen chair is annoying. A row of proud staples across the back rail of a designer chair can lower the look, and sometimes the value, of the whole piece.

Most stapling trouble comes from three sources: the staple is wrong for the material, the tool is out of rhythm with the job, or the fabric was positioned well but fastened poorly. The fix starts with identifying which one failed. On quality furniture, guessing usually leaves extra holes in wood, drag marks in fabric, or a repair that looks corrected instead of finished.
When staples don't drive fully
Partially seated staples usually point to a mismatch between staple length, fabric buildup, and what is under it. Hardwood rails, layered decking, old glue lines, and hidden tack strips can all change resistance from one inch to the next. That is common on older or custom pieces.
Check these first:
- Staple length. Legs that are too long for a thin panel or light substrate often refuse to seat cleanly.
- Material stack. Fabric, cotton, welt returns, and padding can create more thickness than expected.
- Tool angle. If the nose is not planted flat, one leg enters first and the crown stays high.
- Power loss. Cordless tools can start strong and fade enough to leave inconsistent depth.
Earlier in the article, I noted the importance of matching staple size to the actual build of the piece, not just the fabric. Crown width and leg length are different decisions. Test on scrap from the same project whenever possible, especially if you are working on panel board, thin rails, or an inside area that cannot tolerate blow-through.
If staples keep standing proud after a proper test, stop there. A decorative bench or heirloom dining chair is not the place to force a tool that is underpowered for the frame.
When the stapler jams or double-feeds
Jams usually come from bent staples, debris in the magazine, or using a strip that is close to the right size instead of exactly right. Double-feeding often means the same problem, just repeated faster.
Use a clean reset:
- Disconnect the power. Unplug the tool or remove the battery.
- Open the magazine. Look for broken staple fragments, not just the obvious jam.
- Clear the channel fully. One tiny shard can trigger the next failure.
- Reload the correct staple series. Near matches waste time and can damage the driver.
- Fire a few test shots on scrap before going back to the furniture.
Calm hands matter here.
A rushed jam fix often scratches finished wood, bends the next strip, or tempts you to test directly on the chair. That is how a simple interruption turns into visible repair work.
When fabric puckers or the staple line wanders
This problem usually starts before the staple fires. The fabric may be smooth from the front, but if tension is uneven underneath, the stapler locks that mistake in place.
Use this quick check:
| Problem | Likely cause | Immediate fix |
|---|---|---|
| Puckered face fabric | Uneven pull sequence | Remove a small section and restaple from the area that controls the visible line |
| Wandering staple line | No guide or rushed placement | Mark a reference line on the underside before fastening |
| Crown cutting fabric | Wrong staple choice or too much force | Re-test on scrap and confirm the staple sits flat |
| Repeated reseating | Tool and material mismatch | Check battery, staple spec, and substrate before continuing |
On high-end furniture, the underside still matters. Clean fastening underneath helps the piece wear better, sit flatter, and hold its shape over time. It also tells you whether the project still belongs in the DIY column or whether it is time to call a shop with bench experience. Homeowners weighing that decision can compare professional upholstery services in Atlanta before risking a valuable piece.
Cordless workflow can interrupt consistency
Cordless staplers are convenient, especially for quick seat recoveries or small accent chairs. They can also break your rhythm if battery strength drops mid-section or if the tool struggles on denser frame areas. Upholstery work rewards consistency. Stop-start fastening often shows up later as uneven tension, crooked spacing, or sections that had to be pulled and redone.
Keep the pace controlled. Finish one manageable zone at a time. Keep fresh staples close, keep a charged battery ready, and avoid starting the most visible curve on the piece when the tool is already losing force.
Good stapling is quiet, steady work. If the tool keeps fighting you, the furniture is telling you something.
When to Partner with Atlanta's Reupholstery Experts
Some projects shouldn't be your practice piece. That isn't a lack of ambition. It's good judgment.

If you own heirloom-quality furniture, a designer sofa, or custom upholstered furniture with unusual shaping, the main question isn't “Can I staple fabric onto this?” It's “Can I preserve the value of this piece while doing it?”
The projects that deserve a master's hand
Professional reupholstery is the smarter move when the furniture has one or more of these conditions:
- Antique or sentimental value. Old frames, fragile woods, and original detailing don't forgive mistakes.
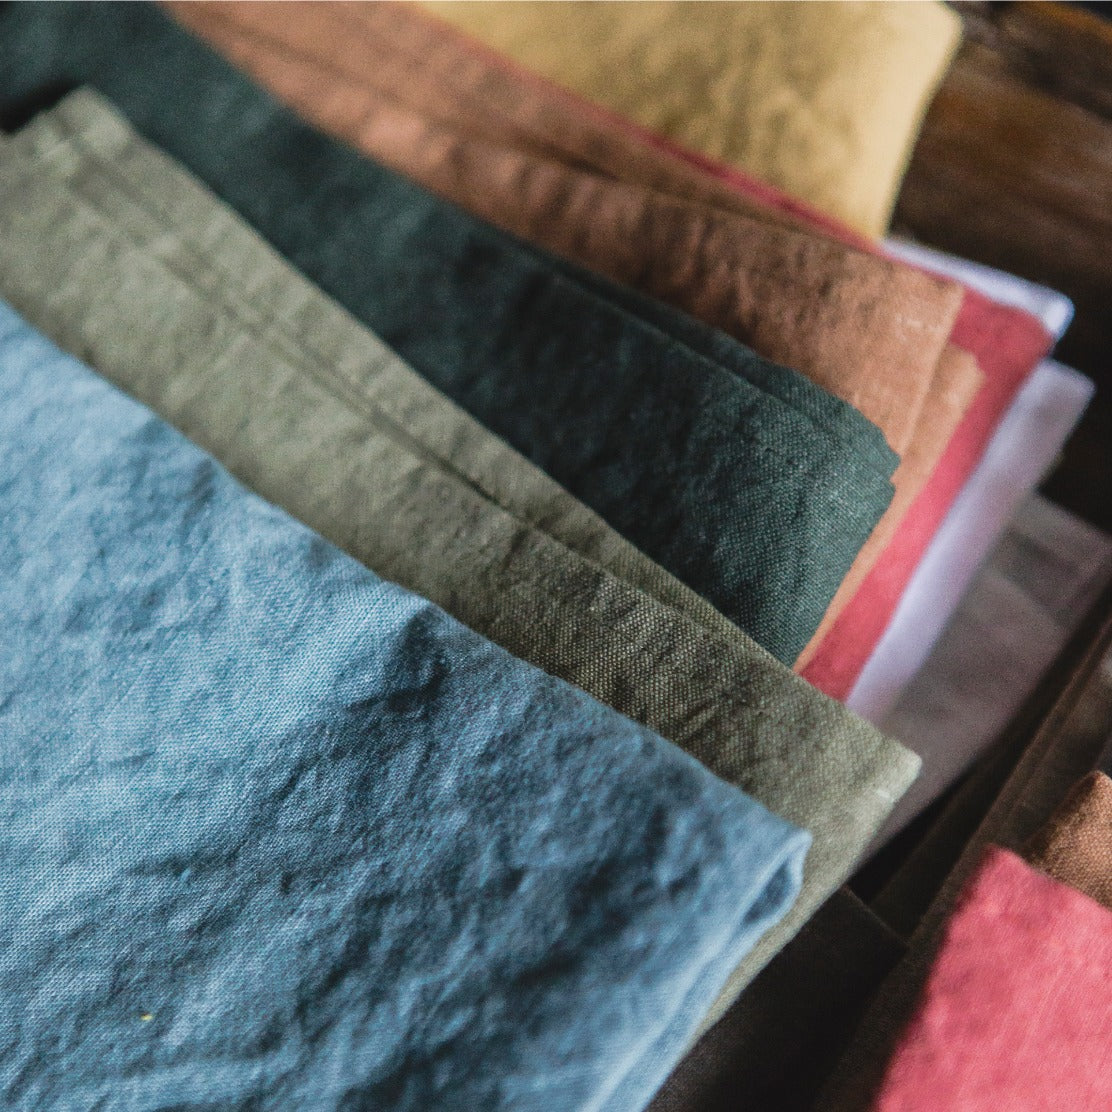
- Demanding fabric. Leather, velvet, silk, and large repeats require control that goes beyond basic fastening.
- Complex shapes. Tight channels, sculpted arms, deep curves, and fitted backs magnify small errors.
- Large-format statement pieces. Premium sectionals and luxury sofas have too much visible real estate for trial-and-error work.
For Atlanta, Buckhead, Roswell, Sandy Springs, and surrounding homeowners, that's often the line between a satisfying DIY chair seat and a project that belongs on a professional bench. Homeowners comparing options can review upholstery services in Atlanta to get a sense of what's available locally.
A wise off-ramp protects the investment
There's no defeat in handing off the hard jobs. In many cases, it's the most design-savvy decision you can make. A luxury home furnishings budget should protect craftsmanship, not gamble with it.
If you want to source upholstery fabric or arrange reupholstery through one local option, Lewis and Sheron Textiles offers upholstery fabrics and reupholstery services in Atlanta. That can be useful when you've decided the piece deserves professional handling rather than a home-workshop experiment.
The smartest DIYers know when to keep going and when to stop. On an accent chair, you can learn. On an heirloom sofa, you protect the asset.
If you're weighing whether to refresh a cherished chair yourself or hand off a valuable sofa to a professional, Lewis and Sheron Textiles can help you evaluate the piece, select upholstery fabric, and decide on a practical next step for your home in Atlanta, Buckhead, Alpharetta, Roswell, Sandy Springs, or the surrounding area.