


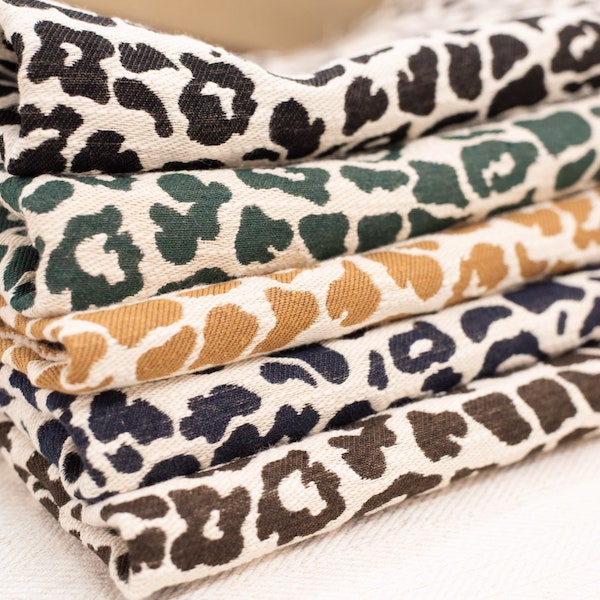


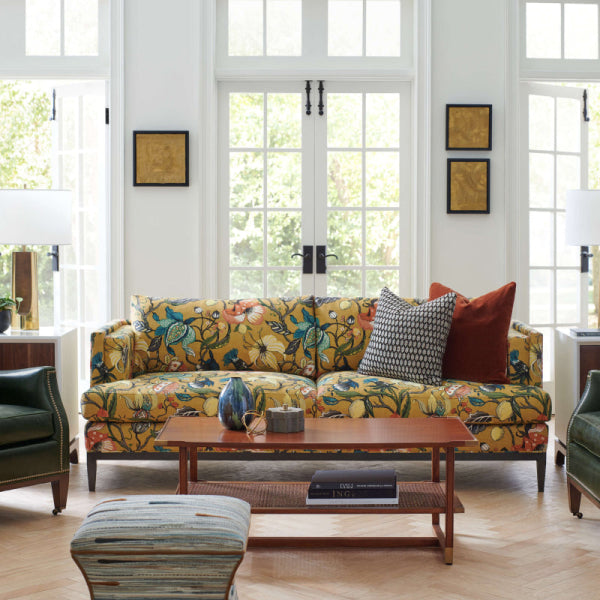


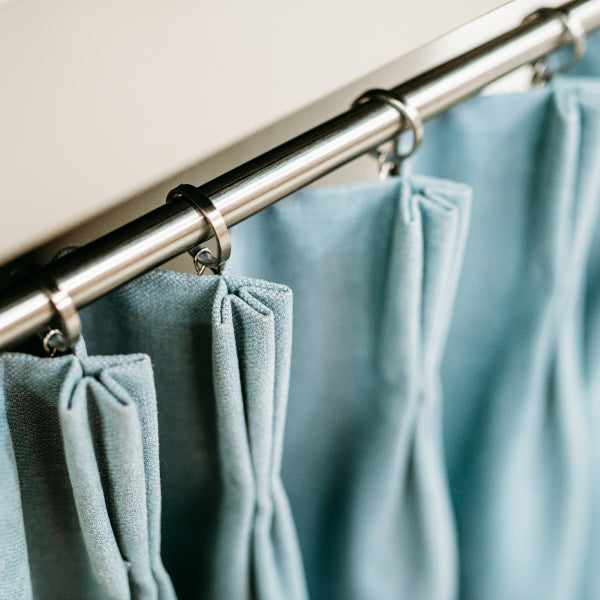


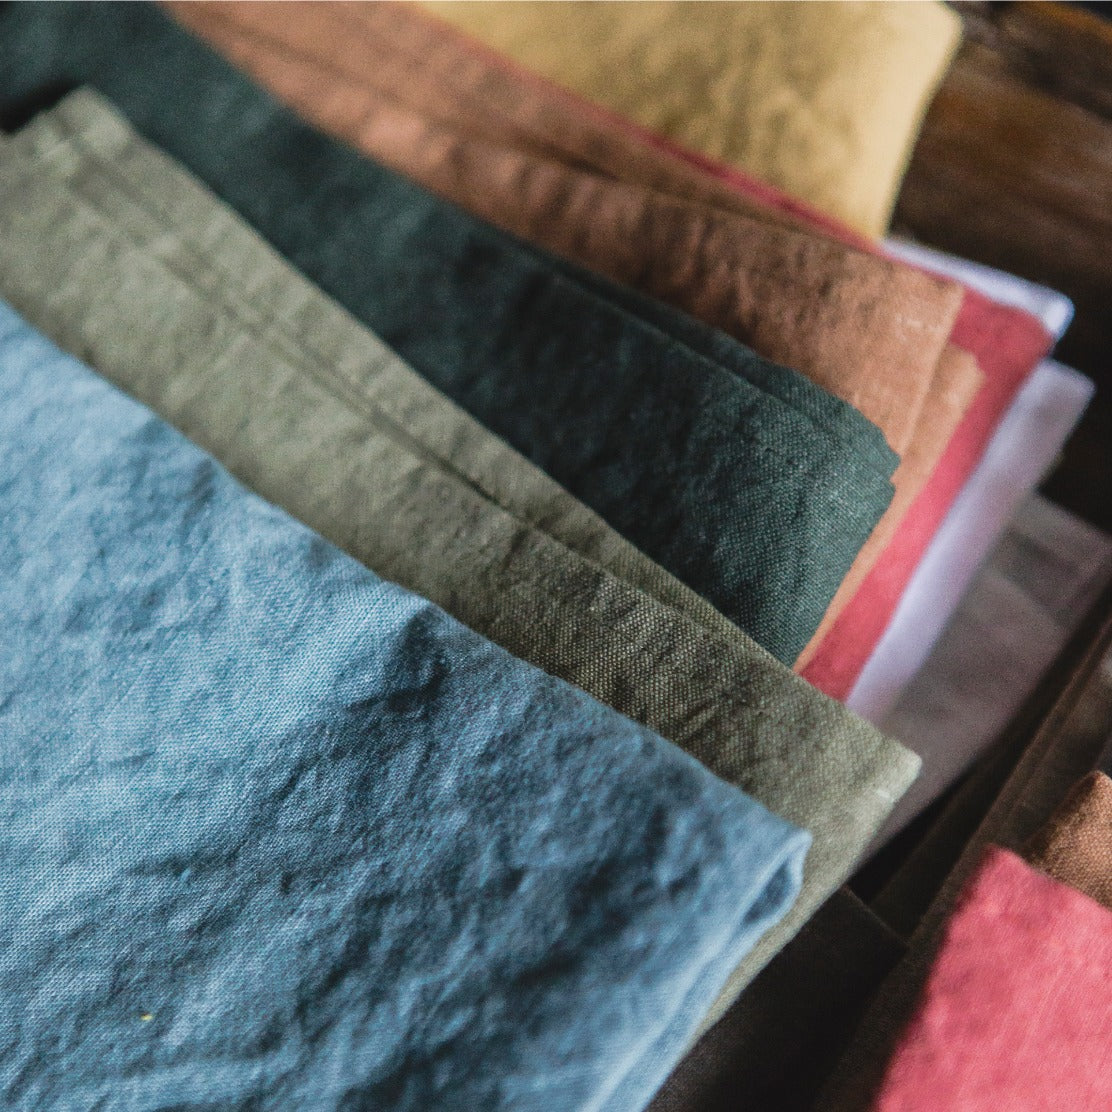


So, you’ve found the perfect fabric for that Wesley Hall sofa or have a treasured family heirloom ready for a new life. Gorgeous. Before you make the first cut, there’s one step that separates a stunning, professional result from a costly, frustrating mistake: getting your measurements right.
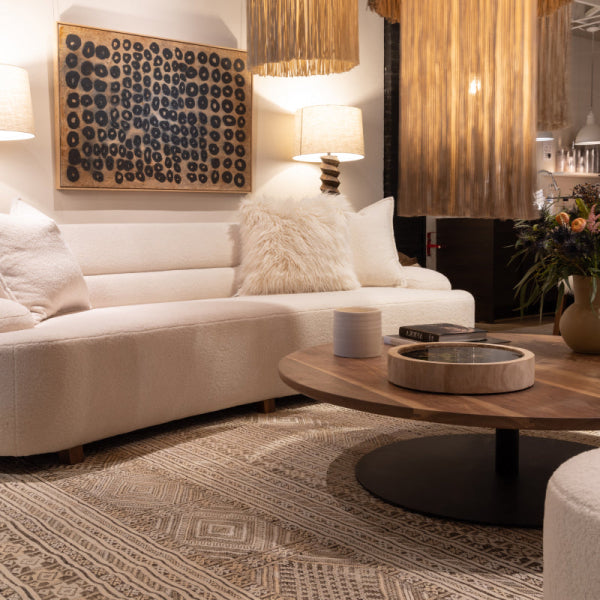
This isn’t about complicated math. It’s about adopting the same methodical approach that Atlanta's top interior designers use. Forget ‘eyeballing it’—that’s the fastest way to run short on a breathtaking textile. Precision is what lays the groundwork for a flawless finish, the kind you’d admire on a new Verellen frame or an Ambella accent chair in our Buckhead showroom.
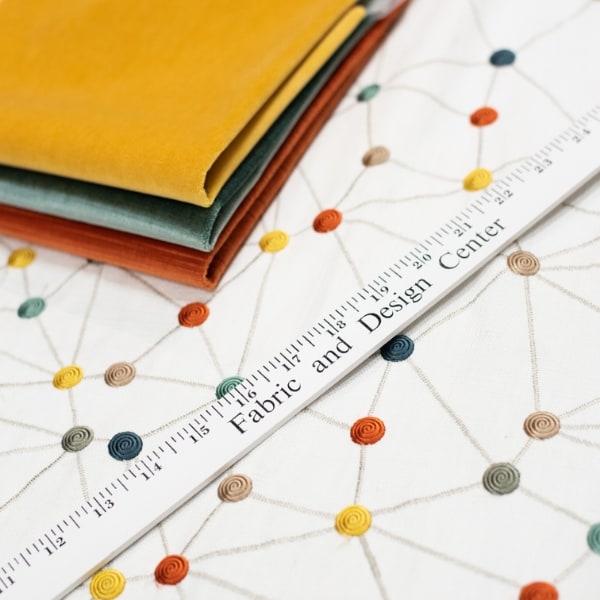
Gathering Your Toolkit for Measurement
Before you even unroll that beautiful fabric, the first step is to gather a few simple essentials. Think of this as your mise en place for upholstery. A little prep work here saves you from major headaches down the road.
Getting your tools in order is the first real step toward a professional-looking project. Here are the non-negotiables we have on hand for every job.
| Tool | Why You Need It | Pro Tip |
|---|---|---|
| Flexible Tape Measure | A soft, flexible tape is the only way to accurately measure the curves, corners, and contours of furniture. A rigid metal one just won't work. | Always measure twice! It’s the oldest rule in the book for a reason and can save you from a costly mis-cut on an exclusive fabric. |
| Notepad & Pen | Don't try to keep the numbers in your head. Sketch a simple diagram of your furniture piece and label each section with its measurement. | We draw a quick "exploded" view of the piece, showing each fabric panel separately. It makes visualizing the final cuts so much easier. |
| Calculator | For quickly adding up your dimensions and calculating the final yardage needed. Your phone's calculator works perfectly fine. | Use it to add your buffer. This is where you'll add percentages for seams, pattern matching, and tuck-ins. Don't skip it. |
With these items in hand, you're not just measuring; you're creating a detailed blueprint for success. A quick sketch of your Lee Industries chair, with every panel clearly labeled, becomes your roadmap.
One of the most critical parts of that blueprint is understanding fabric width. The industry standard, established after World War II, completely changed how designers and upholsterers calculate yardage.
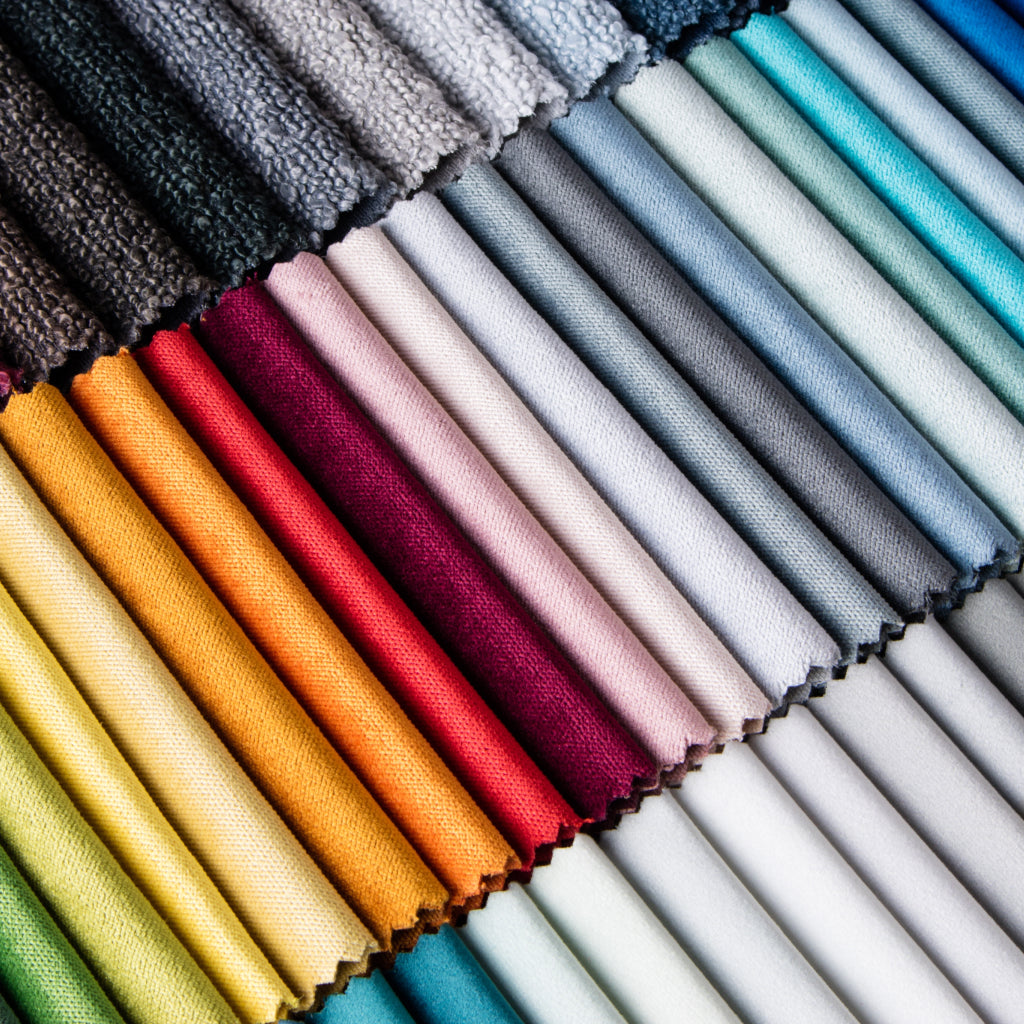
As American mills ramped up production for the booming post-war home furnishings market, a standard was set. Did you know that since the mid-20th century, most upholstery fabrics in the U.S. come in a standard width of 54 inches? This specific dimension allows for incredibly efficient cutting layouts, often minimizing waste by 20-30% compared to narrower bolts. You can find more professional insights on how fabric width impacts your yardage estimates online.
Whether you're a designer working on a project in Alpharetta or a homeowner tackling a piece in East Cobb, knowing this is fundamental. It means you can walk into our Atlanta fabric showroom, fall in love with an exclusive textile, and confidently calculate exactly how much you need. Consider this your first lesson from the experts who have dressed Atlanta's finest homes for generations.
How to Measure Different Types of Furniture
Every piece of furniture has its own personality, doesn't it? Measuring a sleek, modern chair is a world away from tackling a deep, plush sofa with all its curves and cushions. This is where the real work begins—the detailed measuring that makes or breaks a luxury upholstery project.
Let's get into the specifics for the most common furniture types we see, whether it's for a designer's client in Milton or a home project in Marietta. We’ll cover exactly where to place your tape measure to account for every single nuance.
Mastering the Armchair Measurement
We'll start with a classic: the armchair. Whether it’s a cozy club chair or an elegant wingback, the secret is to see it as a collection of smaller, individual surfaces. Don't try to measure it all at once.
For each part you measure, always add at least four inches to both the length and width. This extra fabric is your safety net for wrapping, pulling, and stapling. Trust us, it’s a buffer you’ll be thankful for.
Here’s how we break down an armchair:
- Inside Back: Measure from the very top of the chair down to where the seat cushion begins.
- Outside Back: Run your tape from that same top edge all the way down to the floor or the bottom of the frame.
- Seat Deck: This is the part under the cushion. Measure it at its widest and deepest points.
- Arms: This one can be tricky. Start on the inside where the seat deck ends, go up and over the arm, and continue down the outside to the bottom edge. Don't forget the front panel of the arm—it’s its own separate piece!
- Cushions: Measure the top, bottom, and all four sides of the "boxing" (the side panels) as separate pieces.
Following this method ensures you account for every inch of that beautiful designer fabric you found in our Atlanta fabric showroom, leaving absolutely no room for error.

This simple roadmap—gather, plan, measure—is the same process our own team uses for every custom upholstery job. It’s all about methodical preparation.
Tackling Sofas and Loveseats
Sofas and loveseats follow the same piece-by-piece logic as armchairs, just on a much larger scale. The key here is consistency. Once you measure one side, you have the blueprint for the other.
For a great starting point, you can consult a detailed guide to dimensions for various types of couches which covers everything from loveseats to corner sectionals. But these guides are just a starting point. Nothing replaces measuring your specific piece with your own tape measure.
Your list of sofa components will be longer, but manageable:
- Inside and outside back panels
- Inside and outside arm panels
- The front-facing arm panels
- The entire seat deck
- A front skirt or border panel that sits below the cushions
- Each seat and back cushion, measured individually
A little tip from our years of experience in the Buckhead showroom: Always measure at the absolute widest, longest, and deepest points of any section. Don't pull the tape measure tight across curves; let it follow the natural contour of the furniture. This is how you get enough fabric for a perfectly smooth, tailored fit without any pulling.
Upholstery Yardage Quick Reference Chart
To give you a rough idea before you measure, here’s a quick-glance chart. These estimates are based on a standard, 54-inch solid fabric and have been the industry benchmark for decades.
| Furniture Type | Estimated Plain Fabric (Yards) | Add for Patterned Fabric (Yards) |
|---|---|---|
| Standard Club Chair | 7 - 9 | 2 - 3 |
| Wingback Chair | 8 - 10 | 2 - 3 |
| Small Loveseat | 10 - 14 | 3 - 4 |
| Standard Sofa (3-Seater) | 16 - 20 | 4 - 6 |
| Large Sectional Sofa | 30 - 40 | 8 - 12 |
| Standard Ottoman | 3 - 5 | 1 - 2 |
Remember, these are just estimates! A tight-back sofa might only need 12-16 yards, but a sofa with multiple loose cushions can easily jump to 18-22 yards. This is why you must measure your own piece for true accuracy.
The Simple but Crucial Ottoman
Don't let the simple shape of an ottoman fool you. While it seems straightforward, forgetting one measurement here can be just as frustrating as on a massive sectional. Think of it as a simple box.
First, measure the length and width of the top surface.
Next, tackle the sides. Measure the height and then the full perimeter (all four sides added together). This gives you the measurement for a single long strip of fabric for the boxing—much more efficient.
Finally, if your design includes welting or piping, measure the perimeter of the top edge and the bottom edge, then add those two numbers together for your total.
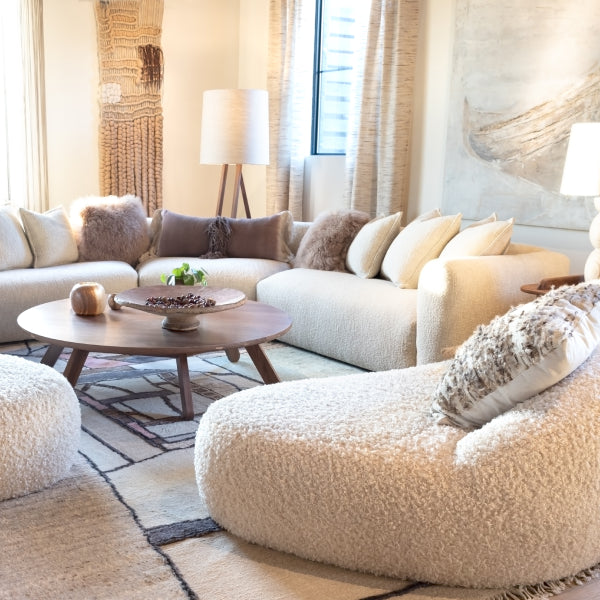
This methodical approach is the secret to avoiding that mid-project panic when you realize you're just a few inches short. With these skills, you can confidently measure any piece with the precision of a seasoned pro, whether it's an Ambella Home ottoman or a grand Verellen sofa. This is how Atlanta's finest custom upholstery projects always begin.
Alright, you've got your measurements. Now what? This is where we translate those raw numbers into a real-world fabric order. It's more art than simple math, and it's the skill that gives designers from Roswell to Forsyth County their confident edge.
This part is all about the details—the little things that can make a huge difference in your final yardage. We'll walk through the factors that matter most, so you can order from our Atlanta fabric showroom with total precision.

Decoding Fabric Repeat
First up: fabric repeat. This is probably the most critical—and most frequently forgotten—detail in custom upholstery. The repeat is simply the vertical distance on a bolt of fabric before the pattern starts all over again.
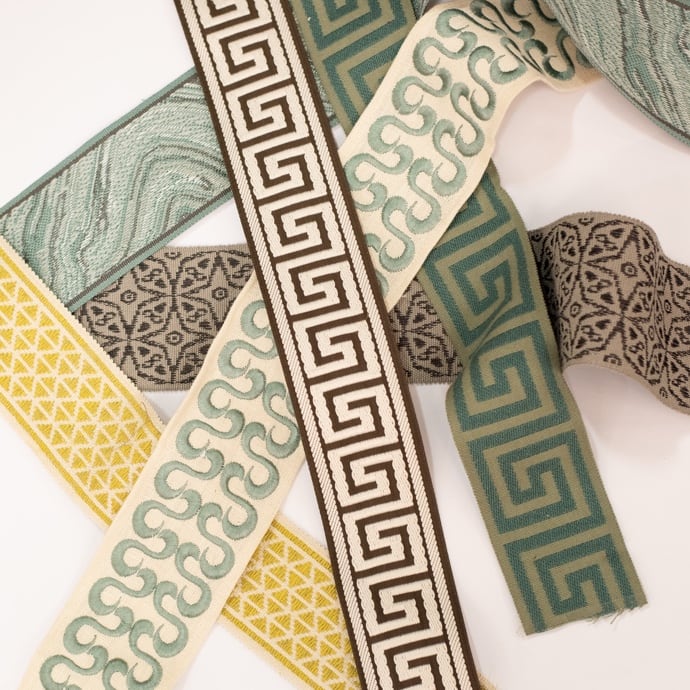
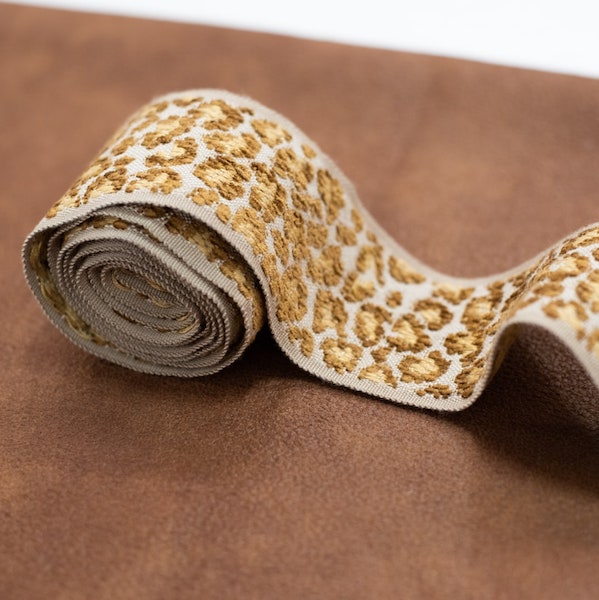
Why does this matter? A solid linen has zero repeat, letting you cut pieces right next to each other with little waste. But a big, beautiful floral from one of our designer fabric collections with a 27-inch repeat? That requires a lot more strategy to make sure the pattern flows perfectly across your Wesley Hall sofa.
You can't just butt pattern pieces together. You have to account for the repeat to ensure the motif lines up on every single cushion and panel. For these larger patterns, it’s common to need 20-30% more fabric just to accommodate the matching process.
The Nuance of Nap and Directionality
Next, let’s talk about nap. This is the term for the direction of fibers in fabrics like velvet, chenille, or suede. If you've ever run your hand one way on velvet and it feels smooth, then the other way and it feels rough, you've felt the nap.
When you're cutting fabric with a nap, every single piece must be laid out in the same direction. It might be tempting to flip a piece upside down to squeeze it in and save fabric, but it will be immediately obvious on the finished piece. The light will hit it differently, creating a jarring, disjointed look.
This rule is non-negotiable for luxury furniture projects. For a designer in Buckhead crafting a custom piece, ensuring the nap on a plush velvet flows consistently is the mark of true craftsmanship. Always orient your patterns so the nap runs down the back of the furniture and from the back to the front of the seat cushions.
Adding the Essential Buffer
After you’ve planned for repeats and nap, it’s time to add a buffer. Please, never order the exact amount your measurements suggest. A professional upholsterer always builds in extra yardage for a few key reasons:
- Seams and Welting: Every seam needs an allowance, usually a half-inch on each side. If you want to add welting (that classic piping), you’ll need to cut long strips on the bias, which eats up more fabric than you’d think.
- Tuck-ins: To get that taut, tailored finish you see on Lee Industries chairs, you need several extra inches of fabric to pull, stretch, and tuck securely into the frame.
- Contingency: Mistakes happen. A slip of the scissors is always possible. Having an extra yard or two on hand is much better than discovering your dream fabric is now sold out.
As a solid rule of thumb, add at least 15% extra fabric for solid colors. For large, complex patterns, that number should be closer to 30%. This buffer is your project's insurance policy.
The Final Calculation Formula
Ready to put it all together? Here’s a simplified way to get your final number.
- List All Pieces: Write down every piece you measured, along with its length and width (including that 4-inch buffer for wrapping).
- Calculate Square Inches: Multiply the length by the width for each piece to find its total square inches.
- Sum It All Up: Add the square inches of all your pieces together. This is your project's total fabric need in square inches.
- Convert to Square Yards: There are 1,296 square inches in one square yard. Divide your total square inches by 1,296.
- Account for Fabric Width: This is the last, crucial step. Standard upholstery fabric comes 54 inches wide (1.5 yards). To get your final linear yardage, simply divide your total square yards by 1.5.
Example Calculation: Let's say your project requires a total of 23,328 square inches of fabric.
- 23,328 sq. in. ÷ 1,296 = 18 square yards
- 18 sq. yards ÷ 1.5 (for the 54" bolt width) = 12 linear yards
Now, let's add that buffer for a large, repeating pattern. We'll add 30%.
- 12 yards x 0.30 = 3.6 yards
- Total Order: 12 + 3.6 = 15.6 yards. Always round up, so you’ll order 16 yards.
This methodical process takes the guesswork out of the equation. You can walk into our Buckhead showroom, fall in love with one of our exquisite designer fabrics, and know you’re ordering the right amount. If you want to brush up on the basics, our guide on how to buy fabric by the yard offers even more foundational tips.
The Art of Calculating Cushions Accurately
Cushions look simple, but don't let their straightforward appearance fool you. They are hands-down the number one spot where yardage estimates go completely off the rails. It’s best to think of them as a project-within-a-project, where each one needs its own careful calculation.
Getting this measurement right is the signature of a savvy designer and a discerning homeowner. It's what separates a perfectly tailored Wesley Hall sofa from a project that’s stalled by a frustrating fabric shortage. Whether you're refreshing cushions on a family heirloom or creating custom pillows for a new Ambella piece, this is a skill you absolutely need.

Let’s break down the most common cushion styles you'll run into.
Measuring for Box Cushions
This is your quintessential sofa cushion: a top piece, a bottom piece, and four side panels that create that familiar "boxed" shape. It’s the most common style you’ll find on luxury furniture, from Lee Industries chairs to grand sectionals.
Here’s our no-fail method for getting it right every time:
- Top and Bottom Panels: Measure the cushion's width and length at their absolute widest points. Now, add one inch to each measurement for a half-inch seam allowance on each side. You'll need two of these identical pieces.
- Side Panels (The Boxing): Measure the height (or thickness) of the cushion and the entire perimeter (width + width + length + length). This gives you the dimensions for one long strip of fabric that will wrap around the sides. Just remember to add one inch to the height for the seams.
- Zipper Panel: Most box cushions hide a zipper on the back boxing panel. To make room for it, you'll cut that back boxing strip in half lengthwise. Then, add an extra inch of width to each of those new halves for the zipper seam allowance.
It may seem meticulous, but this process is your best defense against costly mistakes. Calculating cushion yardage correctly can save you up to 25% on premium textiles by mapping out your cuts efficiently on a 54-inch bolt of fabric.
Tackling Knife-Edge and T-Cushions
Knife-edge cushions are simpler, tapering to a single seam all the way around, much like a throw pillow. T-cushions are the ones you see wrapping around the front of the sofa arms, forming a distinct "T" shape.
- Knife-Edge Cushions: These are a breeze. Just measure the length and width, add your one-inch seam allowance to both dimensions, and cut two identical pieces. Done.
- T-Cushions: These require more attention. The best practice here is to create a paper template by tracing the cushion's exact shape. You'll use that template to cut your fabric, ensuring a perfect fit.
A pro tip from our Buckhead showroom team: Always, always double-check your measurements, especially with T-cushions. The unique shape can be deceiving, and it’s far better to have a paper template you’re confident in before you ever take scissors to that exquisite designer fabric.
A Real-World Example
Let's walk through the math for one standard box cushion that is 24" wide, 26" long, and 5" high.
-
Top/Bottom Pieces:
- Width: 24" + 1" (seam allowance) = 25"
- Length: 26" + 1" (seam allowance) = 27"
- You need two pieces cut to 25" x 27".
-
Boxing Strip:
- Height: 5" + 1" (seam allowance) = 6"
- Perimeter: 24" + 24" + 26" + 26" = 100"
- You need one piece cut to 6" x 100".
This is your exact blueprint for one cushion. From here, you can figure out how many of these pieces will fit across the width of your 54" fabric bolt to determine the final yardage.
And if you're making decorative pillows to match, don't forget to check our detailed pillow insert size guide to get that perfect plumpness and professional finish.
Common Measuring Mistakes to Avoid
Even the most seasoned designers in Atlanta can stumble into a few common traps when measuring for a project. After decades in our showroom, we've seen it all. Think of this as your pre-flight checklist—the insider knowledge that ensures a smooth upholstery journey.
This isn't meant to scare you. It’s about sharing foresight that only comes from years of experience. Knowing these pitfalls helps guarantee your investment in a beautiful fabric pays off, turning a good project into a truly exquisite one.
Forgetting the 'Invisible' Pieces
One of the easiest mistakes? Forgetting to measure the parts of the furniture you don't typically see. Out of sight, out of mind—but not for a professional finish.
These "invisible" pieces are critical:
- Decking Fabric: The material hiding beneath your seat cushions. You can use a less expensive, plain fabric here, but it still needs to be measured.
- Arm Panels & Inside Backs: These are distinct sections that demand their own measurements. Simply measuring the overall width and height of a chair just won't cut it.
- Outside Backs and Skirts: These elements give a piece its tailored, complete look. Forgetting to measure for a skirt panel can completely derail the design you envisioned for that gorgeous Wesley Hall sofa.
It's a classic rookie error. You get so focused on the main cushions that you miss the foundational elements holding the whole look together.
Miscalculating Pattern Direction and Repeats
This one can cost you the most, both in money and in heartache. You've fallen in love with a stunning patterned fabric—a bold floral or a classic stripe—but you've calculated your yardage as if it were a simple solid color.
Here’s the hard truth: patterns require more fabric. You can't just slice up pieces to fit. They have to be perfectly aligned to create that seamless, uninterrupted flow. A misaligned pattern on a high-end Lee Industries chair is a dead giveaway of an amateur job.
The most common pitfall we see is choosing a 'railroaded' fabric without adjusting the math. Railroaded fabrics run the pattern sideways along the bolt. While fantastic for creating seamless sofa backs, it completely changes how you must cut your pieces. Always check the fabric’s orientation before you calculate.
Trusting Old Labels and Rounding Down
Did you find a yardage estimate on an old tag still attached to the furniture? Just ignore it. That number is almost certainly outdated and doesn't account for the specific designer fabric you’ve chosen, especially if it has a large pattern repeat or a distinct nap.
Likewise, resist the siren song of rounding down your final yardage calculation. If your math comes out to 11.4 yards, do not order 11. Always round up to the next full yard—in this case, 12 yards.
That little bit of extra is your insurance policy. It protects you against a slight mis-cut, a tricky curve, or the dreaded discovery that your fabric is now out of stock. With our luxury fabrics, being a few inches short can mean starting all over again.
Speaking of units, if you've ever wondered about the difference between imperial and metric systems in textiles, you can clarify if meters and yards are the same with our handy guide. It’s a small detail that can make a big difference, especially when sourcing fine fabrics for an Atlanta interior design project.
When to Call a Professional
There's a special pride that comes from a DIY project you’ve absolutely nailed. But there are times when a project's complexity, the value of your chosen fabric, or just the need for a flawless finish calls for a professional's touch.
Knowing when to step back isn’t admitting defeat—it’s the smartest move you can make. It’s the best insurance policy for your project, protecting your investment in both the furniture and the fabric to guarantee a perfect result.
The Complexity Conundrum
Some pieces of furniture are just…tricky. If you’re staring down one of these, it’s a good sign to call for backup.
- Intricate Antiques: That beautiful tufted Victorian settee or a classic channel-back chair requires a very specific skillset. Taking them apart and putting them back together without damaging the frame or losing the original shape is an art form.
- Large-Scale Sectionals: The sheer size and number of cushions in a modern sectional can be overwhelming. Getting every cushion to align and every seam to match perfectly across multiple huge pieces is a job for a seasoned team.
- Challenging Fabric: Planning a project with a large-repeat velvet for that perfect touch of luxury furniture Atlanta style? Matching a complex pattern across curves is one of the toughest challenges in upholstery. One wrong cut can throw off the entire piece.
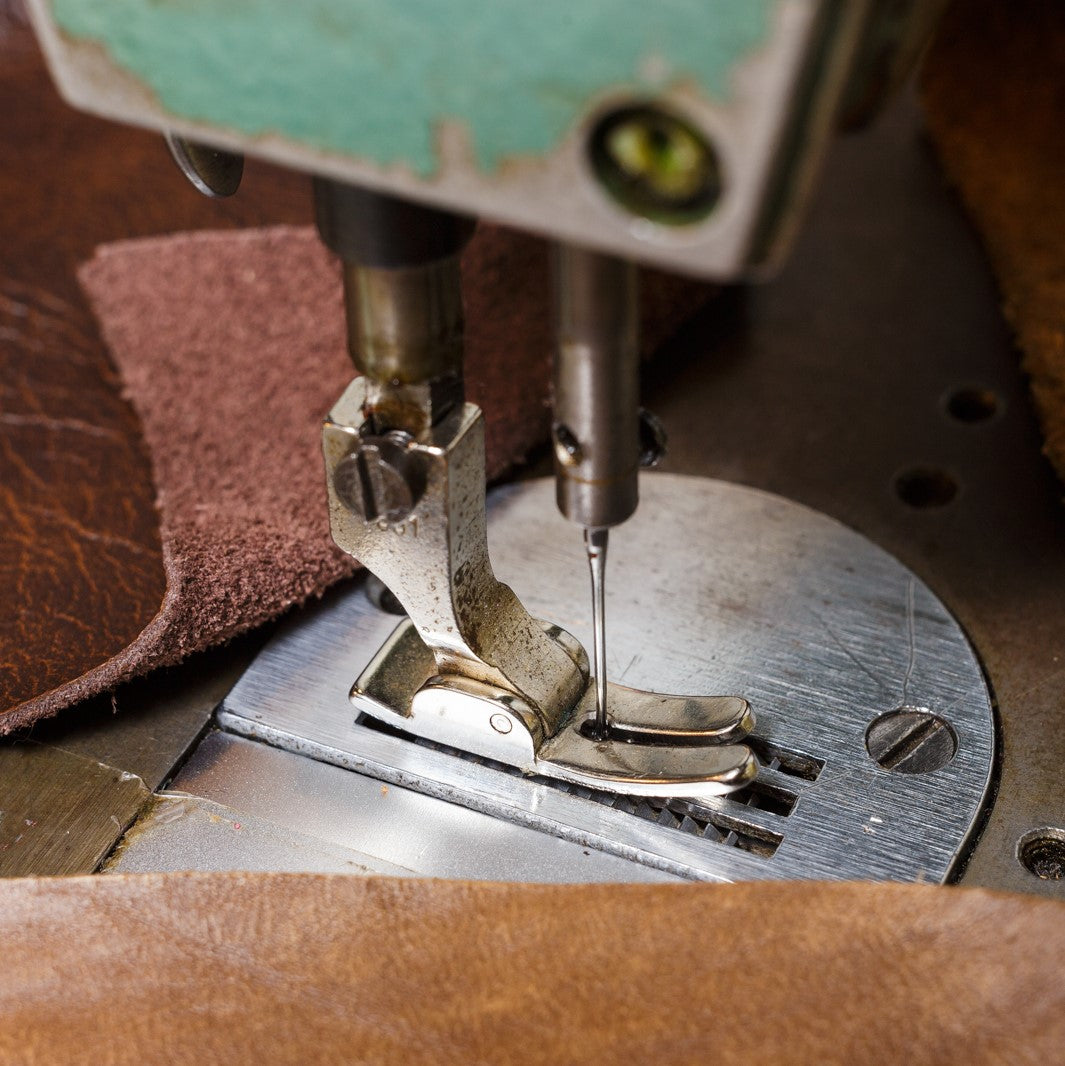
In these situations, the hands-on expertise of a professional upholsterer—like the artisans at our Lewis and Sheron facility—is what ensures the integrity of your Verellen furniture or Lee Industries chairs is honored.
For the Discerning Designer
We know that for our Atlanta interior design partners, time is the most precious commodity. Using our expert services is about more than outsourcing a task; it's about making your entire workflow more efficient.
Interior designers in our Lewis and Sheron Trade Program get this. By trusting our team with the nitty-gritty of measuring and upholstery for your clients in Roswell or Alpharetta, you get to focus on the big picture: perfecting the overall vision, managing your clients, and sourcing that next amazing piece.
Think of us as an extension of your own team. We handle the meticulous details of custom upholstery with the precision your clients demand. This partnership means you can confidently specify even the most ambitious fabrics from our collection, knowing the final execution will be impeccable. We make sure the finished product lives up to the quality of premium lines like Wesley Hall sofas and Ambella furniture.
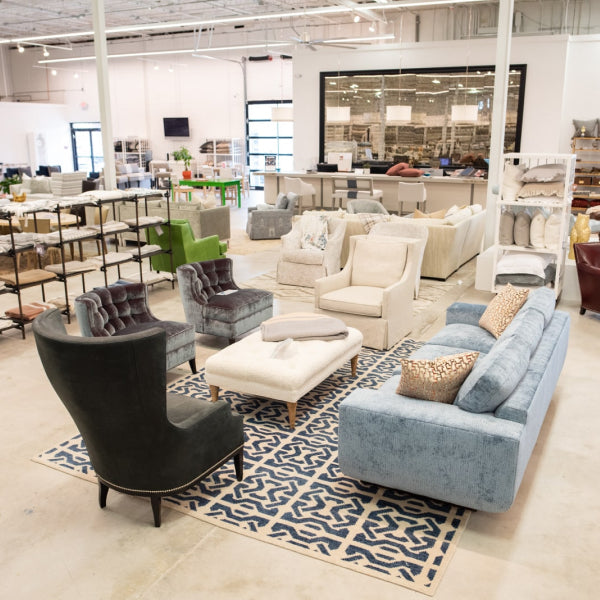
A visit to our Buckhead showroom is more than just a chance to browse the finest fabrics Alpharetta has to offer. It's your access pass to four generations of hands-on expertise. Whether you're a homeowner tackling a special project or a designer orchestrating a full-scale installation, our team is here to be your ultimate resource. We’re dedicated to ensuring the final result is nothing short of breathtaking.
Ready to bring your vision to life with unparalleled craftsmanship? From sourcing the perfect designer fabrics to flawless custom upholstery, the experts at Lewis and Sheron Textiles are here to help. Explore our services and visit our Atlanta showroom today.