


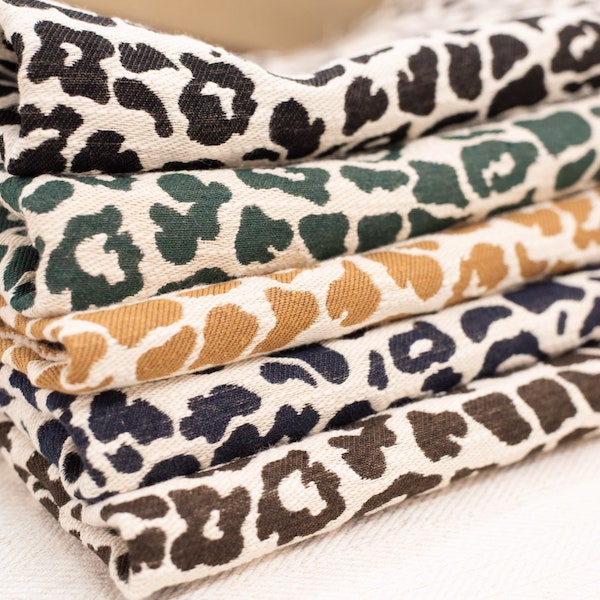
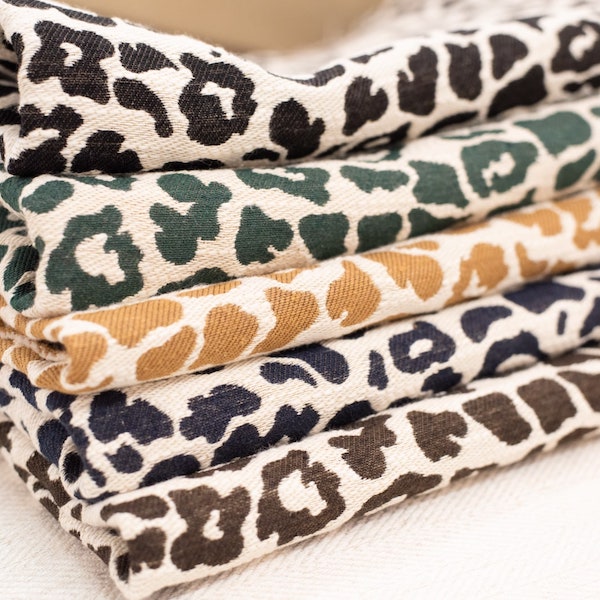
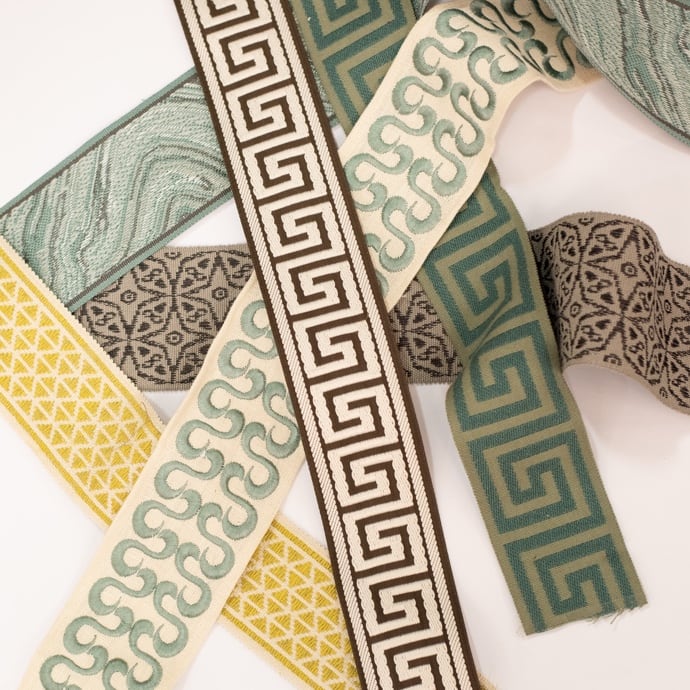

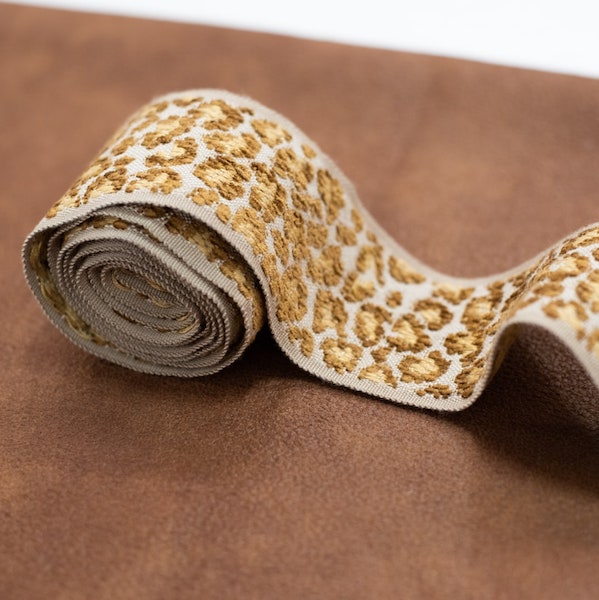















You've chosen the fabric. The color is right, the hand is rich, and the panels feel substantial in a way off-the-shelf curtains never do. Then the boxes sit on the floor for days because the hard part isn't picking beautiful drapery. It's hanging it without ending up with a bowed rod, loose brackets, or a finish that looks improvised instead of professional.
That hesitation is justified. Heavy custom drapes, especially velvet, interlined linen, or fully lined panels made for designer homes in Atlanta, Buckhead, Alpharetta, Roswell, and Sandy Springs, ask much more of the hardware and the installer than standard curtains do. In rooms layered with luxury home furnishings, designer furniture, custom upholstered furniture, and other statement furniture pieces, weak installation stands out immediately. A poor drapery install can cheapen a room faster than the wrong coffee table or an undersized rug.
In high-consideration interiors, details matter. The same buyers comparing high-end furniture, luxury sofas, premium sectionals, high-quality couches, and custom chairs usually want drapery that performs like the rest of the room: precisely crafted, durable, and worthy of a long-term investment. That means treating heavy drapes as a structural project, not a styling shortcut.
Beyond the Basics of Hanging Curtains
Most curtain advice is written for lightweight panels. It assumes the rod in the package is enough, the supplied anchors will do, and “heavy-duty” is a meaningful specification. It isn't.
Effectively hanging heavy drapes comes down to math and material choice. One of the biggest gaps in common advice is the missing consideration for the load rating your rod needs, which is the simple formula of dividing total drape weight by rod width. That gap matters in Atlanta homes where dense fabrics from mills such as Kravet or P. Kaufmann often exceed what standard hardware can carry, as noted in this discussion of heavy curtain hardware limits.
Why luxury drapery fails when the hardware is generic
Dense velvet and lined Belgian linen don't fail because they're too luxurious. They fail because installers treat them like commodity curtains. In a room with heirloom-quality furniture, custom upholstery, and layered textiles, the drapery needs the same level of planning as a custom sofa frame or a hand-finished dining table.
A heavy panel creates stress in three places:
- At the rod: If the diameter or material is too light, the rod bows.
- At the brackets: If spacing is too wide, the load concentrates in the middle.
- At the wall: If the anchor strategy doesn't match the wall construction, the bracket loosens over time.
Heavy drapes don't forgive guesswork. They expose it.
What an heirloom-quality result actually requires
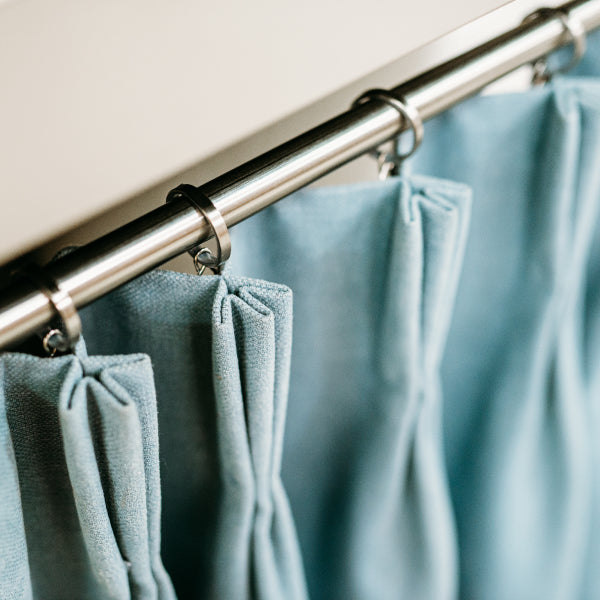
A polished installation isn't just about keeping the rod on the wall. It's about preserving the drape's architecture. Pleats should fall evenly. The leading edge should return neatly to the wall. The rod should disappear as a structural concern and read as a design choice.
That's the same standard clients expect when they shop for custom furniture Atlanta, search for designer furniture near me, or compare what makes furniture designer quality in North Atlanta and Fulton County. Long-term value comes from construction, not from appearance alone.
If you want drapery that looks at home next to heirloom-quality furniture, build it the same way. Start with the load. Then choose the hardware. Then install for permanence.
Preparing for a Flawless Installation
A designer velvet panel can look perfect on the worktable and still fail on the wall if the prep is casual. In Atlanta homes with tall ceilings, wide casings, and heavier custom textiles, the installation plan has to start with math, wall construction, and fabric behavior together.

Calculate the real load before you buy a single bracket
For luxury drapery, fabric weight alone is not enough. Interlining, blackout lining, buckram, rings, pins, and traversing hardware all add load, and that load changes how the panel stacks, how the pleats hold, and how much stress the mounting points take over time.
I measure the problem in two ways. First, total panel weight. Second, weight across the span. A long wall with wide returns may carry the same fabric yardage as a narrower opening with fuller panels, but the support demands are different once that weight is distributed across the rod.
Use this prep order:
- Assemble the specification on paper first. Include face fabric, lining, interlining, header style, finished length, fullness, and hardware type.
- Estimate or weigh the finished panels and hardware together. The finished assembly is the number that matters.
- Confirm the installed width of the rod or track. Include returns and any overlap.
- Compare the load to the span. Heavier fabrics over longer widths usually need more support points and less tolerance for decorative hardware.
- Check stack-back before drilling. Dense velvet and interlined linen need more room off the glass than many homeowners expect.
That last point gets missed all the time. A beautiful drape can still crowd the window if the stack-back was not calculated early.
For the proportion side of the plan, accurate field dimensions matter just as much as weight calculations. Lewis and Sheron clients often start with a precise measuring worksheet like this guide on how to measure windows for curtains, then refine for returns, puddle, or float based on the fabric and room.
Account for fullness, header style, and fabric memory
Heavy drapes do not behave like off-the-shelf panels. A soft Belgian linen with interlining breaks differently from a dense cotton velvet, even at the same finished length. Pleated headings also change the load pattern because the weight is concentrated at fixed suspension points instead of spread evenly across a pocket or grommet top.
Craftsmanship is key. If the fabric has body and memory, I allow for enough fullness to keep the pleats shaped without forcing the panel to fight the hardware. If the panel is too full for the span, the stack becomes bulky and the leading edge never sits cleanly. If the panel is too flat, expensive fabric looks underdressed.
Find solid structure before you mark the final height
Bracket placement has to respect the room's proportions, but the wall still decides what is possible. Studs, headers, masonry, plaster, and drywall all need different fastening strategies. Guessing here is how brackets work loose, especially in rooms where panels are opened and closed every day.
Use a stud finder, confirm by measurement, and inspect the wall material before drilling. For tool selection and cleaner pilot holes, the expert advice from Value Tools Co is a practical reference, especially if you are matching bit choice and drill power to wood framing, plaster, or masonry conditions.
If the best visual placement does not line up with framing, change the anchoring method with intention. Do not slide the whole treatment into a weaker position just because it is easier to hit a stud.
Set the visual line with the finished drape in mind
High-end installation depends on more than getting the rod level. The top line should support the room's architecture, the bottom line should finish with control, and the panel should clear the glass when open without exposing awkward gaps at the return.
For heirloom-quality work, I check four things before any fastener goes in:
- Mounting height
- Return depth
- Stack-back width
- Finished break, float, or puddle
Those choices are connected. Raise the rod too high without adjusting finished length and the panel hovers. Ignore return depth and side light leaks in. Underestimate stack-back and the drape blocks the trim when open.
Good preparation prevents all three problems.
Choosing the Right Drapery Hardware
A 12-foot wall with interlined velvet can defeat attractive hardware in a matter of months. The rod starts with a slight bow, the leading edge drags, and the pleats no longer stack cleanly. That failure usually starts with the wrong diameter, the wrong material, or too much unsupported span.

Rod diameter, material, and span
For luxury-weight drapery, hardware selection is part math and part material science. A lined linen panel behaves differently from an interlined cotton velvet, even at the same finished width. Velvet carries more dead load. Interlining adds bulk, friction, and stack depth. Rings and carriers add their own weight. On a wide Atlanta window, those small additions become the reason a rod performs well or sags.
I specify the rod by span first, then by drapery weight, then by how the treatment needs to operate. Decorative hollow rods often look substantial but deflect more easily than solid steel or a well-built traverse system. Wood poles can be beautiful in the right room, but I avoid them for long spans unless the diameter and support plan are generous enough to control bowing over time.
A simple rule helps: as span, fabric density, and fullness go up, rod stiffness has to go up with them. If you want a practical reference for rod layout and support planning, Lewis and Sheron's guide to how to install curtain rods for a clean, durable setup is a good companion to the measuring work already done.
Choose hardware by performance, not catalog photos
Heavy drapery needs hardware that matches the job:
| Hardware choice | Best use | Trade-off to plan for |
|---|---|---|
| Decorative metal rod | Visible hardware in formal or transitional rooms | Needs enough diameter and support to stay straight under dense fabric |
| Traverse rod system | Wide spans, frequent daily use, preserved pleat spacing | Less ornamental unless concealed with a board, fascia, or layered treatment |
| Ceiling-mounted track | Tight headers, modern rooms, weak wall conditions | Demands accurate layout and solid overhead structure |
| Steel center support brackets | Long spans carrying interlined or blackout panels | Must be positioned so rings or carriers still travel correctly |
| Return brackets | Better light control and a finished edge at the wall | Require the rod depth and return measurement to be correct from the start |
The common DIY mistake is choosing hardware only by finish. Matte black, antique brass, and acrylic finials are easy to shop. Load path is what matters. The bracket, screw, anchor, rod wall thickness, and carrier style all share the work.
Brackets and supports determine whether the treatment stays true
Bracket count should be based on the actual span and the load of the finished treatment, not on what comes in the box. Wide custom panels with interlining and blackout can put surprising stress on end brackets because the fabric is not only heavy, it also gets pulled laterally every time the drapes are opened.
Center support placement takes planning. Put it in the wrong spot and ring travel stops short of the stack line. On decorative rods, that may mean adding a pass-through bracket or using C-rings. On traverse systems, it may mean choosing overlap masters and carriers that clear the support points cleanly. Those details are what keep pleats uniform instead of bunched and twisted after a few weeks of use.
Match the anchor system to the real load
Anchors should be selected for the wall condition and the repeated motion of the drapery, not just the static weight. Heavy panels create more force when they are drawn open and closed than many homeowners expect, especially with blackout lining or long puddled hems.
Use this decision guide:
- Stud or solid wood backing: Fasten there whenever the layout allows.
- Drywall without framing at the bracket point: Use a heavy-duty hollow-wall anchor rated for the application.
- Plaster: Pre-drill carefully and choose anchors that will not fracture the surface or loosen inside brittle walls.
- Masonry: Use masonry-specific anchors and the correct bit, not a substitute meant for drywall.
For the drilling side of the job, this roundup of expert advice from Value Tools Co is worth reading before you start. Good results depend as much on clean pilot holes and control at the drill as they do on the hardware itself.
Match the hardware to the room and the drape style
In a designer room, the hardware should support the architecture and the fabric at the same time. Forged steel gives a crisper line and better stiffness for many visible installations. A traverse rod is often the better answer for pinch pleat or ripplefold drapes where operation matters as much as appearance. Decorative rods work well when the rod belongs in the composition and the span is short enough, or supported well enough, to remain straight.
For heirloom-quality results, I treat hardware as structure first and ornament second. That is how heavy custom drapery keeps its line, its return, and its movement years after installation.
The Professional Installation Process
Good hardware doesn't rescue sloppy installation. Precision does. Heavy drapes magnify crooked bracket lines, weak anchors, and uneven returns almost immediately.

Mark the line and drill correctly
Start with a level reference line. A laser level makes this easier, especially in older homes where ceilings, trim, or floors can fool the eye. Mark bracket locations from that line, not from the trim alone.
For heavy drapes, select brackets rated for at least 25 lbs each, secure them with 3/16-inch pilot holes, and use heavy-duty wall anchors rather than standard screws when needed, according to this drapery installation guide.
That sequence matters:
- Lay out the bracket positions based on your final rod width and support plan.
- Check level across all marks before drilling.
- Drill 3/16-inch pilot holes at each fastening point.
- Set the appropriate anchors if you're not fastening directly into wood.
- Mount brackets firmly and confirm there's no movement before the rod goes up.
If you want a general installation walkthrough to compare against your own process, this article on how to install curtain rods is a helpful companion.
Lift the rod like a finish carpenter, not like a DIY rush job
Heavy rods and fully dressed drapes are awkward to handle. If the panels are already attached to rings, the assembly can twist while you're trying to seat it into the brackets. That's when finials get scratched, brackets get torqued, and one side ends up slightly higher than the other.
Work with a second person if the span is wide or the panels are substantial. One person should guide the rod and rings. The other should watch the bracket seats and end clearances.
Set the hardware first, test it under light load, and only then commit the full fabric weight.
Don't skip the outside ring
One detail separates many professional installs from amateur ones. Place one drapery ring on the outside of each bracket to anchor the panel edge in place. That method is mandated in the same drapery hanging guide, and it's omitted in 40% of amateur hangs according to that source.
That outside ring creates a proper return to the wall. It keeps the leading edge from drifting inward and gives the drapery a finished, architectural stance. Without it, the stack can look loose and the panel edge tends to wander when opened and closed.
Test before calling it done
After the rod is seated and the drapes are hanging, don't assume the job is complete the minute the fabric looks good. Open and close the panels several times. Watch the bracket faces. Listen for movement at the anchors. Stand back and check the line from across the room.
Pay attention to these warning signs:
- A soft dip at center: Usually means the support plan was too optimistic.
- A scraping ring path: Often points to a bracket alignment issue.
- A slight pull from the wall: Suggests anchor mismatch or insufficient wall engagement.
- Uneven stackback: Usually means ring placement or panel spacing needs adjustment.
If you're hiring out any part of the work, contractor quality matters as much as materials. This guide on protecting your investment from bad contractors is worth a look before you hand a high-value installation to the wrong crew.
In rooms designed around high-end furniture, custom chairs, and other durable interior investments, the drapery install should feel equally disciplined. It's finish work, but it's also load work. Treat it as both.
Finishing Touches for a Designer Look
A secure installation is only half the result. Luxury drapery still has to be dressed.

Train the pleats
The industry benchmark is uniform pleat spacing, often achieved by training the drapes with loose ties for 7–14 days. Skipping that training creates a 78% higher likelihood of pleat distortion, and failing to extend the rod 6–12 inches beyond the window frame can block 30–45% of natural light, as described in this drapery finishing guidance.
Training is simple, but it takes patience. Shape the folds by hand. Create even pleat spacing across the face of the panel. Then loosely tie the drapes at several vertical points with soft fabric strips so the folds hold their memory while the fabric settles.
Dress the stackback and hem
Once the folds are formed, pay attention to where the drapes sit when open. Good stackback should reveal the glass rather than crowd it. In formal rooms, the stack should look controlled and intentional, not bunched.
The hem treatment changes the mood of the room:
- A kiss at the floor gives a crisp, refined finish.
- A slight break softens the line without reading casual.
- A puddle works best when the room supports that level of formality and the fabric has enough body to hold the shape.
For many interiors built around designer & statement pieces and layered interior design & home styling, the cleanest answer is often the most durable one. A precisely finished hem tends to wear better and keeps the room from feeling overworked.
Steam, shape, and leave them alone
Packaging folds and transport creases can flatten the elegance out of expensive fabric. A light steaming restores the face of the cloth and helps the trained folds settle. Work carefully, especially on velvet or lined natural fibers, and avoid overwetting the fabric.
If you're still deciding how lining affects body, insulation, and the final hand of the drape, this article on the role of drapery lining in custom drapes is a useful reference.
The final look comes from restraint. Shape the folds, refine the edge, steam the face, and stop touching the fabric.
The biggest mistake at this stage is over-correcting. Once the folds are clean and the stack is balanced, let the drapery settle. Heavy textiles need a little time to fall into their finished line.
Troubleshooting and When to Call a Professional
A heavy drape rarely fails without warning. The first clues show up in the line of the installation. The rod bows at center. One return sits tighter than the other. The leading edge drifts out of plumb, or the stackback eats more glass than the plan allowed.
Those symptoms usually trace back to math or material. With luxury-weight velvet, linen interlined drapery, or wide custom panels, a standard rod package often falls short. Diameter, wall thickness, bracket spacing, ring count, and anchor type all have to match the actual load, not the label on the box. I have seen beautiful panels ruined by hardware that was off by one size and brackets spaced just a few inches too wide for the fabric weight.
Some corrections are straightforward. A sagging rod often means the span needs a center support, a thicker rod, or both. A bracket that creeps under load usually points to the wrong fastener for drywall, plaster, masonry, or wood backing. Panels that refuse to stack cleanly may need different carriers, fewer rings, better spacing, or retraining so the folds break where the fabric wants to fall.
Other conditions leave very little room for error.
Ceilings over standard height, extra-wide openings, corner windows, layered sheers under face drapery, and motorized tracks all require tighter planning. Older Atlanta homes add another variable because plaster can hide weak spots, out-of-level conditions, or blocking that is not where you expect it. If the treatment has to center perfectly on a window wall, clear shutters, align with crown and casing, and stack back without covering too much light, trial-and-error installation usually costs more than hiring the right installer first.
That is especially true in Buckhead, Sandy Springs, Roswell, Alpharetta, and across North Atlanta, where drapery often sits in rooms finished with custom upholstery, case goods, and custom millwork. Homeowners evaluating the differences between custom and mass-produced furniture, or asking how long high-end furniture lasts, are usually applying the same standard to window treatments. They want drapery that still hangs correctly years from now, after the fabric has relaxed and the room has been lived in.
Call a professional when the fabric is expensive, the wall condition is uncertain, the span is long, or the installation has to read as perfectly balanced from across the room. In a designer interior, approximate work stands out fast.
If you want custom drapery handled with the same care as fine furnishings, Lewis and Sheron Textiles offers premium fabrics, in-house design support, and custom solutions for Atlanta-area homes and beyond. It's a strong place to start when your project calls for lasting workmanship, precise fit, and a finish worthy of a designer interior.