


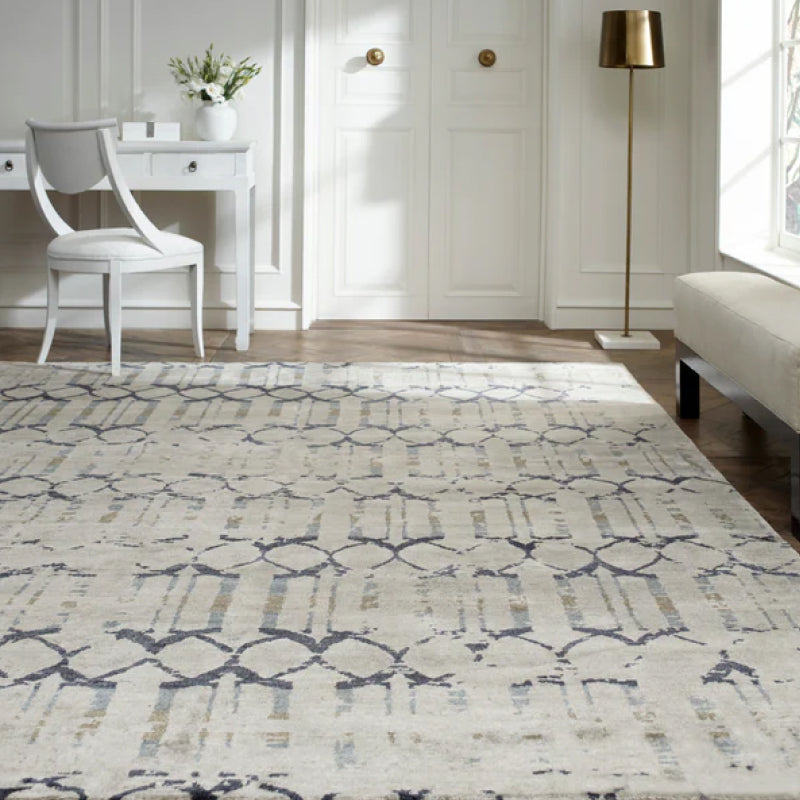


Hanging a curtain rod correctly? It's more than drilling holes. It's about creating visual balance—a trick that makes any room feel bigger, brighter, and more intentional.
The secret from Atlanta's top designers? Mount the rod 4-6 inches higher and wider than the window frame.
This simple adjustment draws the eye upward, floods the room with natural light, and gives your space a grander, more luxurious feel. It’s the finishing touch that transforms a room.
Why Perfect Rod Placement Is a Designer's Secret
Before you pick up a drill, let’s talk strategy.
Where you place your curtain rod is an insider secret of high-end design. It's the detail that separates drapes that merely cover a window from a window treatment that makes your entire Atlanta home feel more spacious and professionally designed.
This isn't just about function; it's about shaping the room's entire aesthetic.
A common mistake? Placing the rod right above the window frame. Seems logical, but it visually squashes the window and, by extension, the room. It’s like wearing a perfect outfit with ill-fitting pants—it throws the whole look off.
Thinking Like a Designer
Walk through any of the high-end furniture stores in Buckhead or along West Paces Ferry, and you'll notice the window treatments are never an afterthought. They’re part of the room’s architecture.
The game is to create an illusion of height and width.
- Height: Mounting the rod 4-6 inches above the frame—or even halfway to the ceiling—forces the eye upward. A simple trick that makes ceilings feel higher and the room more open.
- Width: Extending the rod 6-10 inches past the frame on each side gives your curtains a place to rest when open. This is called "stack back." It lets the drapery clear the glass completely, maximizing natural light and making the window seem much larger.
This is how your investment in beautiful fabrics truly pays off. When you’ve chosen an exquisite designer fabric from our Atlanta fabric showroom, you want it to hang beautifully. It should frame your window like art, not hide it.
"A pretty room with poorly hung curtains is like a beautiful, pulled-together lady wearing way ‘too-small pants’. It cheapens everything else, stands out in a jarring way, and just makes everyone feel uncomfortable."
It’s All About Balance and Proportion
This designer-led method is critical when you’re showcasing high-end furniture.
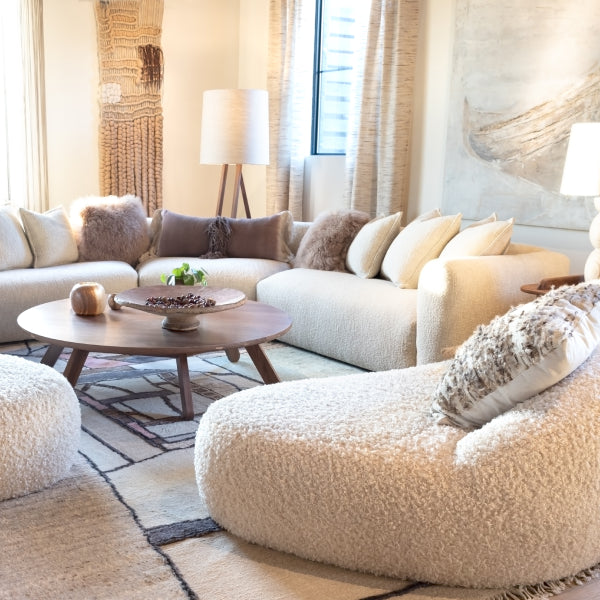
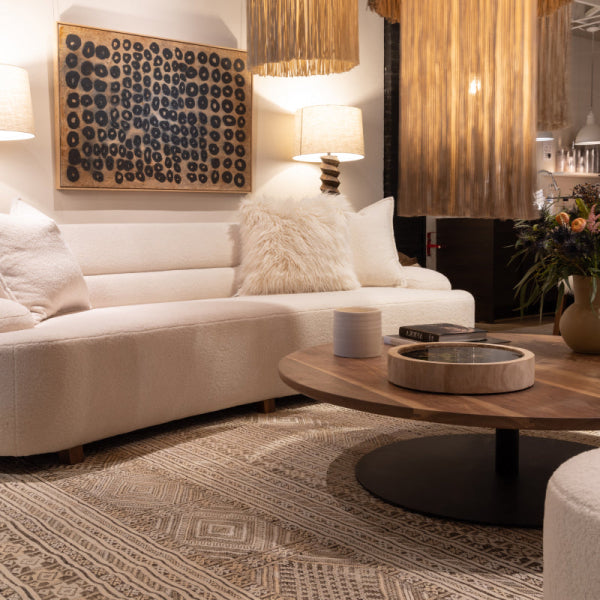
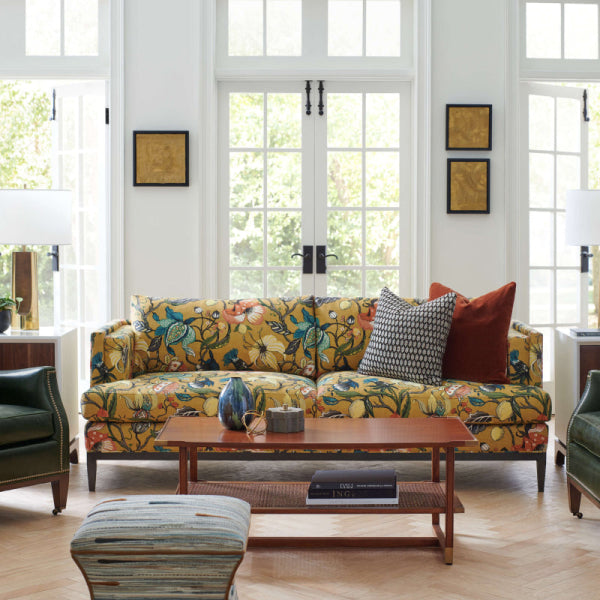
Picture a gorgeous Wesley Hall sofa or a pair of elegant Lee Industries chairs near a window. Properly hung drapes create a polished, deliberate backdrop that elevates the whole scene. The visual weight of a custom upholstery piece, like one from Verellen furniture, needs a window treatment with an equal sense of presence to feel balanced.
For homeowners and designers across North Georgia—from Milton and Alpharetta to Marietta—understanding this principle is what transforms a simple installation into a statement of quality.
To dive deeper, read our guide on how to choose window treatments. It explores the synergy between fabric, hardware, and room design. Perfect placement isn't just a step; it’s the foundation of a timeless, sophisticated room.
Assembling Your Professional Installation Toolkit
A flawless finish comes down to one thing: having the right tools on hand before you start.
When you're working with gorgeous designer fabrics, you owe it to them to get the installation just right. This isn’t about grabbing a drill and hoping for the best. It's about putting together a toolkit that ensures precision from start to finish.
A cheap tape measure and "eyeballing it" won't cut it. The difference between a wobbly, amateur job and a high-end, professional installation is the quality of the tools.
The Must-Haves for a Perfect Hang
Think of your toolkit as an extension of your commitment to quality. You wouldn't rush the details on a new piece of luxury furniture, so don't cut corners when framing your windows.
Here’s what I recommend for any drapery project:
- A High-Quality Laser Level: Your best friend for a straight hang. A laser level throws a perfectly true line across your wall, taking all guesswork out of aligning your brackets. It’s the only way to be certain your rod won’t be slanted.
- A Reliable Stud Finder: Your curtains, especially heavier fabrics like velvet or lined linen, need a rock-solid anchor. A good stud finder helps you locate the wooden studs inside your walls—the most secure foundation for your brackets.
- A Good Steel Tape Measure: Precision is everything. A sturdy, locking tape measure gives you accurate readings without bending or slipping. Every time.
- A Sharp Pencil: Always use a pencil for marking drill points. Unlike a pen, pencil marks are easy to clean up if you need to make an adjustment.
To see what else can round out your DIY kit, you can find great checklists covering the essential tools for homeowners that are useful for all sorts of projects.
Choosing the Right Wall Anchor for Your Drapery
Here’s where so many well-intentioned installations go wrong.
You've measured perfectly, your laser line is level, but you drill into hollow drywall and use the flimsy plastic anchors from the box. Those are almost never strong enough, especially for the substantial, high-quality drapery we love.
This is a huge, and growing, part of home design. The global market for curtain rods hit $5.30 billion in 2024 and is expected to reach $6.91 billion by 2030. With North America making up about 40% of that demand, getting this detail right is a top priority for homeowners. For a truly luxurious finish, always choose sturdy wood or steel rods over cheaper plastic ones.
This simple guide helps visualize the choice between a standard installation and one that aims for that high-end, designer look.

The takeaway is clear: to get that polished, professional look, you must consciously go "high and wide" with your rod placement—a core principle of good interior design.
The right anchor isn’t just a piece of plastic; it's the foundation of your entire window treatment. Choosing the correct one is the difference between a secure, elegant display and a potential disaster.
Selecting the right anchor comes down to two things: your wall material and the total weight of your drapes. This table will help you pick the perfect anchor to ensure your beautiful designer fabrics are showcased securely for years to come.
| Anchor Type | Wall Material | Best For | Pro Tip |
|---|---|---|---|
| Toggle Bolt | Drywall, Plaster | Heavy curtains (velvet, lined panels, blackout). The wings expand behind the wall for a very strong hold. | You'll need to drill a larger hole to fit the spring-loaded wings through. It's a one-time use anchor. |
| Molly Bolt | Drywall, Plaster | Medium to heavy curtains. The metal sleeve expands to grip the back of the drywall. | The screw can be removed and re-inserted, which is great if you plan to take down curtains for cleaning. |
| Expansion Anchor | Drywall, Plaster | Light to medium weight sheer or cotton curtains. These are the small plastic anchors often included with rods. | Avoid these for anything heavy. They are prone to pulling out of the wall under too much weight over time. |
| Masonry Sleeve | Brick, Concrete, Cinder Block | All weights. This is essential for mounting hardware into any type of masonry. | A hammer drill is almost always required to drill the pilot hole. Don't even try with a standard drill. |
Ultimately, knowing your walls is the first step. For a modern home with drywall, a toggle bolt is a must for heavy curtains. For older homes with plaster walls, which can be brittle, a molly bolt provides a more reliable grip without causing cracks. Getting this right from the start is what separates a lasting installation from a frustrating repair job down the line.
The Art of Measuring and Marking for Perfection
Getting the measurements right is where a professional curtain installation truly shines. It’s less about “measure twice, cut once” and more about understanding the design principles that turn a window into a beautiful focal point.
This is the moment you translate your vision into precise marks on the wall. Every mark is a decision affecting how the final drapery will look, how light filters in, and how the curtains complement the space you've so carefully curated with pieces from Atlanta's best high-end furniture stores.

The Designer's Rule for Placement
First, let’s get one thing straight: stop hugging the window frame. To get that polished, high-end look you admire, the secret is to go high and wide. It's the single most effective trick for making a window feel grander and a room more spacious.
-
Go Higher: I always recommend marking your bracket placement 4 to 6 inches above the window frame. Blessed with tall ceilings? Go even higher—sometimes halfway between the frame and the ceiling is perfect. This simple move draws the eye upward and creates an immediate illusion of height.
-
Go Wider: Extend the rod 6 to 10 inches beyond the window frame on each side. This is critical. It gives your curtains a place to rest when open—what we call "stack back"—so they aren't blocking the glass and all that beautiful natural light.
This isn’t just aesthetic; it’s functional. A wider rod makes the entire window appear larger and gives the room a more open, airy feel. The impact is huge.
If you need a refresher before you start marking, our complete guide on how to measure windows for curtains is a great place to start.
Establishing a Perfect Line
This is where your laser level becomes your best friend. Trust me, "eyeballing it" is the quickest route to a crooked rod, and nothing screams amateur like a slanted drape. A perfectly level line is non-negotiable for a professional finish.
Here’s the foolproof way I do it. Once you've decided on your height and width—say, 5 inches up and 8 inches out—make your first mark on one side of the window.
Next, set up your laser level and shoot the beam directly through that first pencil mark. Follow that crisp red line across to the other side, measure your 8 inches out from the frame, and make your second mark right on the beam. That’s it. You've just eliminated all guesswork.
Don't Forget the Details
A few final checks can make or break your installation. These are the little things that separate a good-enough job from a truly professional one.
Account for Finials: Remember those decorative finials on the ends of your rod add length. Ensure you have enough clearance, especially if a window is tight in a corner or next to a bulky piece of Ambella furniture. You don't want your beautiful hardware to look wedged in.
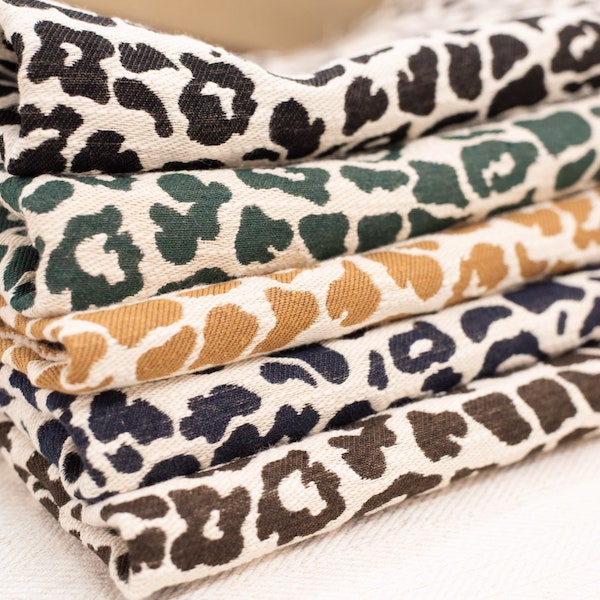
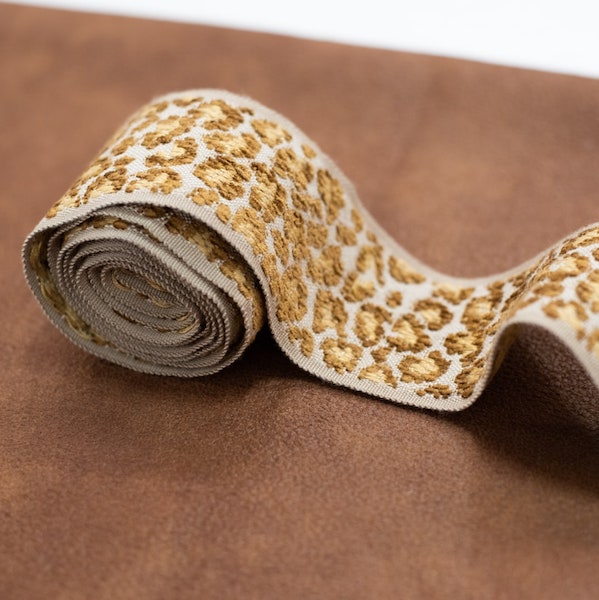
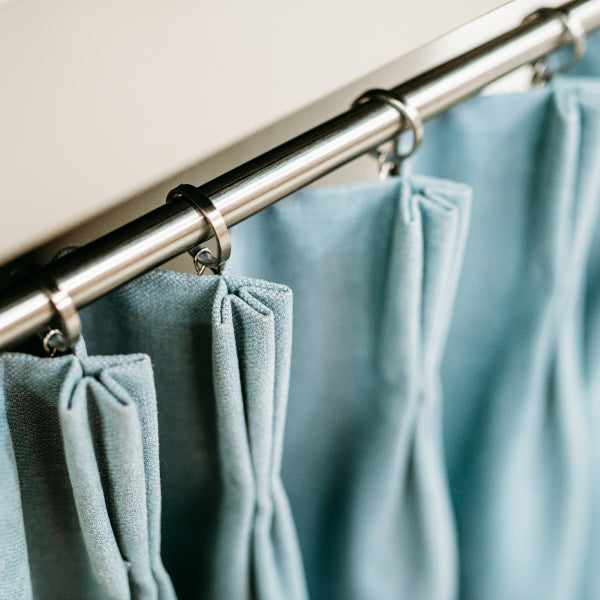
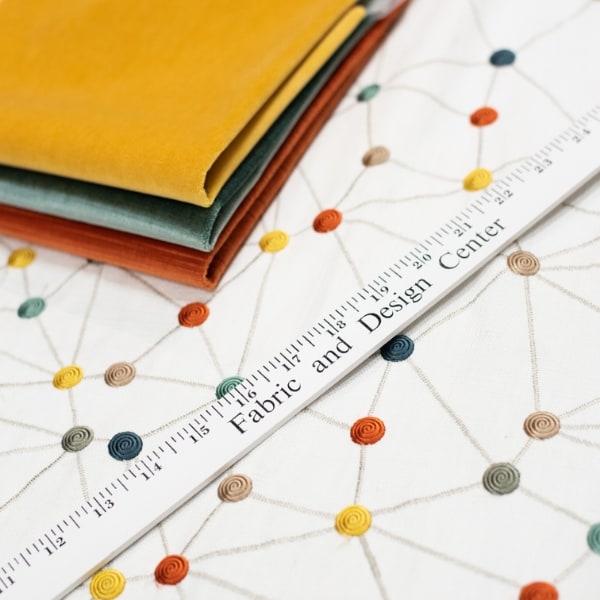
Plan for Stack Back: As mentioned, that extra rod width is for "stack back." This is incredibly important when you're working with the substantial, high-quality fabrics we carry in our Atlanta fabric showroom. A heavy, lined velvet or a rich custom fabric needs plenty of room to gather neatly without covering the window.
The goal is always to see as much glass as possible when the curtains are open. Your drapery should frame the view, not obstruct it.
Factor in the Return: The "return" is the depth of the bracket—the distance from the wall to the rod. For thicker, more luxurious fabrics, you’ll need a deeper return to ensure the material hangs freely instead of being squished against the wall.
Taking time to get these details right matters more than ever. With the global market for curtain hardware projected to hit $1.84 billion by 2035, it's clear people are investing in quality. Yet surveys show that nearly 30% of DIY fails come from improper measuring. As this detailed industry report highlights, the small details matter.
When you focus on these steps, you’re not just hanging a rod. You’re setting the stage for a window treatment that elevates your entire home.
Drilling and Mounting with Confidence
Alright, marks are on the wall, measurements are double-checked. Now for the fun part—making it permanent. Drilling can feel nerve-wracking, but with the right approach, you'll have your brackets mounted securely in no time.
This isn’t about powering through. It’s about working with your home's structure, not against it. A solid mount ensures your beautiful drapes hang perfectly, whether they’re lightweight sheers or our most luxurious fine fabrics from Alpharetta to our Atlanta showroom.
Match Your Drill Bit to Your Wall
First: know what you’re drilling into. That stud finder you used earlier is your roadmap for a secure installation. Finding a stud is the gold standard; it's the strongest anchor point you can get.
-
Drilling into a Stud: When you hit wood, grab a drill bit slightly smaller than your screw’s diameter. This creates a pilot hole that lets the screw threads bite firmly into the stud for a super-secure fit without splitting the wood.
-
Drilling into Hollow Drywall: Here, good anchors are non-negotiable. Forget the small plastic ones from the box; they aren't strong enough for a quality installation. You’ll want something robust like a toggle bolt. Drill a pilot hole that matches the specific size required for your chosen anchor.
-
Drilling into Plaster or Masonry: Working in older homes around Buckhead or Marietta often means plaster or even brick. Plaster is brittle; use a sharp bit and steady pressure to prevent cracking. For masonry, a hammer drill with a proper masonry bit is the only way to go for a clean hole.
When you're drilling with confidence, selecting the right sturdy wall mounting brackets is just as important as your technique. The quality of your hardware makes all the difference.
Installing Anchors and Brackets Like a Pro
With pilot holes drilled, it’s anchor time. Your goal is to get the anchor perfectly flush with the wall. If it sticks out even a little, your bracket won't sit flat, and the whole installation will look off.
Gently tap the anchor into place with a rubber mallet. Its flange should sit completely flush against the wall's surface. Using toggle bolts? Pinch the wings, push them through the hole, and listen for the "snap" as they open behind the drywall. Give the bolt a little tug to seat the wings before tightening.
Now, attach the bracket itself.
Here’s the biggest mistake I see: over-tightening the screws. It’s so easy to do, but it can strip the screw, ruin the anchor's grip, or crack your wall. Tighten until the bracket feels snug and doesn’t wiggle, then stop. That’s it.
Once your first bracket is on, move to the next. Because you used a level, you can trust they're perfectly aligned. No second-guessing.
This methodical work is what separates a DIY job from a professional one. Your hardware is now a secure part of your wall, ready to support anything—from simple sheers to opulent, custom upholstery drapery panels—a testament to quality from the ground up.
Handling Unique Windows and Luxury Fabrics

A standard window is straightforward. But the most beautiful homes—from luxury furniture havens in Roswell to custom builds in Cumming—often feature architectural details that require a more thoughtful approach. An extra-wide window, a tricky corner, an elegant bay—these aren't problems. They're opportunities for a truly custom look.
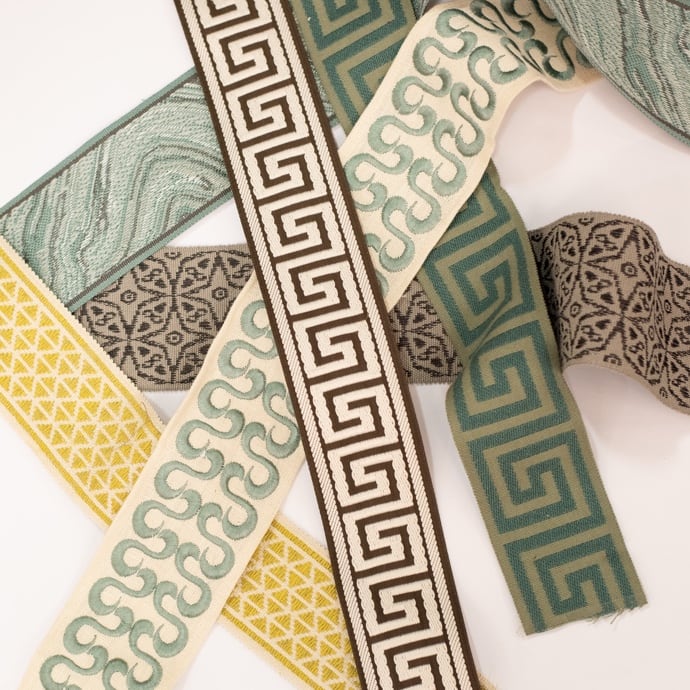
More importantly, your installation must do justice to the fabrics you’ve so carefully selected. The exquisite designer fabrics in our Buckhead showroom—with their rich textures and substantial weight—demand far more support than off-the-shelf sheers. This is where real expertise shines.
Supporting Substantial Drapery and Wide Spans
Over a wide span, even the sturdiest-looking rod will sag under its own weight, let alone the added heft of beautiful drapery. Gravity is relentless.
That's why a center support bracket isn't just a good idea—it's non-negotiable.
For any window treatment spanning more than 60 inches, you must install at least one center support. On stunning panoramic windows, you’ll likely need two or three, spaced evenly, to maintain that crisp, professional line. This isn't just a pro tip; it's a structural necessity.
This commitment to quality hardware is a big part of the booming home decor market. Globally, the curtain rod industry is expected to grow to $1.372 billion by 2031, with North America commanding a 40% market share. A great window treatment can boost a home's appeal by 8-10%, but a poor one can be a liability—improper leveling is blamed for 35% of all curtain failures within the first year.
Matching Hardware to Luxury Fabrics
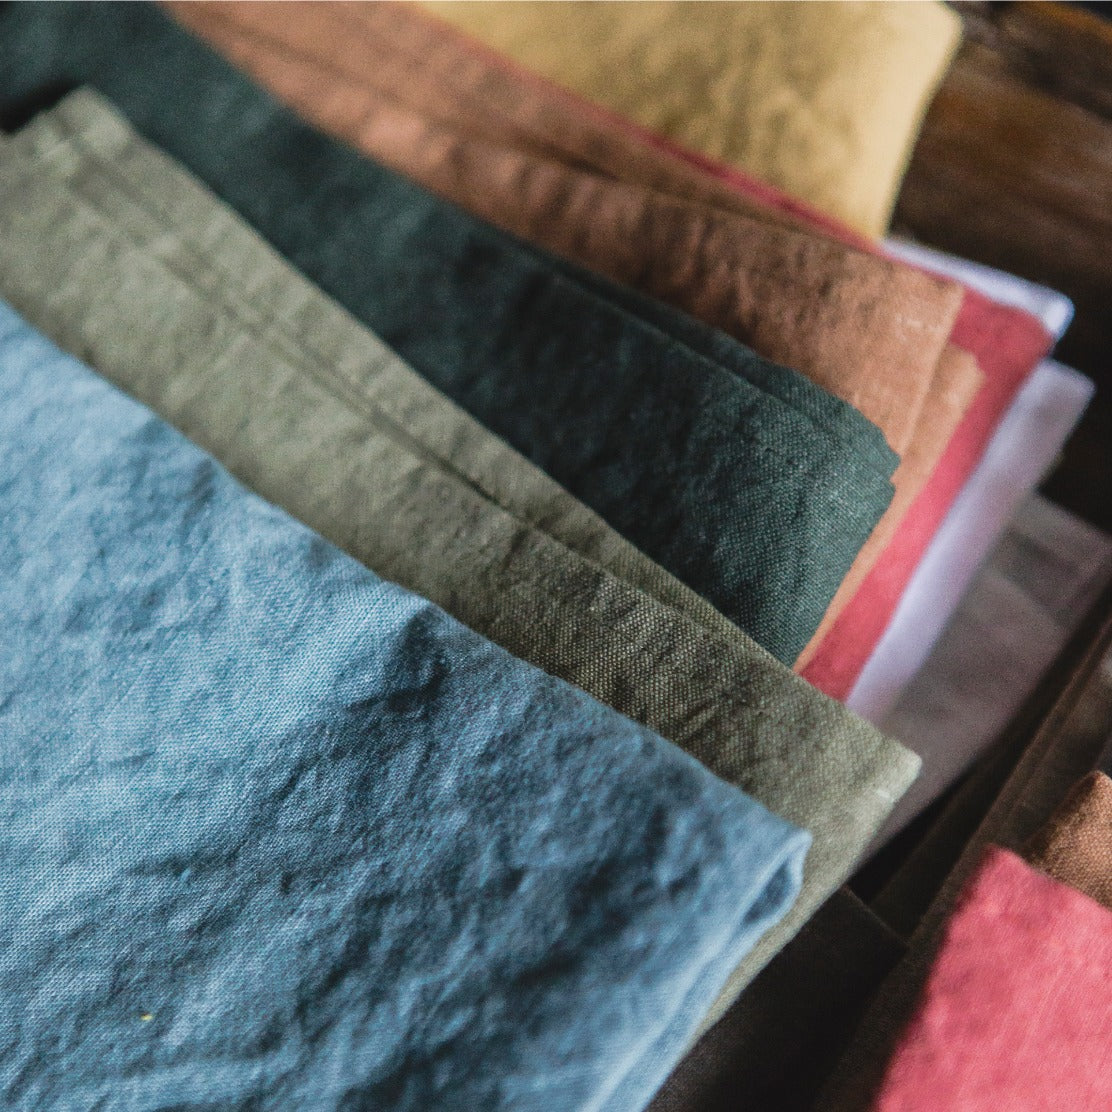
The weight of your fabric should be the single most important factor driving your hardware choices. There’s a world of difference between a lightweight cotton panel and a sumptuous, lined velvet or a heavy, textural weave from our designer fabric collections. These high-end materials are an investment; they need hardware that’s up to the job.
-
Rod Diameter is Key: When hanging heavy fabrics, thin rods are out. I always recommend a rod diameter of at least 1 1/8 inches. This provides the necessary strength to prevent bowing and visually balances the weight of the drapes.
-
Choose Strong Materials: Look for rods made of steel, solid wood, or high-quality wrought iron. These materials have the rigidity to carry a heavy load for years without failing. Our trade furniture program partners rely on this quality.
-
Don't Skimp on Brackets: Your brackets do the heavy lifting. Make sure they are rated for the total weight you plan to hang. A deeper return—the distance from the wall to the rod—is also crucial for thick, pleated draperies to hang properly without being crushed.
When you select a premium textile—whether it’s a Verellen-worthy Belgian linen or a custom-upholstered panel—you’re choosing a story of quality and craftsmanship. The installation must honor that choice.
Tackling Architectural Challenges
From historic homes in East Cobb to modern new builds in Forsyth County, interesting window configurations give a home character. Here’s how we approach the most common ones.
Bay Windows: The secret here is using special corner connectors or a single, custom-bent rod. To get that seamless, professional look, treat the entire bay as one continuous window, ensuring the rod is mounted at the exact same height across all sections.
Corner Windows: A simple corner connector elbow is your best tool. It allows two separate rods to meet at a perfect angle, creating a cohesive drapery treatment that beautifully wraps the corner.
Extra-High Ceilings: Use that vertical space! Mounting the rod high above the window draws the eye upward and makes the room feel even grander. This is the perfect place for statement fabrics that "puddle" elegantly on the floor, showing off their luxurious quality.
Remember, the fabric's lining contributes significantly to its weight and body. If you’re planning a project with custom drapes, our guide on the role of drapery lining for custom drapes is a must-read. Understanding how lining adds insulation and heft is critical for choosing hardware that is both beautiful and structurally sound.
Answering Your Curtain Rod Installation Questions
No matter how carefully you plan, a few questions always pop up. Over the years, we've heard them all in our Buckhead showroom. Getting these final details right is what separates a decent result from a truly professional one.
Here are the answers to the questions we hear most often, straight from our team of seasoned design experts.
How High Above the Window Should I Install the Rod?
The designer’s rule of thumb: mount the curtain rod 4 to 6 inches above the window frame. This is our go-to for a clean, classic look that gives your window treatments breathing room.
Want more drama and the illusion of higher ceilings—a hallmark of sophisticated Atlanta homes? Go higher. Find the midpoint between the top of your window frame and the ceiling or crown molding, and mount the rod there. This simple trick instantly draws the eye upward, making the whole room feel more grand and spacious.
Whatever height you land on, stick with it for every window in the room for a cohesive look. And one hard rule we never break: never mount the rod directly on the window frame. It visually stunts the window, cuts off natural light, and makes the ceiling feel lower.
My Curtains Are Heavy—What Hardware Do I Need?
When you’re working with substantial fabrics like lined velvets, wools, or our exclusive designer fabrics, your hardware must be up to the task. This is one area where you cannot cut corners.
First, you need a strong rod. Look for steel or solid wood with a diameter of at least 1 1/8 inches. Anything smaller is almost guaranteed to bow under the weight of luxury drapery.
Next, focus on your anchor points. The best-case scenario is to screw your brackets directly into wall studs. If studs don't line up where you need them, you must use heavy-duty wall anchors, like toggle bolts, rated for the weight you're hanging.
Finally, for any rod spanning more than 48-60 inches, a center support bracket isn't just a good idea—it's non-negotiable. It's the only way to prevent that dreaded sag and maintain a perfectly straight line, a detail essential for any Atlanta interior design project.
Think of your hardware as the foundation for your curtains. It’s the behind-the-scenes work that ensures your beautiful drapes look just as good years from now as they do on day one.
What Are the Most Common Installation Mistakes?
We see a few of the same missteps over and over. Avoid these, and you'll be way ahead of the curve with a much more polished result.
The three biggest slip-ups are:
- Mounting Too Low and Too Narrow. The number one mistake. Placing the rod just an inch or two above and outside the frame makes a window feel small and blocks light. Always think higher and wider.
- Skipping the Level. "Eyeballing it" is a recipe for disaster. A crooked rod is the fastest way to look amateur, and it will distract from even the most stunning Wesley Hall sofas or Lee Industries chairs. A laser level is your best friend.
- Using the Wrong Anchors. Those little plastic anchors in the box are almost never strong enough for drywall, especially with heavy, quality fabrics. They will eventually work their way out, leaving you with a fallen rod and a damaged wall.
Can I Install a Rod on a Wall with Crown Molding?
Absolutely. You just need to be strategic. The goal is a seamless installation where curtains can glide without catching on the molding.
The most straightforward approach is to mount the rod on the wall right below the crown molding. This usually leaves plenty of room and creates a clean, finished look.
However, if you have elaborate, oversized finials that won't fit, don't force it. Switch them out for simple, elegant end caps. This provides a sophisticated, minimalist finish that works beautifully, especially in homes in Alpharetta or Milton known for their detailed trim work.
At Lewis and Sheron, we live and breathe the details that make a house a home. For decades, our family-owned business has been Atlanta’s trusted resource for exquisite textiles and high-end furniture. Whether you're a homeowner with a vision or a designer in our Trade Program, our Buckhead showroom is your ultimate design destination.
Explore our collections and design services at lsfabrics.com