


Working with stretchy material is all about the prep work. Honestly, the secret to a flawless finish happens long before you even sit down at the sewing machine. It all starts with how you handle, cut, and truly understand the fabric's unique personality.
This initial stage is the difference between a puckered, wavy mess and a perfect custom pillow.
Start Before You Stitch to Master Stretch Fabrics

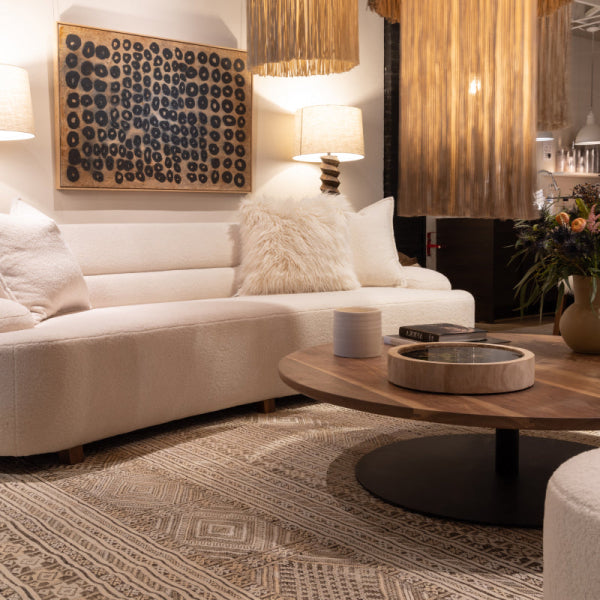
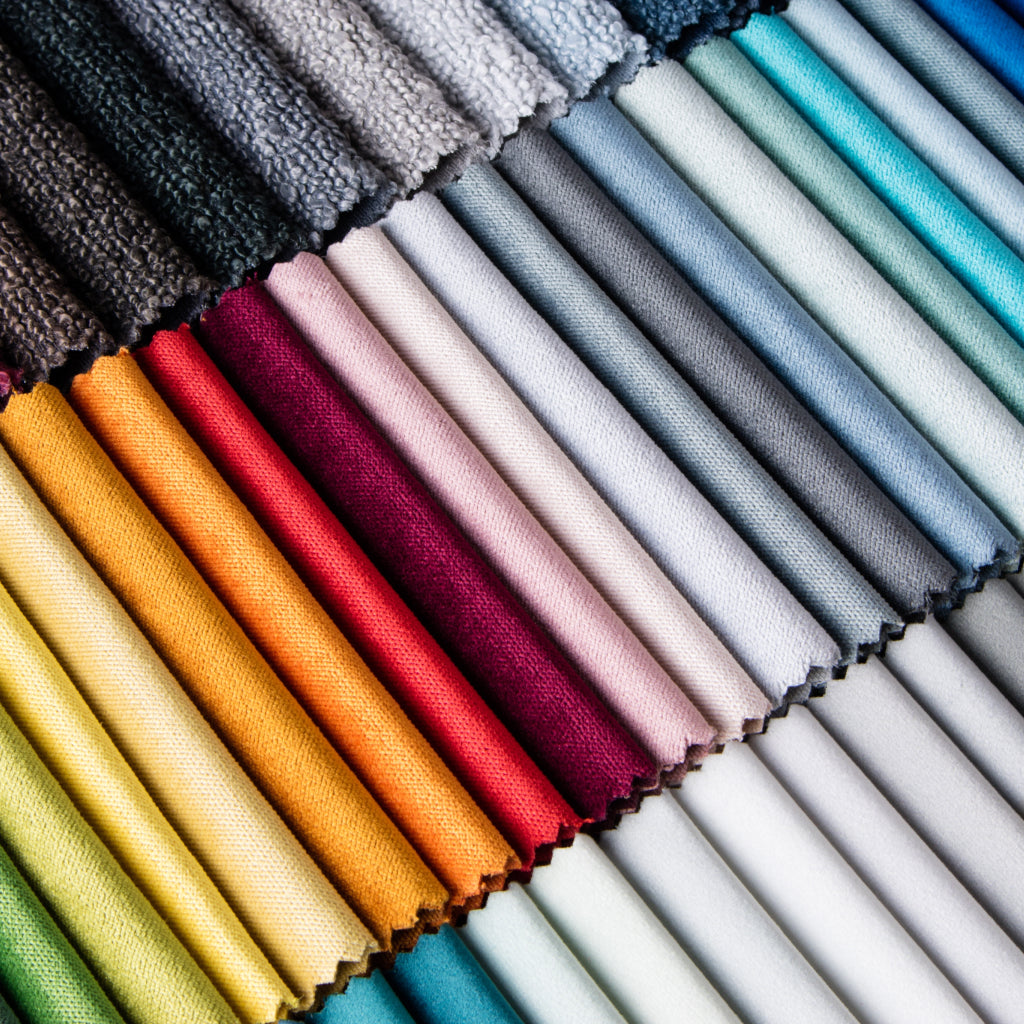
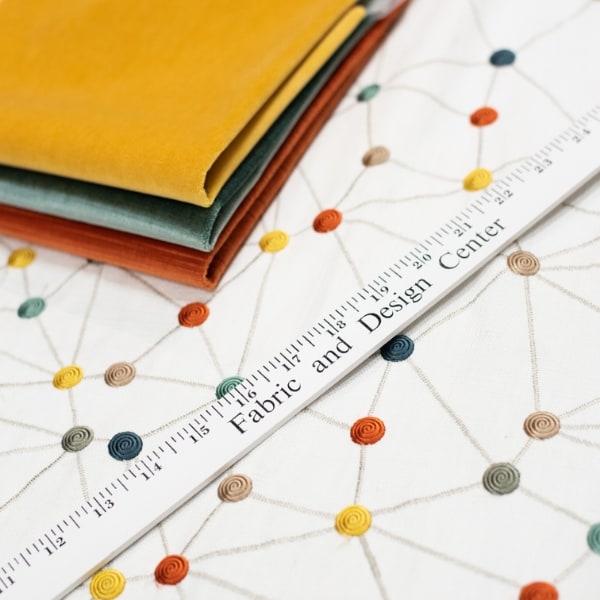
You have to stop fighting your fabric. The biggest mistake designers and homeowners make is treating a beautiful stretch textile like it’s a simple, stable cotton. Inside our Buckhead showroom, the first piece of advice we give is always the same: respect the fabric’s nature from the moment it comes off the bolt. This is where true craftsmanship begins.
And I don't just mean pre-washing. I'm talking about letting the material settle into its natural state.
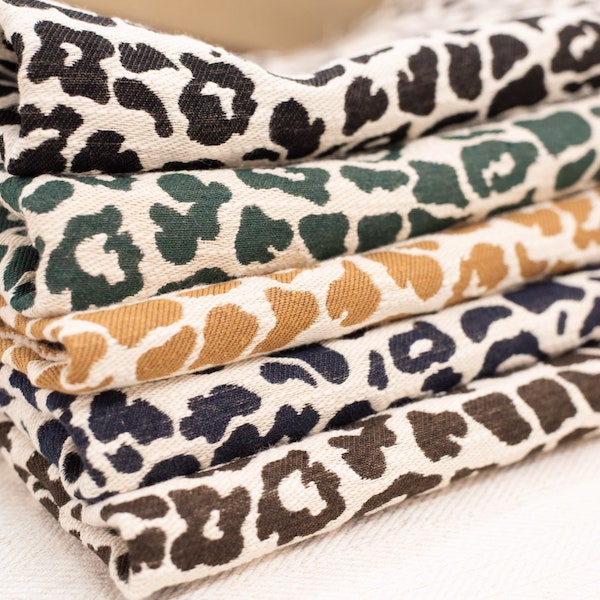
Picture a luxurious Belgian linen-stretch blend you’ve chosen for a custom slipcover on a Wesley Hall sofa. Freshly unrolled, that fabric is holding a lot of tension from being on the bolt. If you just lay it flat on a large table for 24 hours, you’ll see it visibly relax. Skipping this step is just asking for distorted pattern pieces and seams that twist and pull after the very first wash.
The Art of the Cut
Once your fabric has relaxed, the next hurdle is cutting it without stretching it all out of shape. For delicate knits and slinky jerseys, pins are your enemy. They create tiny pulls and snags that can warp the pattern piece before you even get near your machine.
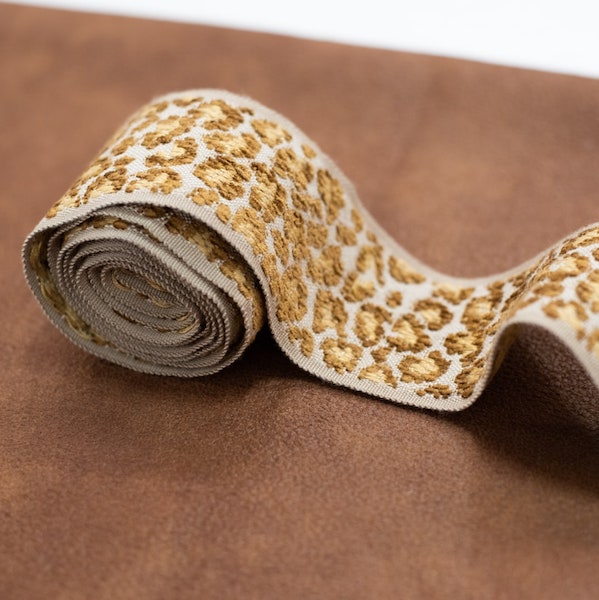
Instead, take a cue from Atlanta’s finest designers—the ones sourcing exclusive textiles for stunning homes in Roswell and Alpharetta. They all swear by pattern weights. These small, heavy objects hold your pattern flat and secure, letting you cut cleanly with a rotary cutter and mat. This method is the key to ensuring every piece is true to size, a non-negotiable detail for achieving that crisp, tailored look you see on a LEE Industries chair.
Understanding Stretch Direction
Every single stretchy fabric has a "greatest degree of stretch," or GDOS. This is your new golden rule. You almost always want this direction of greatest stretch to go around the body or across the width of a cushion. If you ignore it, your finished piece simply won't fit or function the way it was designed to.
Finding the GDOS is easy. Just take a small swatch and pull it in both directions.
- The direction it stretches the most? That’s your GDOS.
- The direction with less give is the "grainline," which provides stability.
Honoring this simple principle is foundational. It’s the kind of hands-on wisdom you’d get chatting with an expert in our Atlanta fabric showroom, and it ensures your project has both the structure and the flexibility it needs. This is what separates good design from exquisite design.
Here's the core takeaway: The success of your project is determined before you’ve sewn a single stitch. Proper preparation—pre-washing, relaxing, and precise cutting—sets the stage for a professional outcome worthy of high-end furniture from Verellen or Ambella.
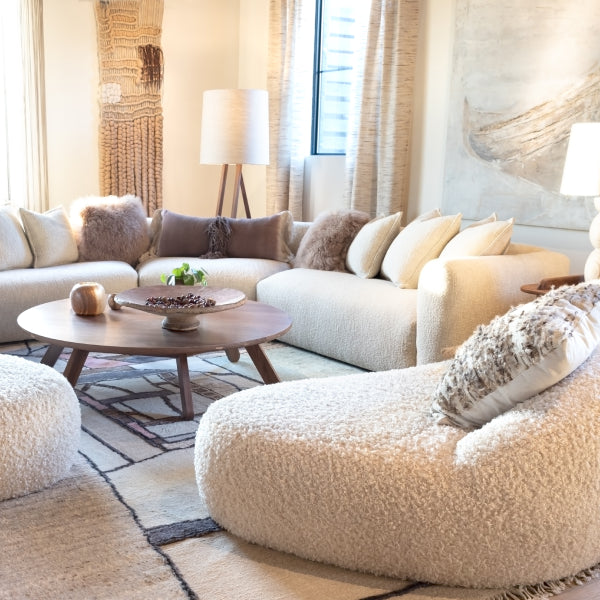
This prep work makes the whole sewing process smoother, whether you're creating a simple throw pillow or tackling a full custom upholstery refresh for your East Cobb home. Making a comfortable modal PJ set is a fantastic project for practicing these skills, as modal knit is forgiving and requires a gentle hand. It's the perfect way to build your confidence before moving on to those larger pieces for your Atlanta home.
The Right Tools for Sewing Stretchy Material
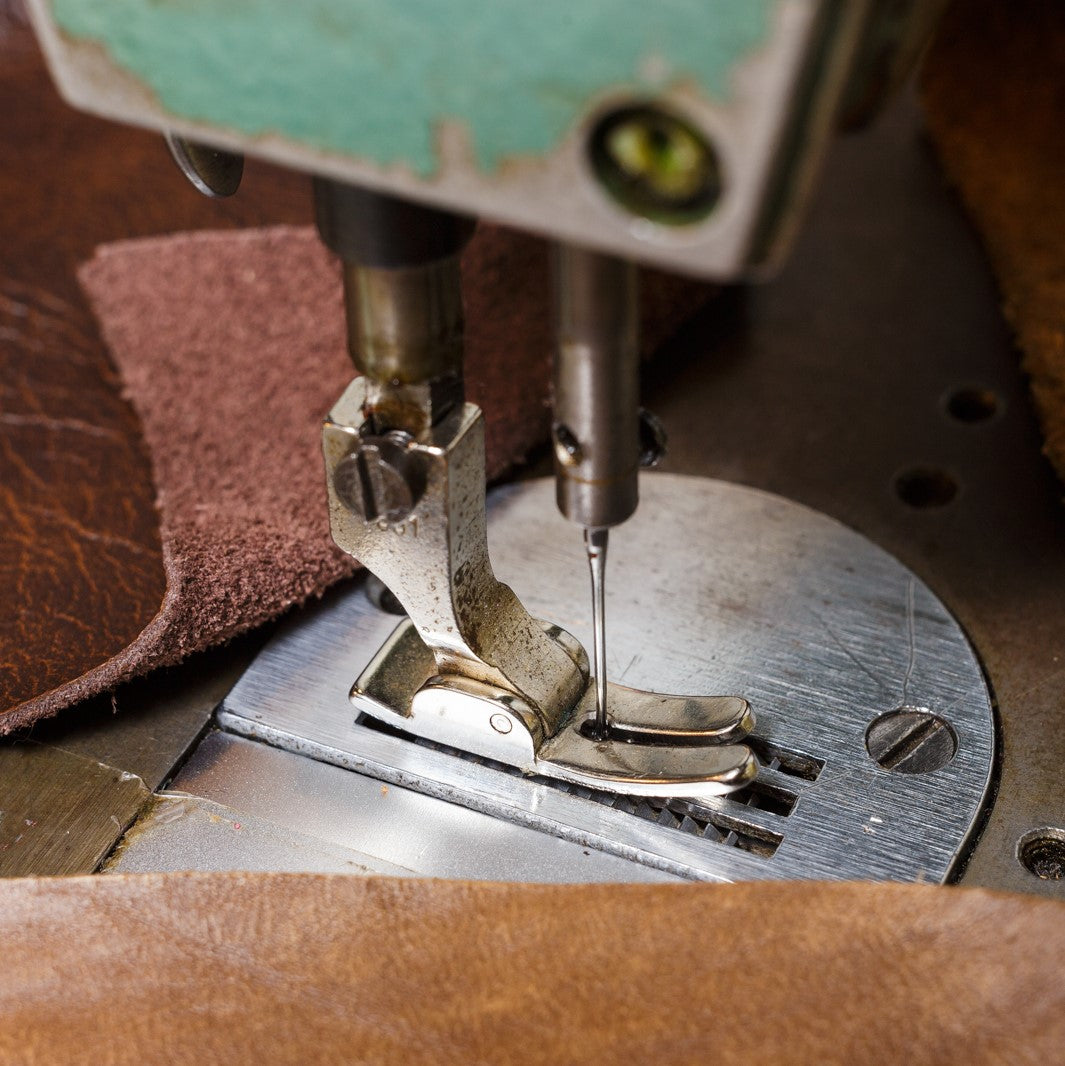
Using the wrong needle on a beautiful stretch fabric is like putting cheap tires on a luxury car—you just won’t get the performance you paid for. This is where the real craft comes in, carefully selecting the right hardware not just for the job, but for the specific designer fabric you’ve chosen from our collection. It's this attention to detail that elevates a project from looking homemade to feeling truly professional.
The right tools are your secret weapon. They’re what stand between you and the puckering, skipped stitches, and popped seams that plague so many DIY projects. Think of it as curating your equipment with the same care you’d use to select a Wesley Hall sofa for a client’s living room in Buckhead.
Needles and Threads Make All the Difference
Let’s be direct: using a standard needle on a knit fabric is a recipe for frustration. Regular needles have sharp points designed to pierce woven fabrics, but on a knit, they just shred the delicate looped fibers. This creates tiny, irreversible holes and is the number one cause of skipped stitches—it’s a non-negotiable rule in our Atlanta workroom.
You absolutely must use a needle designed specifically for stretch fabrics. You’ve got two main choices:
- Ballpoint Needles: These have a slightly rounded tip that gently pushes the fabric fibers aside instead of cutting them. They're perfect for more stable knits, like a ponte or a French terry.
- Stretch Needles: These have an even more rounded tip and a specially designed scarf (the little groove above the eye) that gets extra close to the hook, preventing skipped stitches like a charm. This is your go-to for fabrics with high lycra or spandex content, like performance velvets and the durable Crypton knits we stock for busy Forsyth County family homes.
Your thread choice is just as critical. A standard cotton thread has zero give. The moment your fabric stretches, that thread will snap. You need a thread with built-in flexibility. A quality polyester thread is an excellent all-purpose choice that works for most projects. For seams that need maximum elasticity, like on a slipcover for a curvy Lee Industries chair, a woolly nylon thread in your serger's loopers offers incredible stretch and recovery.
The bottom line is this: a stretch needle and polyester thread are the minimum entry fee for sewing knits successfully. It’s a small investment that protects your much larger investment in a beautiful designer fabric.
Decoding Machine Settings
Once you have the right needle and thread, it’s time to dial in your machine. The settings you choose are just as important as the tools themselves. Getting them right is what our in-house experts do every day when upholstering fine furniture—it's not just about picking a stitch, it's about perfecting its length, width, and tension for that specific fabric.
For homeowners in Marietta tackling the reupholstery of an heirloom piece—a service Lewis and Sheron has perfected since 1944—using a stretch needle is crucial. We see it all the time: a size 75/11 stretch needle is a real workhorse; its rounded tip glides through elastane without snagging.
Pair it with a zigzag stitch (try a 2.5mm width and 2.0mm length to start) or a designated stretch stitch to prevent thread breaks on common spandex blends. Getting your machine's tension right—typically a 3-4 for the upper thread—cuts skipped stitches by half, helping you avoid the headache of redoing your work.
Essential Needle and Thread Pairings for Stretch Fabrics
To make it even easier, here's a quick reference guide for matching the right tools to your fabric, inspired by the beautiful textiles you'd find in our Atlanta showroom.
| Fabric Type | Recommended Needle Type & Size | Recommended Thread | Best For |
| :--- | :--- | :--- |
| Jersey Knit | Ballpoint or Stretch Needle (70/10 or 75/11) | All-Purpose Polyester | T-shirts, casual wear, lightweight pillow covers |
| Ponte de Roma | Ballpoint Needle (80/12) | All-Purpose Polyester | Structured slipcovers, cushions, durable apparel |
| Spandex/Lycra Blends | Stretch Needle (75/11 or 90/14) | All-Purpose Polyester | Performance upholstery, form-fitting slipcovers |
| Stretch Velvet | Stretch Needle (75/11) | All-Purpose Polyester | Luxe pillows, plush upholstery, statement pieces |
| French Terry | Ballpoint Needle (80/12) | All-Purpose Polyester | Casual slipcovers, throws, comfortable cushions |
| Knit Upholstery | Stretch Needle (90/14) | Heavy-Duty Polyester | High-traffic furniture, durable reupholstery jobs |
Think of this table as your starting point. Always test your needle, thread, and stitch settings on a scrap of your project fabric first to ensure everything looks perfect before you dive in. The right tools, often called notions, are the foundation of any successful sewing project. For a deeper dive, check out our guide on what sewing notions you truly need.
Mastering Seams and Hems on Stretch Fabrics
This is the moment your project truly takes shape. A beautifully executed seam on a stretchy fabric is a mark of true craftsmanship—the kind of detail that turns a simple project into something truly bespoke. It’s what separates a custom pillow that just looks good from one that feels like it belongs in a high-end Buckhead home.
Forget everything you know about a standard straight stitch. On a stretch fabric, it’s just a ticking time bomb, destined to snap under the slightest pressure. To create seams with durability and a clean, designer look—the kind you’d find on a Verellen sofa—you need stitches that move and flex with the material.
Before you even touch the machine, choosing the right combination of tools is the foundation for getting these seams right. This simple flow shows you how to think about it.
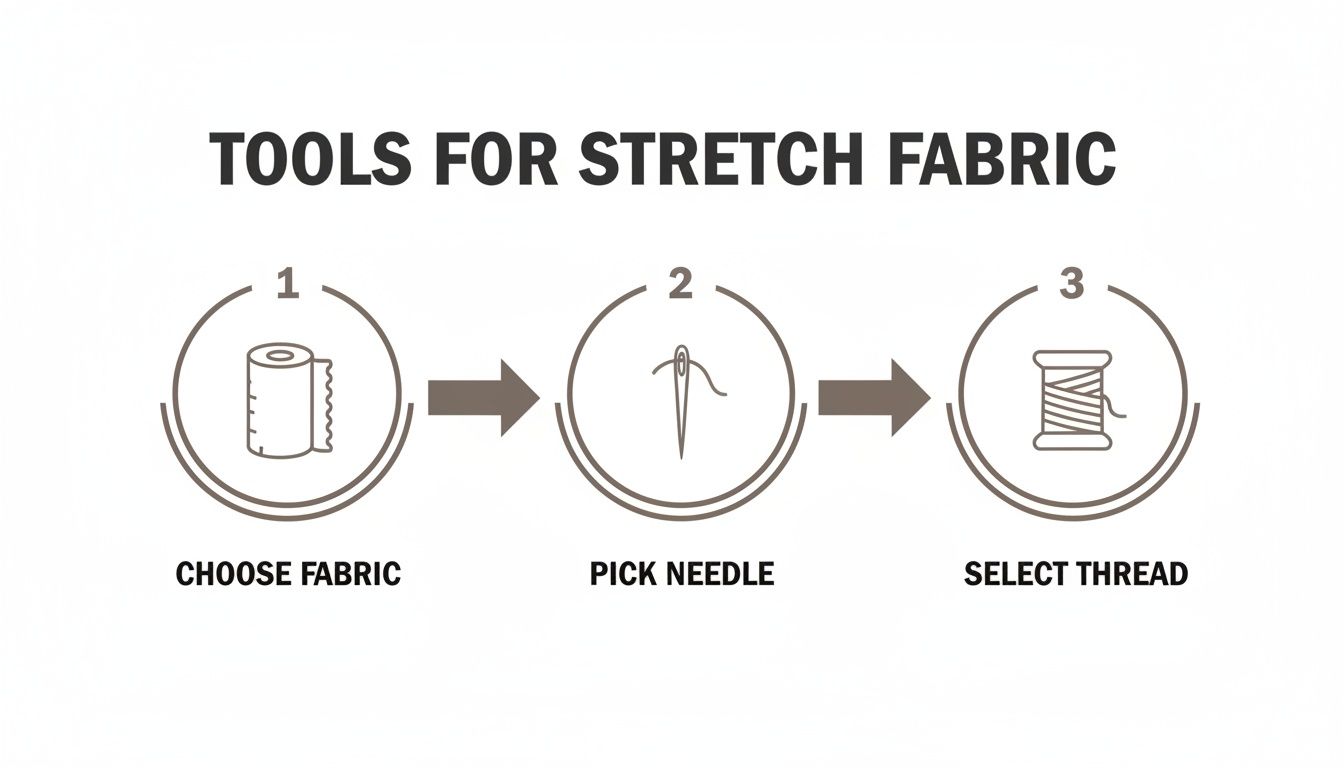
Think of this as your pre-flight checklist. Taking a deliberate approach here ensures your tools are perfectly matched before you sew a single stitch.
Your Go-To Stitches for Flexible Seams
The good news is that your sewing machine is likely already equipped with everything you need. You don’t need a fancy setup to achieve a professional result; you just need to know which stitches to select.
Here are the workhorses for sewing stretchy fabrics:
- The Narrow Zigzag Stitch: This is the universal solution. A very narrow zigzag (I usually start with a 1.5 mm width and 2.5 mm length) creates a seam that looks nearly straight but has enough built-in give to stretch without breaking. It’s perfect for everything from custom slipcovers to fine apparel.
- The Lightning Bolt Stitch: If your machine has this option, use it. It looks like a jagged, slanted line and is specifically designed to provide significant stretch while maintaining a strong, clean seam line. It's an excellent choice for high-stretch fabrics.
- The Triple Stretch Stitch: This stitch sews each stitch three times—forward, backward, then forward again. It creates an incredibly durable, stretchable seam, ideal for high-stress areas like the crotch seam of pants or reinforcing upholstery on a well-loved piece.
The secret to a perfect seam is allowing it to stretch. A stitch that flexes with the fabric is non-negotiable. Always test your chosen stitch on a scrap piece of your project fabric to dial in the perfect length and width before starting on the real thing.
Hems That Look Store-Bought
A well-executed hem is the final touch that signals real quality. For knits, a twin needle is your best friend. It creates two parallel lines of stitching on the top and a zigzag pattern on the underside, perfectly mimicking the look of a coverstitch machine—the gold standard for hemming knits. This simple technique produces a clean, professional, and stretchy hem that elevates any project.
Knowing your seam allowance is also critical for a polished finish. Consistent allowances are what make your pieces fit together perfectly. For a comprehensive overview, explore our detailed seam allowance guide to master this fundamental skill.
Sewing Machine vs. Serger: What’s the Real Difference?
A lot of people think a serger (or overlocker) is essential for sewing knits. And while a serger is fantastic—it trims the fabric and encases the raw edge in thread for a flawless finish—it is absolutely not a requirement. You can get beautiful, durable results with just your standard sewing machine.
Here's a realistic comparison:
| Feature | Standard Sewing Machine | Serger (Overlocker) |
|---|---|---|
| Seam Finish | Seam is constructed but the raw edge remains exposed. You can finish it with a wider zigzag or leave it raw on knits that don't fray. | Trims the seam allowance and wraps the edge in thread for a clean, professional finish all in one step. |
| Stitch Type | Uses a single needle (or twin needle) and a bobbin to create stitches like the zigzag or lightning bolt. | Uses multiple threads (typically 3 or 4) to create an overlocking stitch that is inherently stretchy. |
| Best For | Excellent for construction, topstitching, and hemming with a twin needle. Versatile for all types of sewing. | Best for quickly constructing durable, flexible seams and finishing edges. It excels at speed and neatness. |
Don't let the lack of a serger hold you back. The right techniques turn fine fabrics into timeless pieces. For interior designers, our Lewis and Sheron Trade Program offers exclusive access to designer fabrics and resources to perfect these skills.
How to Stabilize and Support for a Flawless Finish
Even the most luxurious stretch fabrics need a bit of behind-the-scenes support to really shine. This is where the real craftsmanship comes in—the kind of insider knowledge that takes a project from just "good" to truly exceptional. We’re talking about stabilizers and interfacing, the unsung heroes of sewing.
Think of them as the hidden foundation of your work. They add structure in key places to prevent sagging, distortion, and stretching out over time. When you’re crafting fine furniture and custom pieces meant to last for years in beautiful Atlanta homes, this step isn't just a good idea; it's essential.
Why Interfacing Is Your Best Friend
Interfacing is a separate material you apply to your main fabric to add body, stiffness, or stability. For stretch fabrics, it's critical to use an interfacing that stretches with your material. If you try to use a rigid, non-woven interfacing on a knit, you’ll end up with a stiff, unnatural-looking piece that completely defeats the purpose of using a stretch fabric in the first place.
A fusible knit interfacing is an absolute game-changer here. It has a heat-activated adhesive on one side that bonds right to your fabric with an iron. It adds just the right amount of support without killing the fluid drape and comfort of the knit, making it perfect for reinforcing plackets, collars, or the edges of a custom cushion.
Strategic Stabilization Techniques
Sometimes, you don't need to interface the entire piece. Instead, you just need to stabilize a specific area that’s going to be under stress. This is where targeted techniques come in handy—the very same ones our workroom uses to perfect custom upholstery for designers from Milton to Marietta.
Here are a few common scenarios where a little extra support goes a long way:
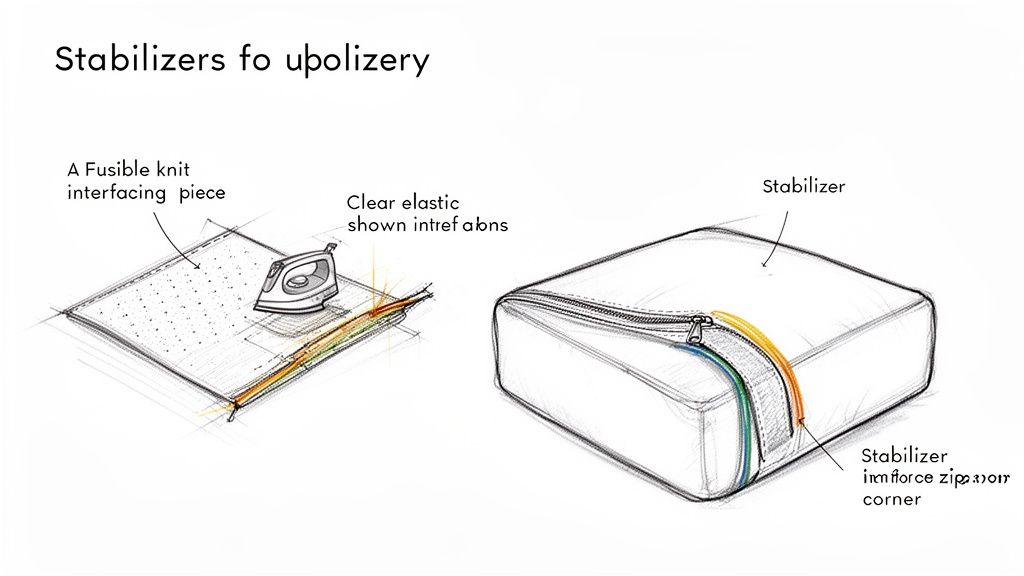
- Zippers in Cushions: Putting a zipper into a stretchy cushion cover can be a real headache. The fabric loves to warp and pucker under tension. The simple fix? Iron a thin strip of fusible knit interfacing along both sides of the zipper opening before you start sewing. This instantly tames the fabric, creating a stable, non-stretch area to work with for a perfectly smooth result.
- Shoulder Seams: Over time, the weight of a slipcover can cause shoulder seams to stretch and droop. To stop this from happening, just stitch a piece of clear elastic directly into the seam allowance as you sew. The elastic is nearly invisible but gives the seam incredible strength and recovery, keeping that shoulder line crisp and defined for the long haul.
- Reinforcing Corners: The corners of a custom slipcover for an Ambella dining chair see a lot of wear and tear. To give them longevity, fuse a small square of interfacing onto the wrong side of the fabric at each corner before you sew the seam. This tiny step prevents the corner from stretching out of shape and adds the durability a timeless piece needs.
The goal of stabilization is never to eliminate stretch entirely. It's to control it. You're adding structure precisely where it's needed to ensure the final piece looks as impeccable as the day it was made, for years to come.
This thoughtful approach is what elevates a project from simply being "made" to being "crafted." It’s the kind of detail that ensures your work stands the test of time, blending beautiful design with practical durability—a hallmark of the luxury furniture Atlanta designers find in our showroom.
Wrestling With Knits: A Troubleshooting Guide
Even after years in the business, every now and then a tricky knit fabric will throw us for a loop. Wavy seams, skipped stitches, and that gut-wrenching moment your fabric gets sucked into the machine—we’ve seen it all right here in our Atlanta workroom.
But a little frustration shouldn’t stand between you and a gorgeous custom piece. Think of this as having a Lewis and Sheron expert by your side, sharing the hard-won wisdom from countless projects to help you turn a potential sewing disaster into a design triumph.
Why Are My Seams Wavy and Stretched Out?
This is, without a doubt, the number one complaint we hear. You guide your fabric through the machine perfectly, but the finished seam looks like a piece of fried bacon. This "lettuce edge" effect is almost always caused by one thing: you're stretching the fabric as you sew.
It’s an incredibly easy mistake to make, especially with slippery or heavy knits. Even the weight of the fabric hanging off your sewing table can be enough to distort the seam as it goes under the needle.
Here’s how to fix it:
- Let the machine do the work. Your only job is to guide the fabric gently. Don't push it or pull it from behind.
- Support the weight. Make sure your entire project is resting on the table, not dangling off the edge.
- Use a walking foot. This is a game-changer. A walking foot has its own set of feed dogs that grip the top layer of fabric, moving it in perfect sync with the bottom layer to prevent stretching.
- Check your presser foot pressure. If your machine allows for adjustments, try reducing the pressure slightly. Too much pressure can mash and stretch the fabric as it moves.
Solving the Mystery of Skipped Stitches
Skipped stitches are those annoying little gaps in your seam where the needle failed to form a complete stitch. They’re a huge red flag that something is off in your setup. It's not the fabric's fault; it's a communication breakdown between your needle and the machine's hook.
The culprit is almost always the needle. You absolutely must use a ballpoint or stretch needle. A standard sharp needle will pierce and tear the delicate knit fibers, causing the fabric to bounce and the hook to miss the thread loop entirely.
If you’re already using the right type of needle, try these fixes:
- Change your needle. Needles get dull after about 8 hours of sewing. A fresh needle is often the simplest solution.
- Check the needle size. A heavier knit upholstery fabric from our fine fabrics Alpharetta collection requires a larger needle (like a 90/14) than a lightweight jersey.
- Rethread everything. Take both the top thread and the bobbin out and rethread the machine carefully. Sometimes a tiny, unseen snag is all it takes to throw off the tension.
Keeping Fabric Edges from Curling
Many knits, especially single knits like jersey, love to curl along the cut edges. While this doesn't affect the fabric's quality, it can make it incredibly frustrating to cut accurately and sew a straight seam.
The simplest trick is to use a spray starch or a temporary spray stabilizer. A light mist along the edges gives the fabric enough body to lie flat, and it will wash out completely once your project is finished.
Since our founding in 1944, Lewis and Sheron has seen every fabric trend come and go. We've built our reputation by offering expert guidance and the finest textiles. Our custom upholstery services help Atlanta designers and homeowners avoid common pitfalls like wavy seams and fabric distortion. You can learn more about our story on our website.
When you're in the middle of a project, the last thing you want to do is stop and research. Here's a quick-reference chart to help you diagnose and solve the most frequent issues on the fly.
Common Stretch Fabric Sewing Issues and Solutions
| Problem | Potential Cause | How to Fix It |
|---|---|---|
| Wavy or "Lettuce Edge" Seams | Stretching fabric while sewing; presser foot pressure too high. | Let the machine feed the fabric; don't pull. Support the fabric's weight. Use a walking foot. Reduce presser foot pressure. |
| Skipped Stitches | Wrong needle type (using a sharp instead of ballpoint/stretch); dull or damaged needle. | Switch to a ballpoint or stretch needle. Insert a new needle. Ensure needle is fully inserted. |
| Fabric Gets "Eaten" by Machine | Fabric is too lightweight; starting seam too close to the edge. | Use a stabilizer (tear-away or wash-away) to start. Begin sewing slightly in from the edge. Use a straight stitch needle plate. |
| Curling Edges | Natural property of single-knit fabrics like jersey. | Use spray starch or temporary stabilizer. Use plenty of pins or fabric weights. A serger can also help by trimming and finishing the edge in one step. |
| Thread Bunching or "Nesting" | Incorrect machine threading; tension issues. | Completely rethread the top thread and the bobbin. Check your machine's tension settings. Clean out any lint from the bobbin area. |
Keep this handy, and you’ll find that most problems are just a small adjustment away from being solved.
Finally, beyond the challenges of sewing, keeping your finished pieces looking pristine is just as important. To maintain the beauty of your custom creations, learn more about tackling common fabric issues like pilling and ensure your work stands the test of time.
Your Questions on Sewing Stretchy Material Answered
We hear a lot of the same questions about working with high-end stretch textiles from designers and homeowners who visit our Buckhead showroom. To help you feel more confident with your next project, we've put together some clear, straightforward answers to the most common ones.
Let's get right into it.
Do I Really Need a Serger to Sew Stretchy Fabrics?
Honestly? No, you absolutely don’t. It’s a common myth that you can't get a beautiful, durable finish without one. While a serger creates that gorgeous, professional edge you see on high-end pieces, a standard sewing machine can get you fantastic results.
The secret is all in the stitch. A narrow zigzag or a specialty stretch stitch (look for the little lightning bolt icon on your machine) gives the seam the flexibility it needs. When it comes to hemming, a twin needle is your best friend. It creates two perfect, parallel lines of stitching on top and a zigzag underneath, beautifully mimicking a coverstitch for that polished, ready-to-wear look.
Think of a serger as a luxury, not a necessity.
What Is the Best Stitch Setting for a Zigzag on Knits?
This is a great question because getting the settings just right is half the battle. For most medium-weight knits—the kind you’d use for a custom slipcover or some cozy French terry accent pillows—a narrow zigzag stitch is your best bet.
A great place to start is with a width of 1.5 mm and a length of 2.5 mm. This creates a seam that looks almost straight but has just enough give to stretch with the fabric, so you'll never have to worry about popping a thread. This tiny adjustment makes a huge difference.
Quick tip: Always, always test your settings on a scrap of fabric first. Lighter fabrics might need a slightly shorter stitch, while a heavy upholstery knit might do better with a longer one. A few test seams will save you a world of frustration down the road.
How Do I Stop My Fabric From Stretching While I Sew?
The golden rule is this: let the machine do the work. This is probably the biggest piece of advice we give to designers who stop by our Atlanta fabric showroom. Resist the urge to pull or push the fabric through the machine. Your only job is to guide it gently.
A walking foot is also a total game-changer. It has its own set of feed dogs that grip the top layer of fabric, making sure it moves at the exact same speed as the bottom layer. This one simple attachment is the best tool for preventing those wavy, stretched-out seams that can ruin a project.
Also, be mindful of gravity. Never let the weight of your fabric hang off the sewing table. This will distort the material before it even gets to the needle, guaranteeing a stretched seam. Make sure the entire project is supported on your work surface.
Can I Use a Regular Needle for Stretch Fabric in a Pinch?
We would strongly, strongly advise against it. It might seem like a minor detail, but it’s often the difference between a durable, beautiful seam and a project plagued by skipped stitches and tiny holes.
Here’s why it matters so much:
- A regular needle has a sharp point designed to pierce through woven fibers. When you use it on a knit, it actually shreds the delicate looped threads, causing permanent damage and runs.
- A ballpoint or stretch needle, on the other hand, has a rounded tip. Instead of piercing the fabric, it gently pushes the fibers aside and slides between them to form the stitch. No damage done.
Think of it this way: you wouldn't use a kitchen knife for a delicate surgery. It’s a small tool, but it makes a massive difference in the quality and lifespan of your final piece—whether it's a simple pillow or a complex custom upholstery project for a Wesley Hall sofa. It’s a corner you should never, ever cut.
Ready to find the perfect fabric for your next project? At Lewis and Sheron Textiles, our Buckhead showroom is a playground for designers and homeowners alike, filled with exquisite textiles and timeless furniture. From Verellen to LEE Industries, we have everything you need to bring your vision to life. Visit us in Atlanta or explore our collections online.