


Ever wonder how Atlanta's top designers get those invisible hems on custom drapery or a high-end Wesley Hall sofa?
It’s not magic. It’s the blind stitch—a clever technique that tucks the thread inside the fabric's fold. This is the secret that separates true craftsmanship from mass-produced mediocrity.
It's the mark of quality you'll find in the finest homes from Buckhead to Milton.
The Secret to an Invisible Hem
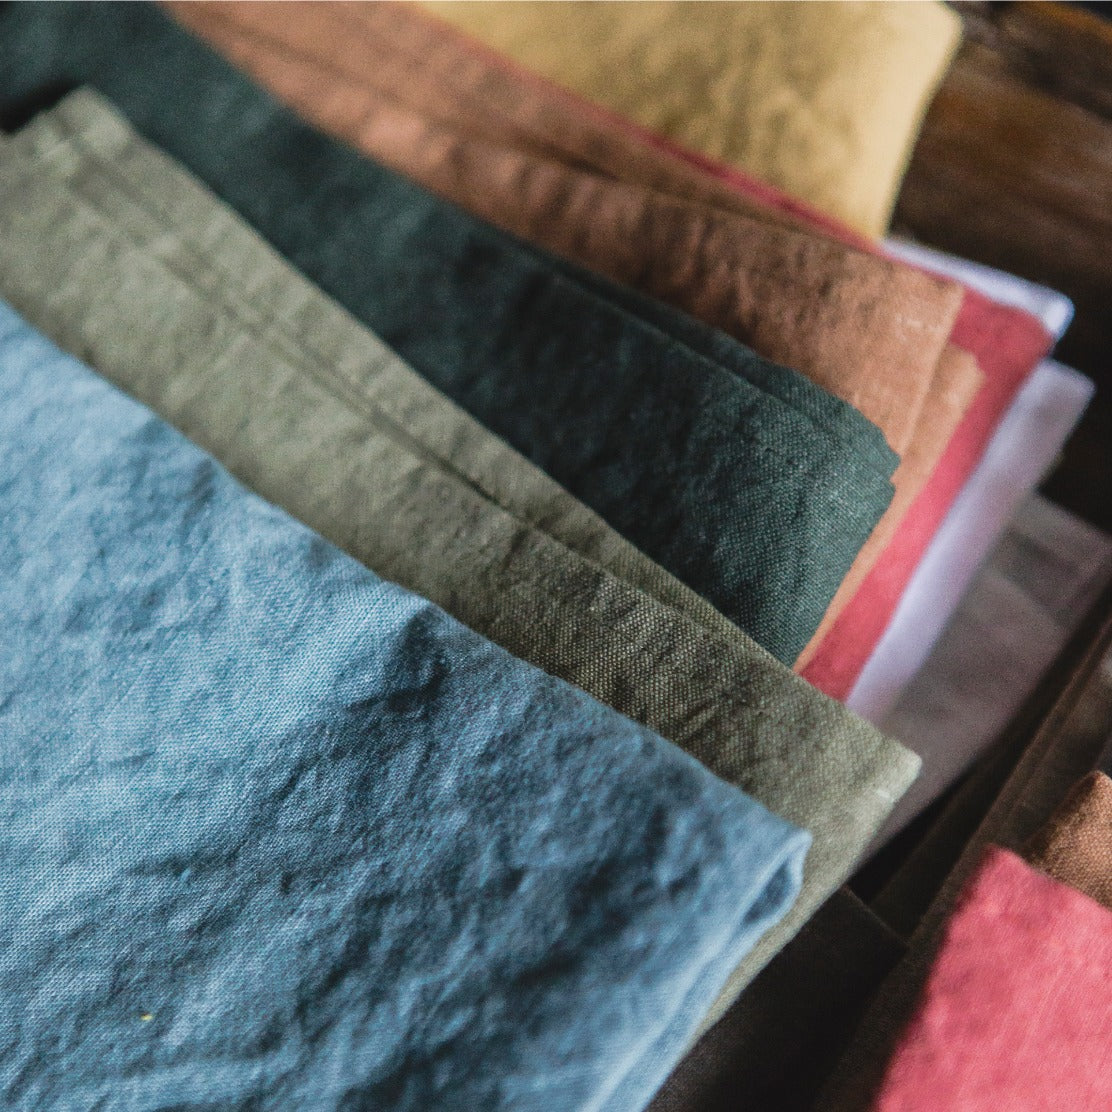
Walk into any luxury furniture Atlanta showroom, and you’ll find the handiwork of the blind stitch. It’s the finishing touch on a Verellen sofa, the clean edge on a Lee Industries chair, and the detail that gives exquisite fabrics their graceful drape.
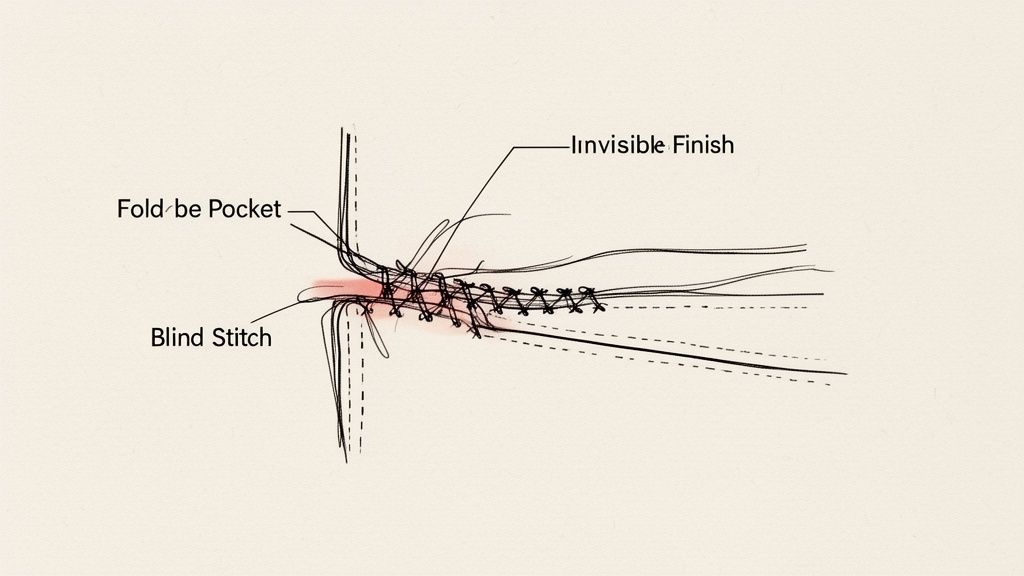
This stitch defines quality. It creates a seamless look where the thread virtually disappears.
Its elegance lies in its simplicity. The thread runs along the inside of the hem, only catching a fiber or two from the main fabric. The result? A strong, durable hem with no visible stitching on the outside—just a clean, uninterrupted flow of beautiful material.
This is precisely why it’s the go-to for professionals working with our exclusive designer fabrics.
A Timeless Technique for Modern Design
The blind stitch isn’t new; it’s a cornerstone of fine sewing perfected over centuries. Historically, it traces back to 19th-century garment making, where seamstresses used it for an estimated 85% of fine hems in detailed dresses. It became indispensable in the upholstery world right around the time Lewis and Sheron opened its doors in 1944, cementing its role in Atlanta’s design history. You can learn more about the history of this essential stitch.
This technique is the quiet signature of quality. It tells you a piece was finished with intention and an eye for detail, not just speed.
Whether you're restoring a treasured family heirloom with our custom upholstery services or creating something new, understanding this stitch is crucial.
For designers in our trade furniture program, mastering it means delivering the polished, high-end results clients in Roswell, Marietta, and across North Georgia expect. It’s the key to transforming beautiful material into an exquisite final product.
Blind Stitch At a Glance
The blind stitch isn't just about hiding thread; it's about elevating the entire piece. It signals a higher level of care and quality in everything from drapery to upholstery. Here’s a quick breakdown of what makes it essential for professional-grade results.
| Technique | Best For | Result |
|---|---|---|
| Hand Blind Stitch | Delicate fabrics, curved hems, ultimate control | A truly invisible, couture-quality finish |
| Machine Blind Hem | Straight hems on drapery, trousers, and skirts | Fast, consistent, and nearly invisible seams |
| Professional Application | High-end upholstery, custom drapery panels | Flawless, durable construction that lasts for years |
Ultimately, whether by hand or machine, the blind stitch ensures the focus stays on the beauty of the fabric, not the construction. It's the mark of a project finished with mastery.
Gathering Your Tools for a Perfect Blind Hem
Before you make a single stitch, let's get your station set up.
Having the right tools isn’t a nice-to-have; it separates a project that looks professionally handcrafted from one that simply looks homemade. Think of it as preparing the stage before the performance.
For the art of hand-stitching, your toolkit is about elegance and precision. You’ll want a fine, sharp needle—a 'between' or 'sharp' will do beautifully. Pair that with high-quality thread that matches your fabric's color and weight, sharp fabric shears, a reliable measuring tape, and a good steam iron for pressing crisp, clean folds.
The Machine Stitching Essentials
When a project demands speed and consistency—like hemming custom draperies for a home in East Cobb—the sewing machine is your best friend.
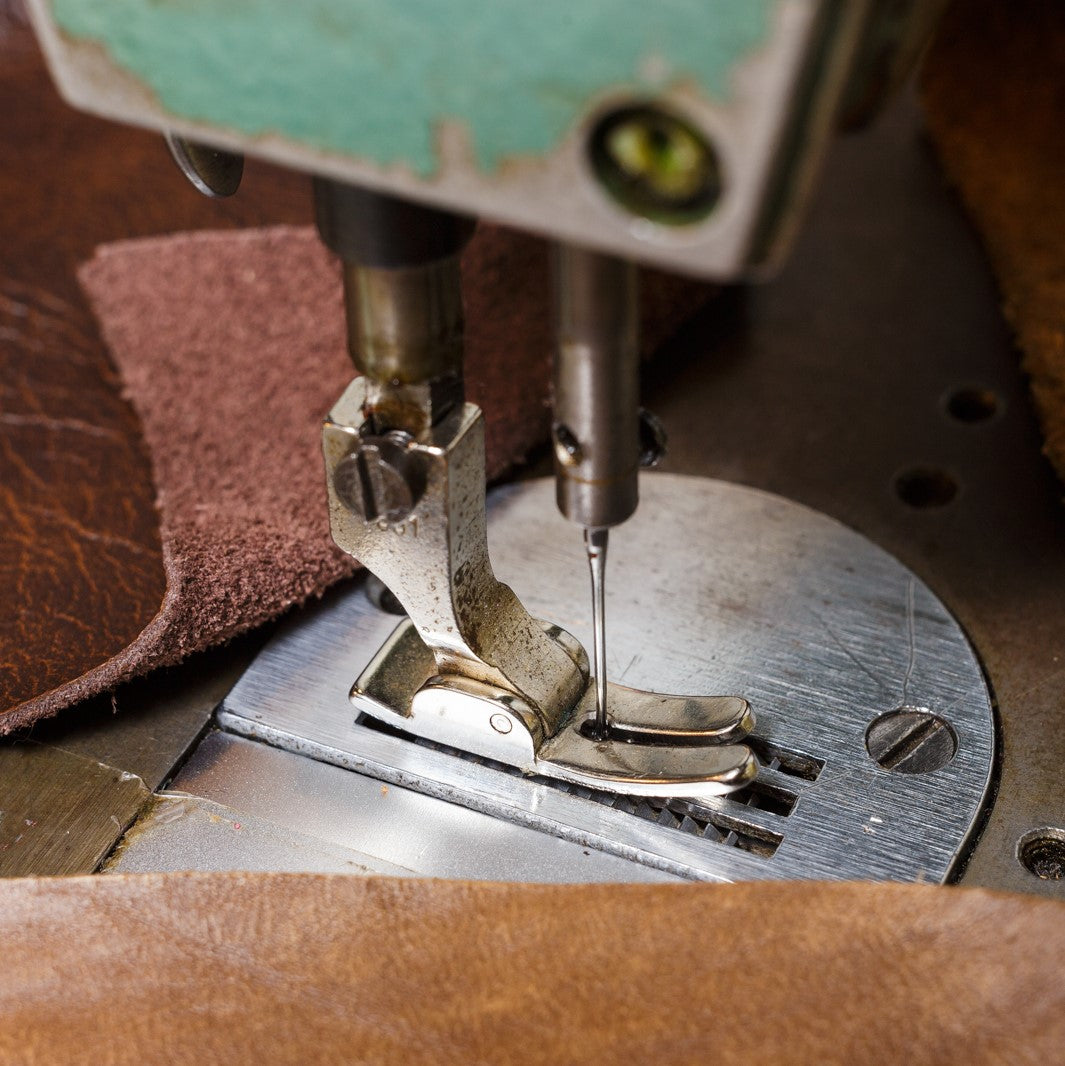
The absolute star of this show is the blind hem foot. This specialized attachment has a small guide that runs along the fabric's fold, making sure each stitch grabs just a tiny, imperceptible bit of material. It's the secret to how a machine mimics the delicate touch of a hand-sewn hem with incredible speed.
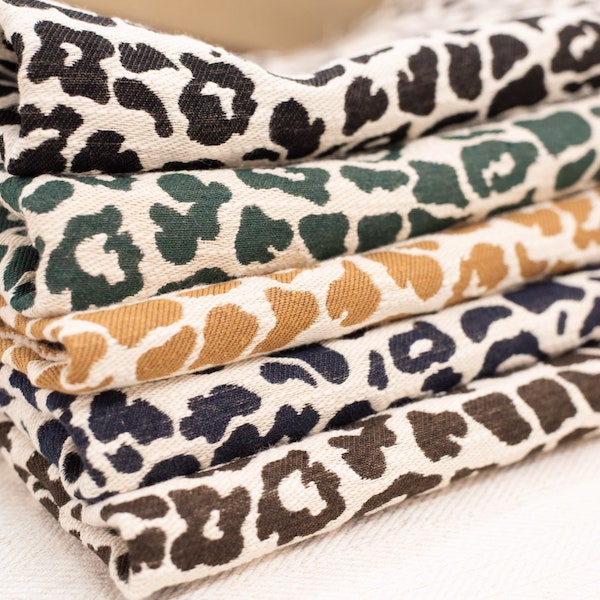
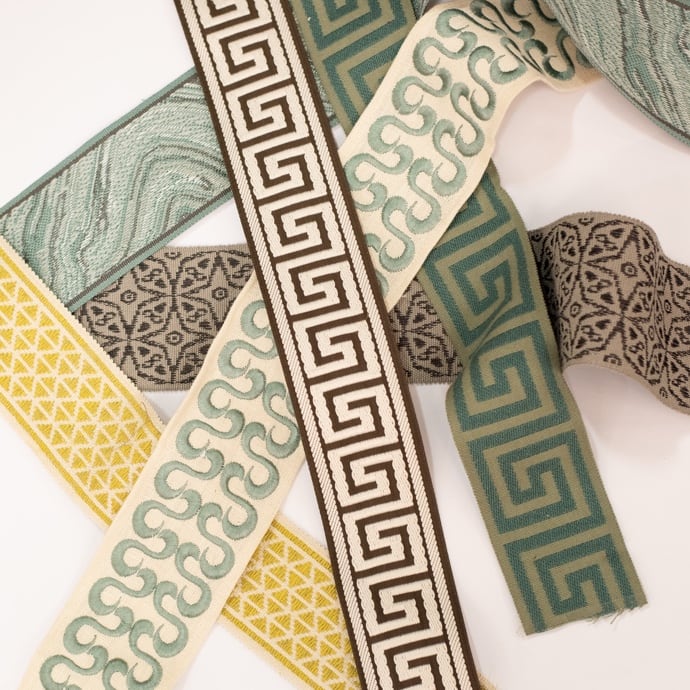
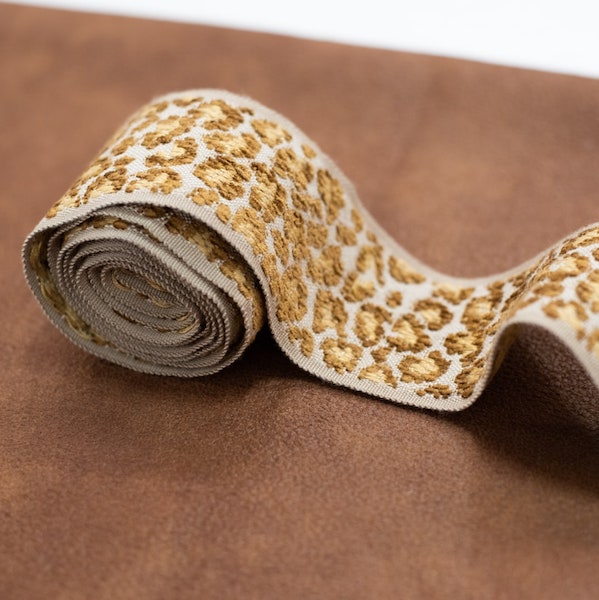
The right thread is equally vital. When you visit our Atlanta fabric showroom, you can choose a thread that disappears into the background of designer fabrics, whether it’s a delicate Kravet silk or a sturdy Libeco linen. It’s this detail that gives your work the polished look you see in high-end furniture from Buckhead to Milton.
A perfect blind hem begins long before the first stitch. It starts with tools and materials that respect the quality of your fabric.
Beyond the Basics
Needles and thread are the main event, but a few other items truly elevate your work. These small tools are the unsung heroes behind a professional finish. For a closer look, you might find our guide on what sewing notions are helpful.
- Fabric Marking Tool: A chalk pencil or disappearing ink pen is perfect for marking your hemline with precision. It’s the key to a perfectly even fold.
- Seam Ripper: Mistakes happen. A sharp seam ripper is your best friend for carefully removing wayward stitches without damaging your fabric.
- Pressing Cloth: Essential for protecting delicate textiles from direct heat. It’s critical when working with fine silks or synthetic blends from our fine fabrics Alpharetta collection.
Mastering the Hand-Stitched Blind Hem
There’s a certain romance to a hand-stitched hem—a quiet mark of true craftsmanship a machine can’t replicate. It’s the method our own expert upholsterers use when restoring a cherished family heirloom or putting the final touches on a custom Verellen sofa. This is your guide to mastering that art.
First step: preparation. A perfect hem is born from a perfectly pressed fold. Carefully measure and press your hem allowance to the wrong side of the fabric. Use a good steam iron to create a sharp, defined crease. This single act is the foundation for a professional finish.
Once your fold is set, thread your needle and anchor it. The secret is to hide the knot completely. Slide your needle inside the pressed hem fold and bring it out through the crease. This simple move tucks the knot away, making it invisible.
This flow chart breaks down the essential tool workflow for achieving a perfect blind stitch.
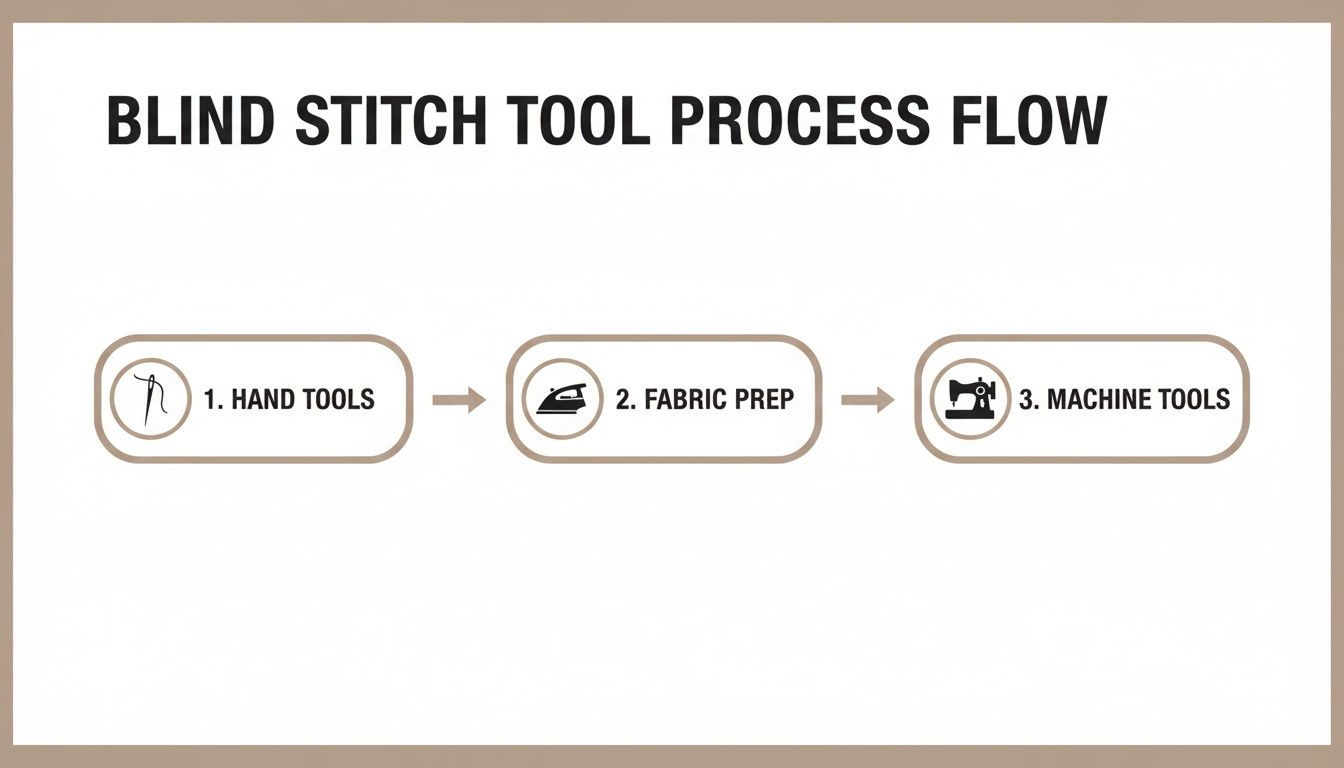
From quality hand tools to precise fabric preparation, each stage is crucial for a flawless, high-end result.
The Rhythm of the Stitch
Now for the technique itself. The hand blind stitch is a simple, repeating rhythm.
Take a longer stitch, about a quarter-inch, traveling forward through the fabric inside the hem's fold. Then, directly above where your thread came out, pick up just one or two threads from the main fabric. The key is to be discreet—the smaller this "bite," the more invisible your hem will be.
Pull the thread taut, but not so tight it puckers. Then, repeat this rhythm: a long stitch through the fold, a tiny stitch into the garment, all the way around. This methodical process is ideal for delicate designer fabrics or curved hems where a machine might struggle.
The goal is subtlety. Your stitch should be a whisper, not a statement. It secures the hem while letting the fabric’s beauty take center stage.
For a truly professional result, aim for even spacing. After ironing a sharp fold, thread a fine needle with a fabric-matched silk or polyester thread (which is 25% stronger than cotton). Hide the knot inside, pierce the fold, and then barely nip the garment side. Repeating this in even 3-5 mm stitches yields pro-level hems on 99% of formal wear and curtains without puckering.
Tension and Finishing Touches
Consistent tension is your best friend. Too loose, and the hem will sag. Too tight, and the fabric will pucker. It’s a delicate balance that becomes second nature with practice. And don't forget to manage your seam allowance consistently for a smooth, flat result.
Once you’ve mastered the hand-stitched blind hem, you can tackle more ambitious projects. This skill opens the door to creating truly bespoke pieces. You'll be ready to learn how to make lined curtains for a completely custom finish. It’s this attention to detail that elevates a space from simply decorated to beautifully designed.
Using a Machine for Quick and Elegant Hems
For grander projects—think sweeping custom draperies for a Forsyth County estate or the clean seams on an Ambella sofa—the sewing machine is your greatest ally. It brings a level of speed and precision that transforms a week-long task into an afternoon's work.
But this isn’t just about working faster. A machine-sewn blind hem, when done right, is sharp, uniform, and incredibly durable. It’s the secret weapon for many designers in our Lewis and Sheron Trade Program who need to deliver stunning, high-quality results on a tight deadline.

Setting Up for Success
The magic behind a machine blind hem comes down to one tool: the blind hem foot. This clever attachment has a vertical guide that runs along the folded edge of your fabric, keeping your stitch line perfectly straight.
Here’s how to get your machine ready:
- Attach the Foot: Swap out your standard presser foot for the blind hem foot.
- Select the Stitch: Find the blind hem stitch setting on your machine. It usually looks like a few straight stitches followed by a single, wider zigzag stitch.
- Adjust Settings: Dial in your stitch width and length. This part is crucial—you want that wide zigzag to just barely catch the fabric fold. Always test your settings on a scrap of the same material first.
The Correct Folding Technique
This is where people get tripped up, but it's simpler than it looks. You're creating a Z-shaped fold.
Press your hem up as you normally would. Then, fold the hem back down against the right side of the fabric, leaving about a 1/4 inch of the hem's raw edge showing. That little edge is where the straight stitches will land, while the big zigzag stitch catches the main fold.
The blind hem foot’s guide is your best friend. Keep the main fabric fold pressed snugly against that guide as you sew. This alignment guarantees an invisible stitch.
Troubleshooting Common Issues
Even the pros run into hiccups. If your stitches are too visible, your stitch width is likely too wide, causing the needle to grab too much material. Just dial it back a notch.
If you’re getting skipped stitches, you probably need a fresh needle. Different fabrics require different needle types. For a deeper dive, check our guide to understanding sewing machine needle sizes to make sure you have the right tool for the job.
Mastering this machine technique is a game-changer, especially for our Atlanta interior design resources who need efficiency without sacrificing that luxury furniture Atlanta finish.
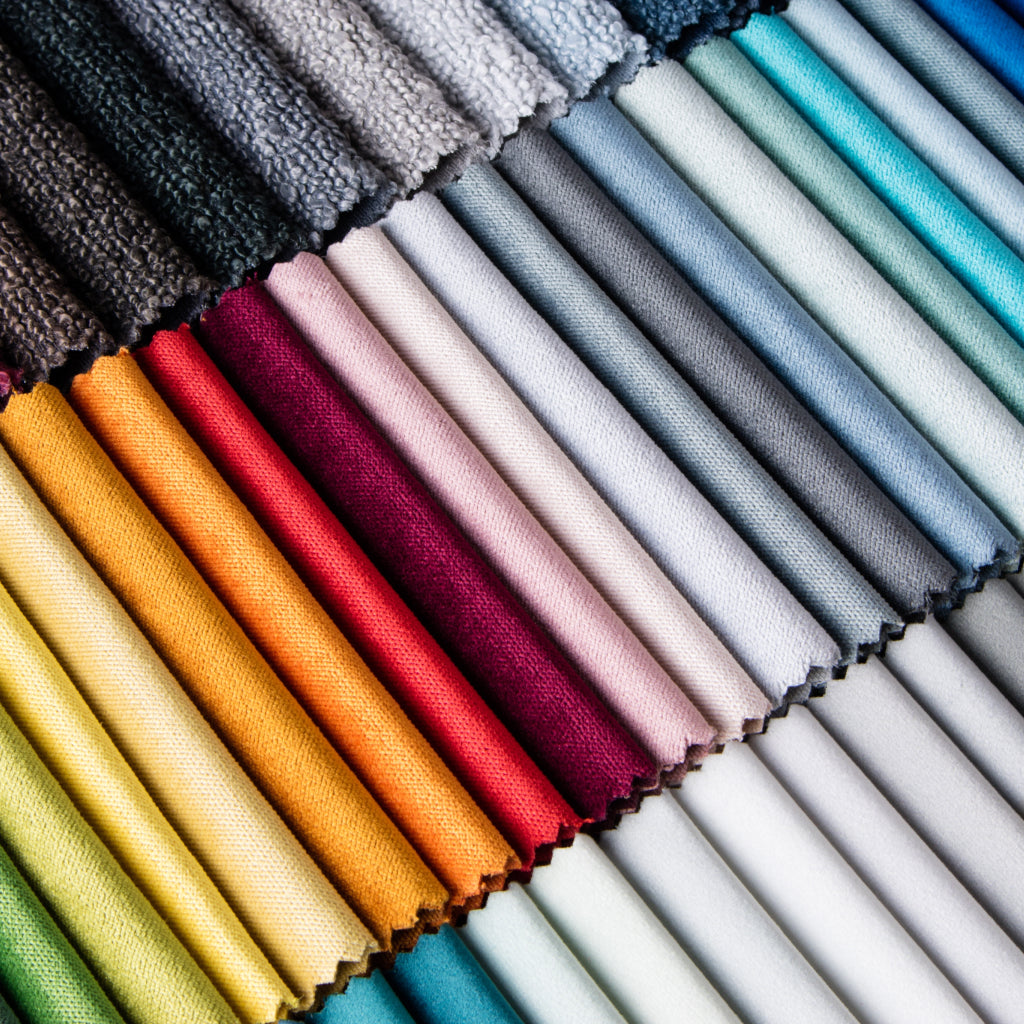
Adapting Your Stitch to Different Fabrics
Not all fabrics are created equal. Your blind stitch technique shouldn't be one-size-fits-all.
The way you handle a gossamer-light Belgian linen from Libeco is worlds apart from how you'd approach a robust Crypton performance fabric for a custom Ambella chair.
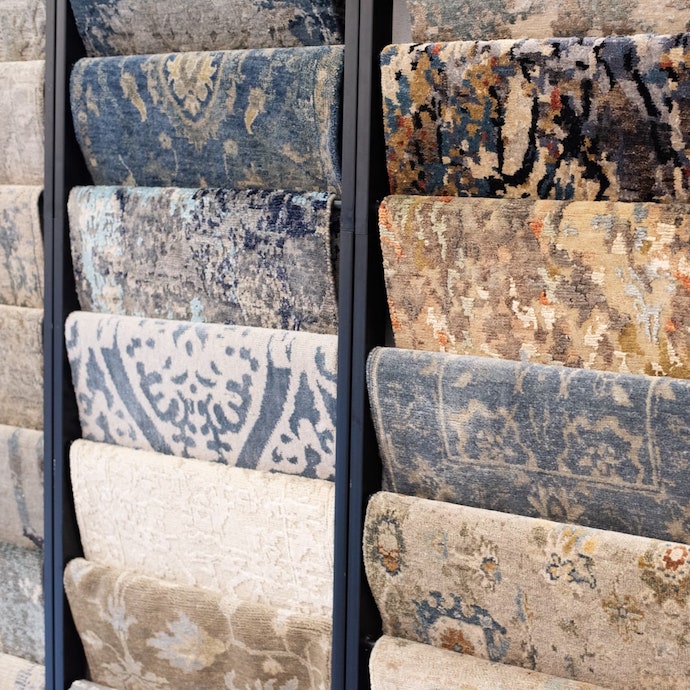
This is where expertise makes all the difference—the kind of knowledge we cultivate every day in our Buckhead showroom. Adapting your method is essential for achieving that flawless, high-end finish that defines luxury furniture in Atlanta. The wrong needle can quickly turn a beautiful project into a frustrating mess.
For Sheers and Silks
When working with delicate materials like sheer drapery or fine silks, think finesse over force. These fabrics are notorious for snagging.
- Needle: Reach for a smaller, sharper needle, like a size 60/8 or 70/10. It pierces the fabric cleanly without leaving a noticeable hole.
- Thread: Use a fine, lightweight thread, like a silk or a 60-wt polyester. Anything heavier will be too conspicuous.
The goal here is discretion. Your stitches should be small and spaced slightly closer to provide support without overwhelming the material. It's this delicate touch that makes fine fabrics from Alpharetta to Buckhead look so effortlessly elegant.
For Heavy-Duty Upholstery Fabrics
On the other end are the workhorses: heavy-duty upholstery and drapery fabrics. Think textured tweeds for a Lee Industries chair or a plush velvet destined for a Wesley Hall sofa. These materials demand strength.
For these robust textiles, scale up your approach. Use a stronger, thicker thread designed for upholstery to ensure the hem withstands years of wear. A larger needle, like a 90/14 or 100/16, will penetrate the dense weave without breaking. You can also increase your stitch length, as the fabric’s rich texture will help hide the stitches.
When you're hemming a substantial fabric, integrity is paramount. It’s not just about being invisible; it’s about creating a finish that lasts for years.
Handling Tricky Knits and Stretch Fabrics
Fabrics with stretch, like knits, present a unique challenge. A standard stitch has no give, which means threads can snap. This is a scenario where the blind stitch truly shines.
The inherent zigzag structure of a machine blind stitch offers built-in flexibility. For these materials, use your machine’s stretch blind hem stitch setting. This specialized stitch builds "give" directly into the seam, allowing the hem to expand with the fabric. It’s this thoughtful application that makes us a premier Atlanta interior design resource.
Getting the stitch right for the fabric at hand is a hallmark of quality. Here’s a quick-reference guide.
Blind Stitch Adjustments by Fabric Type
| Fabric Type | Needle & Thread | Stitch Spacing | Pro Tip | | :--- | :--- | :--- | | Lightweight Linen | Size 70/10 needle; 60-wt cotton or poly thread. | Slightly closer, about 1/4" apart. | Press the hem with steam before stitching to create a crisp, stable fold. | | Silk & Organza | Size 60/8 Microtex needle; fine silk or 100-wt thread. | Very close, 1/8" apart, and shallow. | Hand-basting the hem first prevents the slippery fabric from shifting while you sew. | | Heavy Upholstery | Size 90/14 or 100/16 needle; upholstery-weight thread. | Wider, 1/2" or more. | Catch only a couple of threads from the face fabric to keep the stitch invisible in the thick weave. | | Velvet | Size 80/12 needle; all-purpose polyester thread. | Medium, about 3/8" apart. | Always sew in the direction of the nap to avoid crushing the pile and creating shiny spots. | | Stretch Knits | Size 75/11 Ballpoint needle; polyester thread. | Medium, using the stretch blind hem setting on your machine. | Don't pull or stretch the fabric as you feed it into the machine; let the feed dogs do the work. |
Remember, this table is a starting point. The best way to guarantee a perfect result is to test your stitch on a scrap of the actual fabric you're using. A few minutes of testing can save you a world of frustration.
When to Trust the Professionals at Lewis and Sheron
Learning to execute a perfect blind stitch is a fantastic skill. But let’s be real—some projects demand a level of precision that only comes from years of experience.
Knowing when to DIY and when to call in the pros is the secret to a beautiful result every time.
Think about that complex, curved Wesley Hall sofa you’re dreaming of reupholstering. Or an entire room of floor-to-ceiling custom drapes. What about a delicate family heirloom that needs a flawless hand? These are the moments when our professional workroom becomes your greatest asset.
The Signature of Flawless Execution
Our team handles the challenges that make even patient home sewers throw in the towel. We work with the finest designer fabrics every day, so we understand the quirks of each textile. Our expert custom upholstery services ensure a perfect finish.
For designers in our Trade Program and discerning homeowners across North Georgia—from Marietta to Cumming—bringing a project to us is a strategic choice. If you're weighing options, understanding how much do alterations cost for garments can provide context for the value of bespoke work. It’s about investing in a guaranteed, impeccable outcome.
Sometimes, the smartest design decision is knowing who to trust with your vision. Our workroom is where ambitious ideas come to life with precision and care.
When you bring a project to us, you’re tapping into decades of expertise. We make sure every stitch is perfect, every seam is straight, and the final piece is worthy of the most luxurious Atlanta homes. It's the ultimate peace of mind.
Answering Your Blind Stitch Questions
Over the years in our Buckhead showroom, we’ve found that clients and designers often hit the same hurdles when creating an invisible hem. Getting it right just takes a few small tweaks. Here are the answers to the questions we hear most.
Why Is My Blind Stitch Showing on the Right Side?
This is the number one issue we see, and thankfully, it’s an easy fix.
If you’re sewing by hand, you’re probably catching too much fabric. The trick is to be incredibly delicate. You want to grab just one or two threads of the main fabric. A light touch makes all the difference.
On a machine, a visible stitch almost always means the stitch width is set too wide—the "zig" is jumping too far over the fold. Dial back the width so the needle barely nicks the folded edge. We can't stress this enough: always test on a scrap of your designer fabric first.
Can I Use a Blind Stitch on Heavy Upholstery Fabric?
Absolutely. In fact, it’s the gold standard for a clean, high-end finish on furniture from premier brands like Lee Industries and Wesley Hall. The key is adjusting your tools.
- Switch to a stronger, high-quality upholstery thread that can handle the tension.
- Use a larger, sharper needle, like a 90/14 or 100/16. This will penetrate the dense weave without snapping.
- Increase the space between your stitches to about 1/2 inch to accommodate the fabric's bulk.
What Is the Difference Between a Blind Stitch and a Slip Stitch?
Think of them as close cousins in invisible sewing. Both are masters of disguise, creating the unseen seams that elevate luxury furniture and custom upholstery projects across Atlanta.
The main difference is the motion. A blind stitch moves in a zigzag pattern, catching the two pieces of fabric at an angle. A slip stitch, on the other hand, runs parallel to the fold. The needle "slips" through the folded edge for a longer distance before taking a tiny bite out of the other fabric. Both are fantastic, though many upholsterers find the blind stitch to be slightly stronger—ideal for heavier applications.
At Lewis and Sheron Textiles, we believe the finest details make the biggest impact. Whether you're hunting for the perfect fine fabrics in Alpharetta or seeking expert advice for your next project, our team is here to help you achieve a flawless, professional finish. Explore our full range of collections and services at lsfabrics.com.