


Forget bulky, obvious seams. When you want true craftsmanship—the kind of detail that elevates a project from homemade to bespoke—the blind hem stitch by hand is the only way to go.
It’s the secret to the clean, uninterrupted drape you see in high-end draperies and couture garments. It’s the invisible detail that lets exquisite, designer fabrics truly sing.
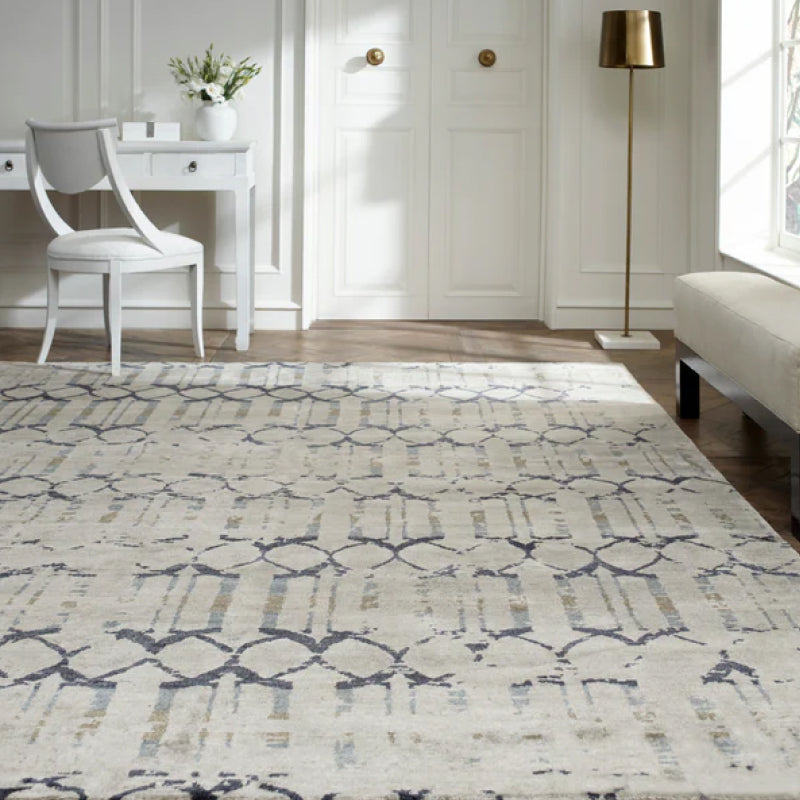
This is how Atlanta’s finest homes get that flawless, showroom look.
The Secret to an Invisible Hem
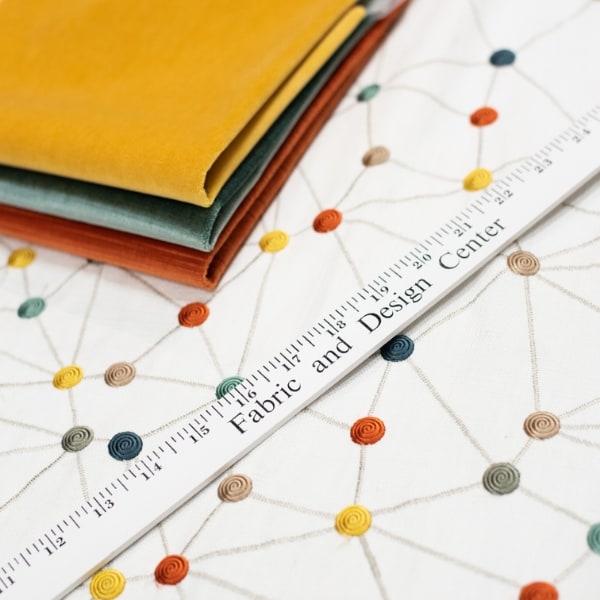
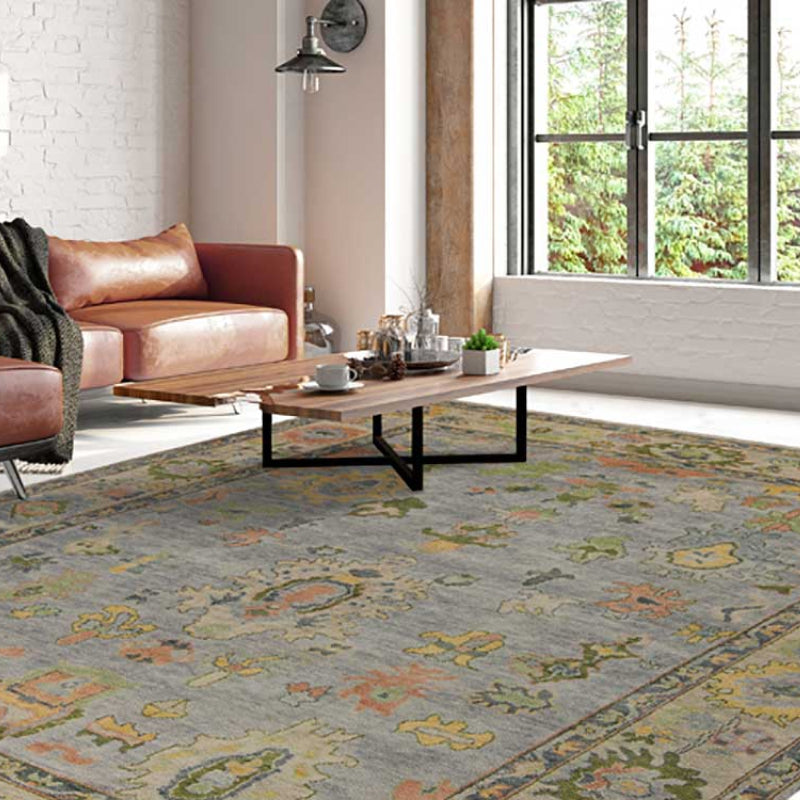
When you invest in designer fabrics from our Atlanta showroom, the finish is everything. A clunky machine hem can ruin the elegant line of a custom drapery panel or the graceful flow of a skirt.
This is exactly why the blind hem stitch is such a game-changer.
It’s an almost magical skill, one that Atlanta's top interior designers have long favored. Why? Because it creates a flawless, professional edge that seems to float. This nearly invisible stitch is a hallmark of quality construction—a quiet detail that speaks volumes about the care put into the work.
A Timeless Mark of Quality
The beauty of a hand-sewn blind hem lies in its subtlety. The needle just barely catches a few threads of the fabric—usually 1/8 to 1/4 inch from the folded hem edge—making the seam virtually undetectable from the right side.
This isn't some new trick; it echoes ancient practices focused on quality and longevity. You can explore more about this historical sewing technique and see its enduring appeal.
This dedication to lasting quality is why you’ll still find this stitch on high-end furniture and drapery from respected brands like Verellen and Wesley Hall. It ensures the fabric, not the construction, is the star of the show.
Why Designers Insist On It
For discerning clients in Buckhead, Roswell, or Alpharetta, the details make the design. A hand-stitched hem gives you more than an invisible finish; it provides a softer, more flexible drape a machine can't replicate.
Here’s why it’s the professional’s choice for luxury furniture in Atlanta:
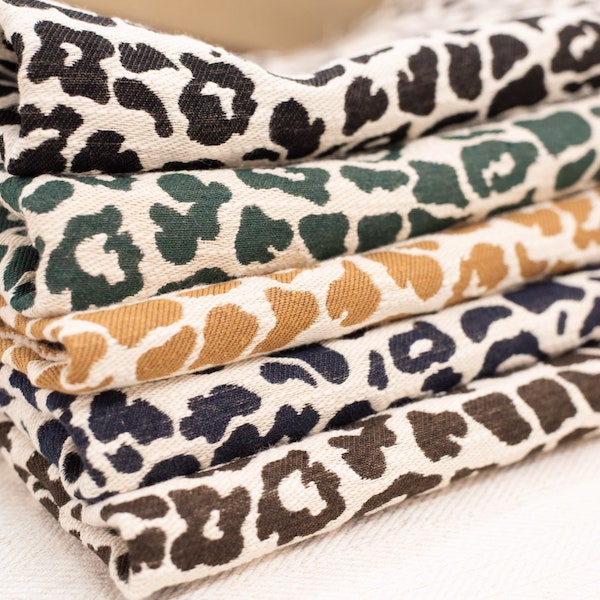
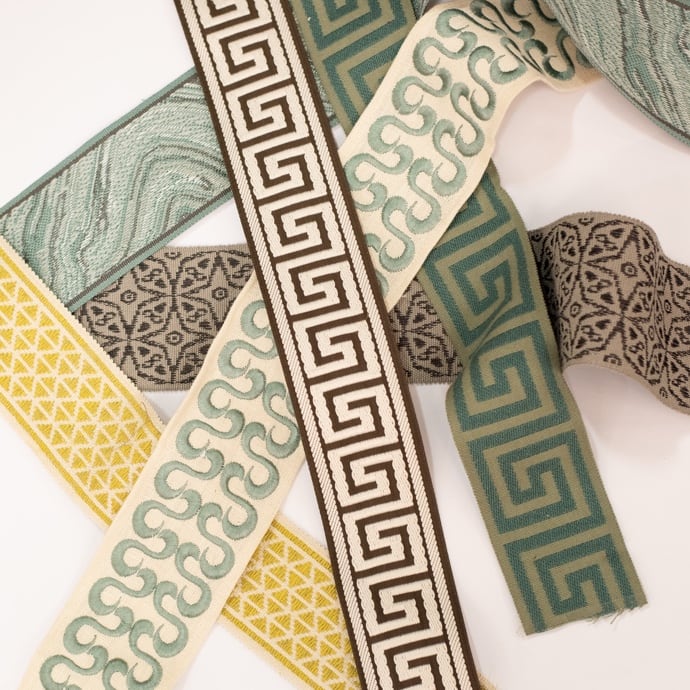
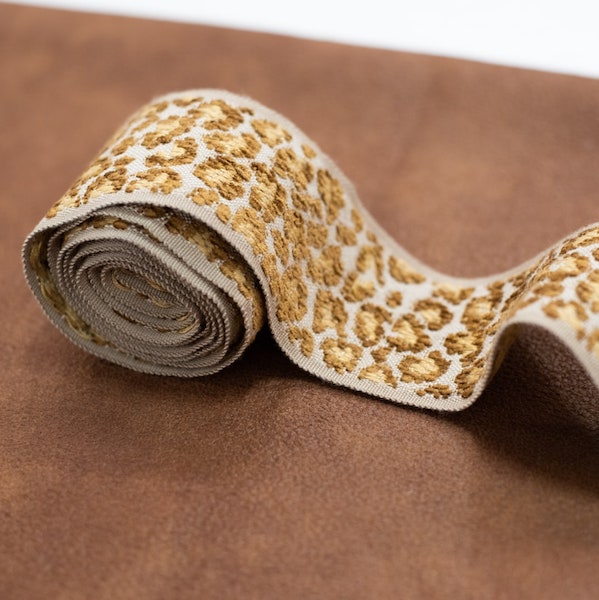
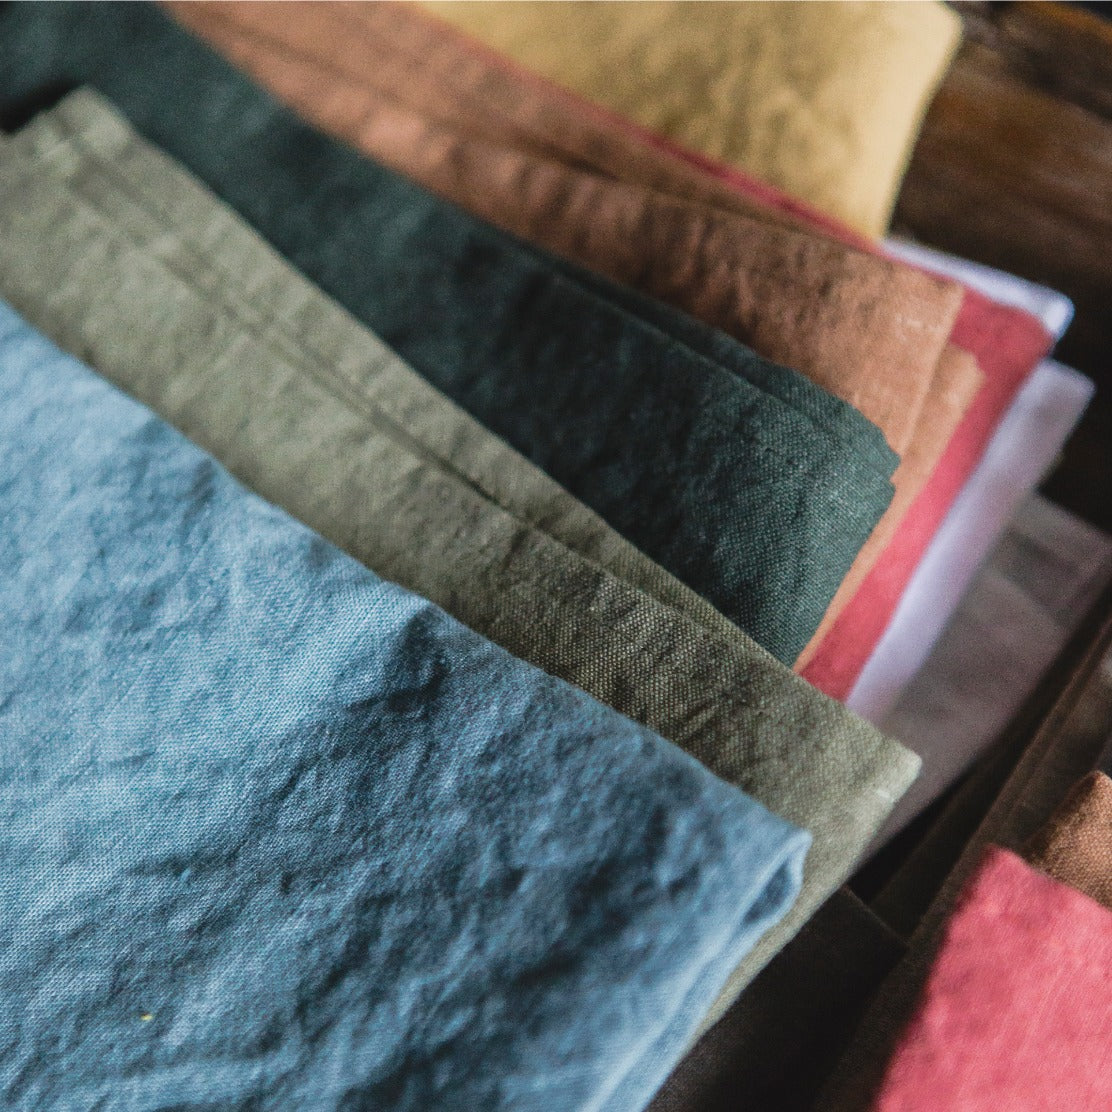
- Uninterrupted Flow: It preserves the natural fall of the fabric, crucial for luxury materials like Belgian linens and silks found in our exclusive textile collections.
- Superior Control: Hand-stitching allows for tiny adjustments in tension, preventing the puckering that often happens with machine hems on delicate or heavy textiles.
- Bespoke Elegance: It signals a level of artistry that defines high-end custom upholstery and drapery. It’s what you expect from fine fabrics in Alpharetta.
It’s the secret that ensures your designer fabrics from Lewis and Sheron get the flawless, professional treatment they deserve.
Gathering the Right Tools for the Job
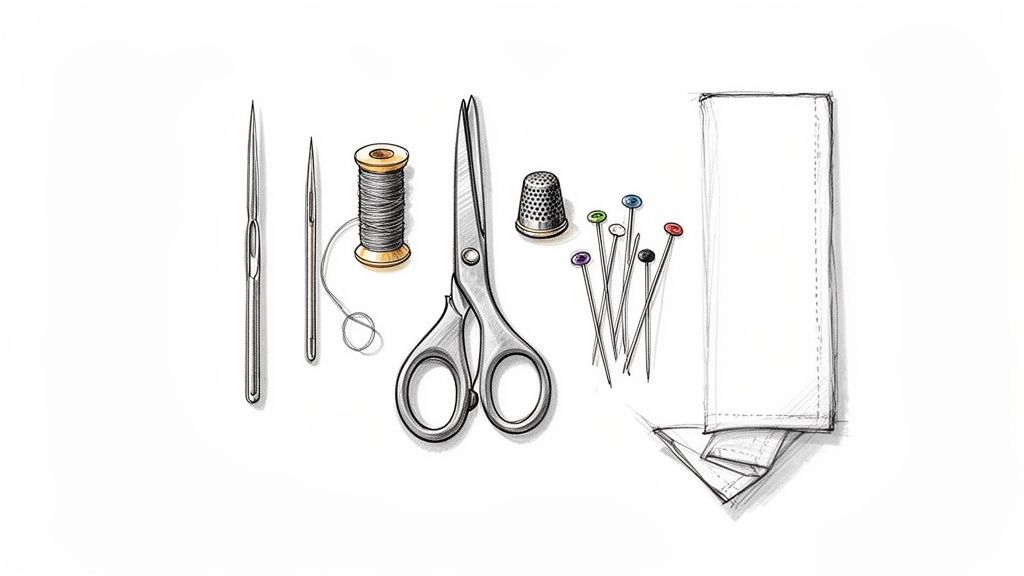
Let's be honest. The difference between a frustrating afternoon and a flawless finish often comes down to what's in your sewing basket. Getting your gear in order is non-negotiable.
This isn’t about expensive gadgets; it’s about having the correct tools. You wouldn't use a sledgehammer to hang a delicate painting. The same logic applies to the beautiful designer fabrics you’ve chosen from our Atlanta showroom. Precision is the name of the game.
Your Essential Hemming Kit
Mastering the blind hem stitch starts with a few key essentials. Each plays a specific role in creating that coveted invisible finish.
Here’s what you’ll want to grab:
- A Fine, Sharp Needle: The right needle is everything. A slender "sharps" or "milliner's" needle is perfect for most drapery fabrics. It lets you pick up a single thread without leaving a mark.
- High-Quality Thread: Critical. Match your fabric in color, weight, and fiber. If the thread is too heavy, it's going to show, no matter how tiny your stitches.
- Good Fabric Shears: A clean cut is the foundation of a perfect hem. Dull scissors will only snag and fray the material you’re working to perfect.
- Glass-Head Pins: I always recommend these because they won't melt under a hot iron. Ideal for securing your hem during the all-important pressing stage.
- A Thimble: Don't skip this. It saves your fingers and helps you apply even, consistent pressure as you guide the needle.
Pro Tip: A pressing cloth is a sewer’s secret weapon. It’s a simple barrier between your iron and delicate textiles, preventing scorching or shine—especially on tricky materials like silks and velvets.
These simple tools, often called sewing notions, are the backbone of any serious sewing project. If you're curious, you can learn more about the different types of sewing notions in our detailed guide.
With this kit assembled, you’re set for success.
Preparing Your Fabric for a Perfect Drape
In the world of custom drapery and high-end furniture, rushing the prep work is the fastest way to an amateur result. Any seasoned pro will tell you: a flawless blind hem is 90% preparation and only 10% stitching.
This is where you lay the groundwork for a hem that hangs perfectly straight and drapes just right.
Forget puckers and uneven lines. The secret is a meticulous approach to measuring, pressing, and folding. This isn't just turning the fabric up once; it's about building a structured, clean edge that makes the final stitching almost effortless.
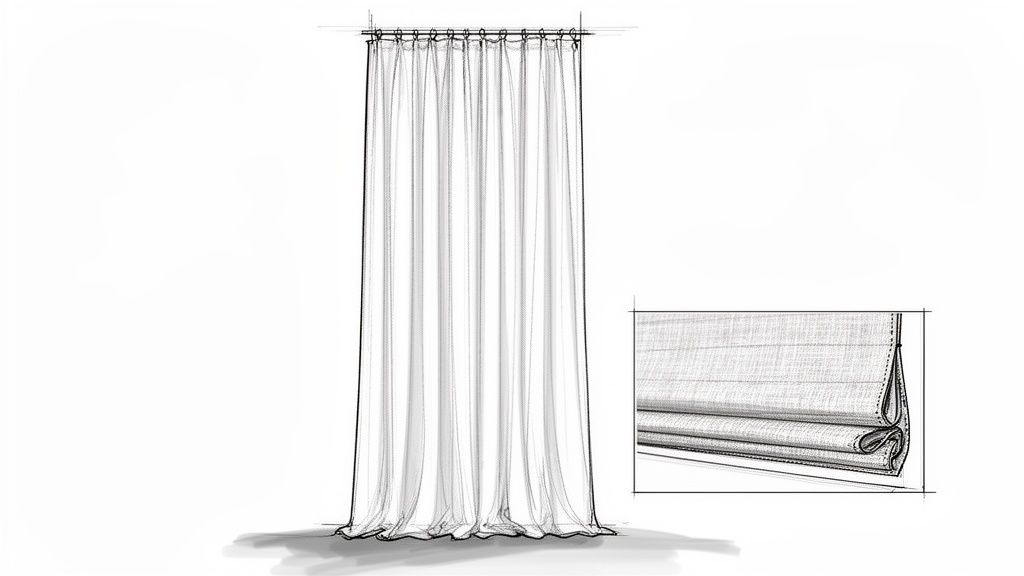
The Double-Fold Technique
The gold standard for a professional, high-end finish is the double-fold hem. This method gives you a clean, enclosed edge that prevents fraying while adding just the right weight to encourage a beautiful hang.
It’s a simple concept that makes a huge impact.
- First, press an initial, smaller fold. Usually around 1/2 inch. Use a steam iron to create a sharp, defined crease. This first fold gets tucked inside, neatly hiding the raw edge.
- Next, create the final hem fold. Fold the fabric again to your desired hem depth, enclosing that first fold completely. This second fold is what you’ll be stitching.
This two-step process delivers that polished, showroom-quality look you see in the finest homes in East Cobb and Milton.
The magic happens with your iron. Consistent pressing with plenty of steam sets these creases, creating a perfect roadmap for your needle. A well-pressed hem is infinitely easier to stitch.
Measure with Precision
Before you press, you measure. Use a seam gauge to ensure your hem allowance is perfectly consistent. An uneven hem, even by a quarter-inch, is immediately noticeable on long drapery panels.
For larger projects, you can dive deeper into professional measurements with our comprehensive guide to understanding seam allowance.
Taking the time to get this right is what separates a good result from a great one. Once measured, pin the final fold, give it one last press, and now your fabric is ready.
Executing the Blind Hem Stitch
Alright, this is where the magic happens. Fabric prepped, tools ready. It's time to sew. The blind hem stitch is less about complicated maneuvers and more about a gentle, consistent rhythm.
Think of it as creating a tiny, hidden ladder connecting the hem to the main fabric. The goal is for only the very tips of the rungs to touch the outside, making your work disappear. It’s all about stealth.
Don't be intimidated. This is a simple, repeatable motion that quickly becomes second nature. It's the quiet skill behind the gorgeous custom draperies you see in beautiful homes from Buckhead to Marietta.
Here’s a quick visual reminder of the prep work.
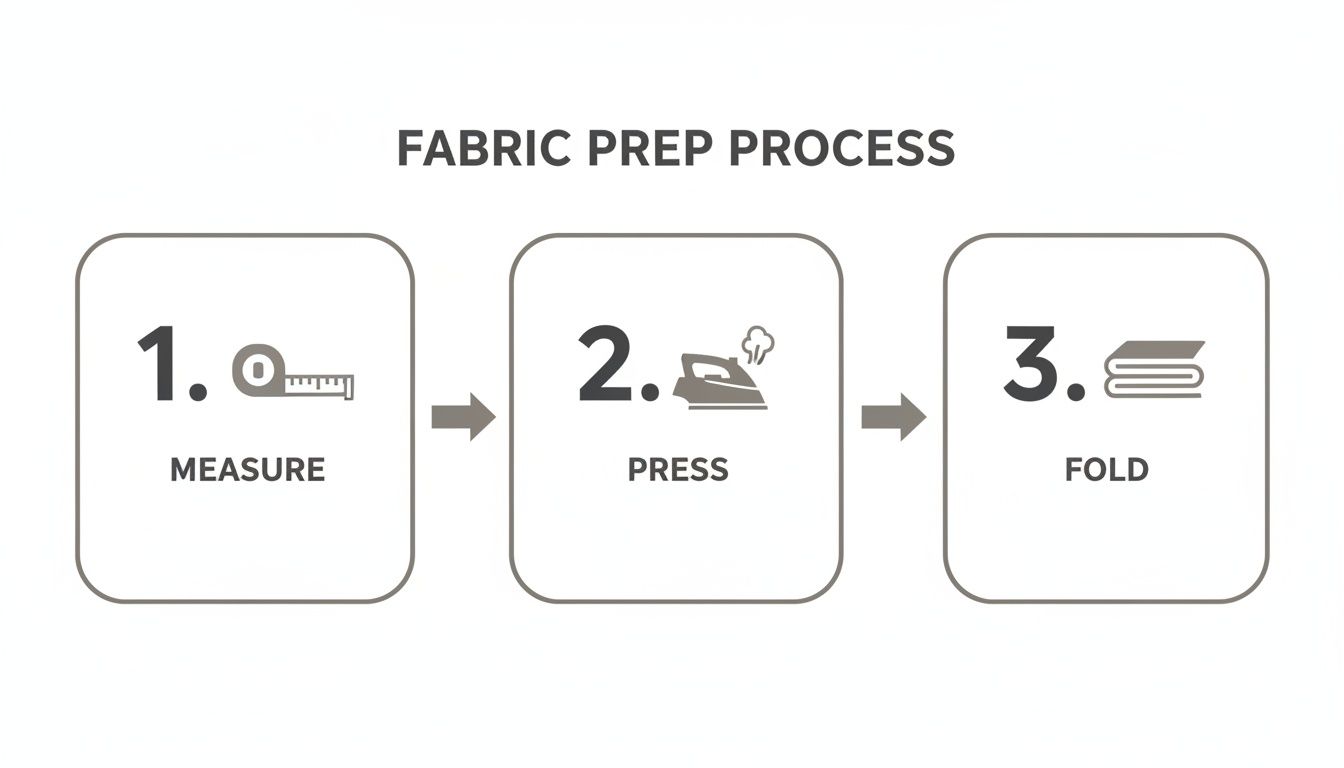
This sequence—measure, press, and fold—is the foundation for a flawless stitch.
Anchoring Your Thread Invisibly
First, secure the thread without leaving a trace. Forget bulky knots. The trick is to hide the anchor inside the hem’s fold.
- Start Inside the Fold: Bring your threaded, knotted needle up from inside the pressed hem allowance. The knot stays completely sandwiched between the layers, out of sight.
- Take a Tiny "Bite": Directly across from where your thread emerged, pick up just a single thread from the main drapery panel. This is the most crucial part. The smaller this stitch, the more invisible your hem.
That tiny bite is everything. Grab too much fabric, and the stitch will show.
Creating the Hidden Stitch
After grabbing that single thread, you’ll travel back into the folded hem for the next part—the part that stays completely hidden.
Move your needle about 1/4 to 1/2 inch to the left (or right, if you're left-handed). The ideal distance depends on your fabric's weight; go wider for heavy materials and closer for sheers.
Next, slide the needle horizontally through the very top edge of the hem's fold. You're not punching through to the front. This stitch lives entirely within the folded-over part of the hem.
Pull the thread through gently. You should see a small, angled stitch forming on the inside, but nothing on the outside.
The Key Takeaway: Your thread will create a subtle zigzag or "V" pattern on the wrong side. One point of the "V" is that tiny stitch on the main fabric; the other is the longer, hidden stitch inside the hem fold.
Maintaining Consistent Tension and Spacing
Consistency is what separates a homemade hem from a professional one. Too tight, and the fabric puckers. Too loose, and the hem will sag. You're searching for the sweet spot where the thread is snug but relaxed.
- Tension: Don't yank the thread. Guide it with a gentle, even pull.
- Spacing: Keep the distance between each "bite" stitch uniform. This steady rhythm builds a clean, professional finish.
Repeat this sequence—a tiny stitch in the main fabric, then a longer stitch inside the hem—all the way across. It’s a simple, almost meditative rhythm that results in a beautiful, high-end finish worthy of the finest designer fabrics from our Atlanta fabric showroom.
Adapting Your Technique for Different Fabrics
Not all fabrics are created equal. The gorgeous, weighty upholstery from Verellen demands a different touch than a whisper-light sheer destined for a sunroom in Milton. Thinking like a designer means adapting your blind hem stitch to honor the material.
This isn’t about learning new stitches. It’s about small, smart adjustments to the core technique. The right needle, thread, and spacing are the details that separate a decent hem from an exquisite one—the kind of finish you’d find in high-end furniture stores in Buckhead.
Lightweight and Delicate Textiles
Picture those dreamy, light-filtering sheers or the soft elegance of a Belgian linen. For these materials, your primary goal is stealth. Any heavy-handed stitch will show through.
- Go Finer, Always: Use the finest needle and thread you can. A size 9 or 10 sharps needle is your best bet.
- Shorten Your Stitches: Keep the hidden stitches inside the hem fold closer together, around 1/4 inch apart, to prevent sagging.
- A Feather-Light Touch: Tension is everything. Pull each stitch just enough to be secure. Too much tension will cause instant puckering.
For slippery fabrics like silk, don't be shy with your pins. Placing them every inch will keep the hem from shifting.
Heavy-Duty Drapery and Upholstery Fabrics
Now, let's talk about the robust textiles you’d find on a Wesley Hall sofa or custom blackout drapes in East Cobb. These fabrics require strength. A delicate stitch will simply get lost or break.
Here, your blind hem stitch is a workhorse, not a whisper. It needs to support the heavy drape without straining the fabric.
Your approach needs to be bolder.
- Stronger Tools: Switch to a slightly larger needle (like a size 7 or 8) and a more durable, heavier-weight thread.
- Wider Stitch Spacing: You can increase the distance between stitches to about 1/2 inch. The fabric's weight will hide the longer travel of the thread.
- Deeper "Bite": You can afford to pick up two threads from the main fabric instead of one. This gives the stitch a stronger anchor, crucial for supporting a heavy hem.
For particularly dense materials, our guide on how to sew stretchy or tricky materials can offer more tips. This thoughtful, tailored approach turns a simple stitch into a mark of high-end craftsmanship, a standard for any Atlanta interior design resource.
Getting It Right: How to Fix Common Hemming Mistakes
Even experienced sewers run into a snag. A perfect blind hem is about rhythm, and sometimes that rhythm gets thrown off. The good news? Most common issues are incredibly simple to diagnose and fix.
Don’t let a small mistake ruin your beautiful work. Think of these as part of the learning process. Let's walk through the usual suspects.
Problem: You Can See the Stitches on the Front
This is the most common frustration. You’ve worked for an "invisible" finish, only to see tiny dots of thread on the right side.
You’re simply catching too much fabric. The goal is to grab just one or two threads—barely a whisper.
The Fix: Snip the last few stitches and try again. This time, focus on taking the smallest "bite" of fabric possible. It might feel like you're not grabbing enough, but that delicate touch is the key.
Problem: The Hem is Puckered or Bunching Up
Is your finished hem looking a little wavy? The culprit is almost always thread tension. When you pull the thread too tightly, it forces the fabric to bunch up, ruining that smooth, professional drape.
Your thread should lay flat against the fabric, not dig into it.
The solution is to just ease up. Guide the thread into place with a gentle pull, not a hard yank. If you spot puckering, stop, snip the last few stitches to release the tension, and continue with a much lighter touch.
Problem: The Hemline is Uneven or Wavy
You hang your panel, and the bottom edge dips and curves. This problem almost never has to do with your stitching. It points back to your prep work.
An uneven hem is usually caused by inconsistent measuring, pinning, or pressing before you ever thread your needle.
To prevent this, always use a proper seam gauge for dead-on accuracy. Pin the hem securely before giving it that final, crisp press. A perfectly prepped hem acts as a flawless guide, guaranteeing a ruler-straight result.
Your Blind Hem Stitch Questions Answered
We get it. Trying a new hand-stitching technique brings up questions. We've put together answers to the most common queries we hear from designers and homeowners in our Buckhead showroom.
How Do I Choose the Right Needle and Thread?
The rule of thumb: match your tools to your fabric's weight. For light and airy linen or silk, you want a delicate touch. A fine size 9 or 10 needle and lightweight thread will slip through without a mark.
For heavy-duty drapery or upholstery fabrics—the kind you’d see on a Wesley Hall sofa—you need more muscle. Grab a stronger, all-purpose thread and a slightly larger needle, maybe a size 7 or 8, to handle the weight.
Can I Use a Blind Hem Stitch on Curves?
Absolutely. This is where hand-stitching truly shines. For a scalloped valance or curved custom upholstery, the secret is in the prep. Gently ease the fabric around the curve as you pin it.
Place your pins much closer together. As you sew, keep your tension easy and your stitches a bit closer. This coaxes the fabric into a smooth, pucker-free curve.
Why Do My Stitches Look Uneven?
Practice. It’s all about rhythm. Getting those perfectly spaced, nearly invisible stitches comes from building muscle memory.
Focus on two things: keeping your stitch spacing consistent and pulling the thread with the same gentle tension every time. Before long, your hands will find their groove.
For high-stakes projects like floor-to-ceiling custom drapery, sometimes the best decision is calling a professional. For our interior design clients in the Trade Program, entrusting the work to an expert ensures a flawless result.
When a project demands perfection—especially with luxury furniture or designer fabrics—the craftsmen at Lewis and Sheron are here to help. For our clients in Atlanta, Roswell, or Forsyth County, our professional services guarantee an impeccable finish every time.
For projects that demand nothing less than perfection, trust the experts at Lewis and Sheron Textiles. Explore our custom drapery and upholstery services and let our team bring your vision to life.