


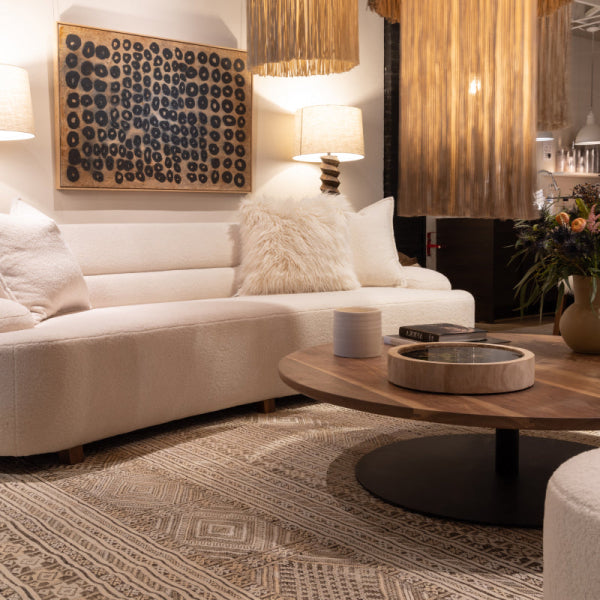


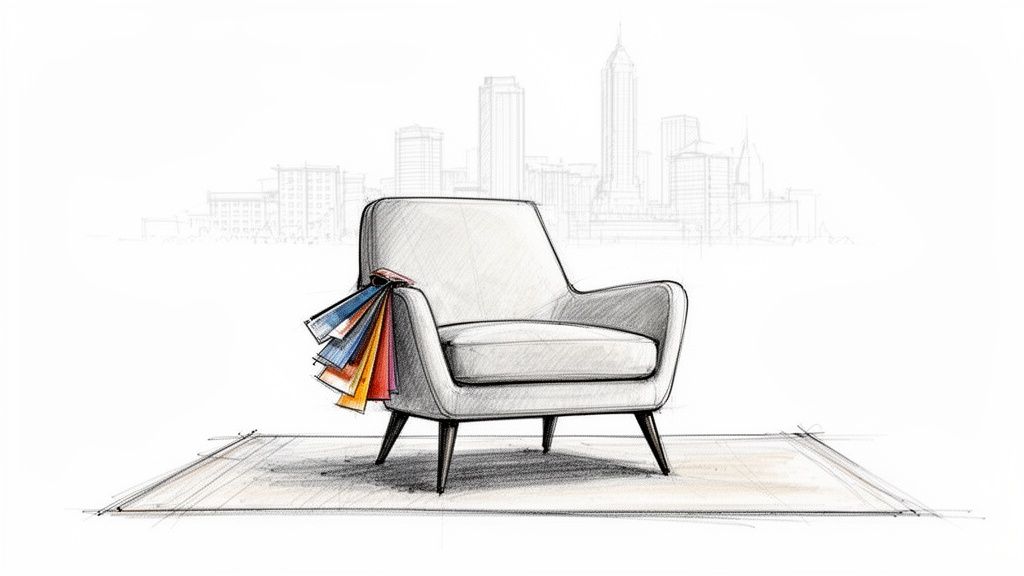
That tired chair in the corner? Don't you dare call it old. It’s an opportunity.
The real magic of a DIY upholstered chair project isn't just about a fresh look. It’s about creating an heirloom. It’s your chance to pair a classic frame with an exquisite designer fabric and build something with soul. Something with a story.
Why A DIY Chair Is Atlanta's Ultimate Style Statement
Let’s be honest. In a city like Atlanta, where timeless design is king, crafting a bespoke statement piece says more than buying off a showroom floor. This isn't about saving a few dollars. It’s about taking control and saying no to the cookie-cutter aesthetic.
This hands-on movement is catching fire with homeowners from Buckhead to Alpharetta. They’re choosing personal craftsmanship over mass-produced furniture. In the process, they're discovering the deep satisfaction that comes from controlling every detail—from the foam's density to the final, perfect welt.
Crafting A Personal Narrative With Fabric
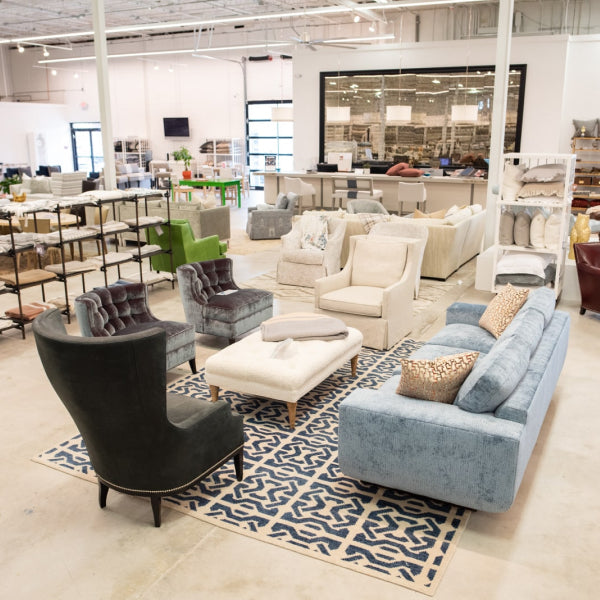
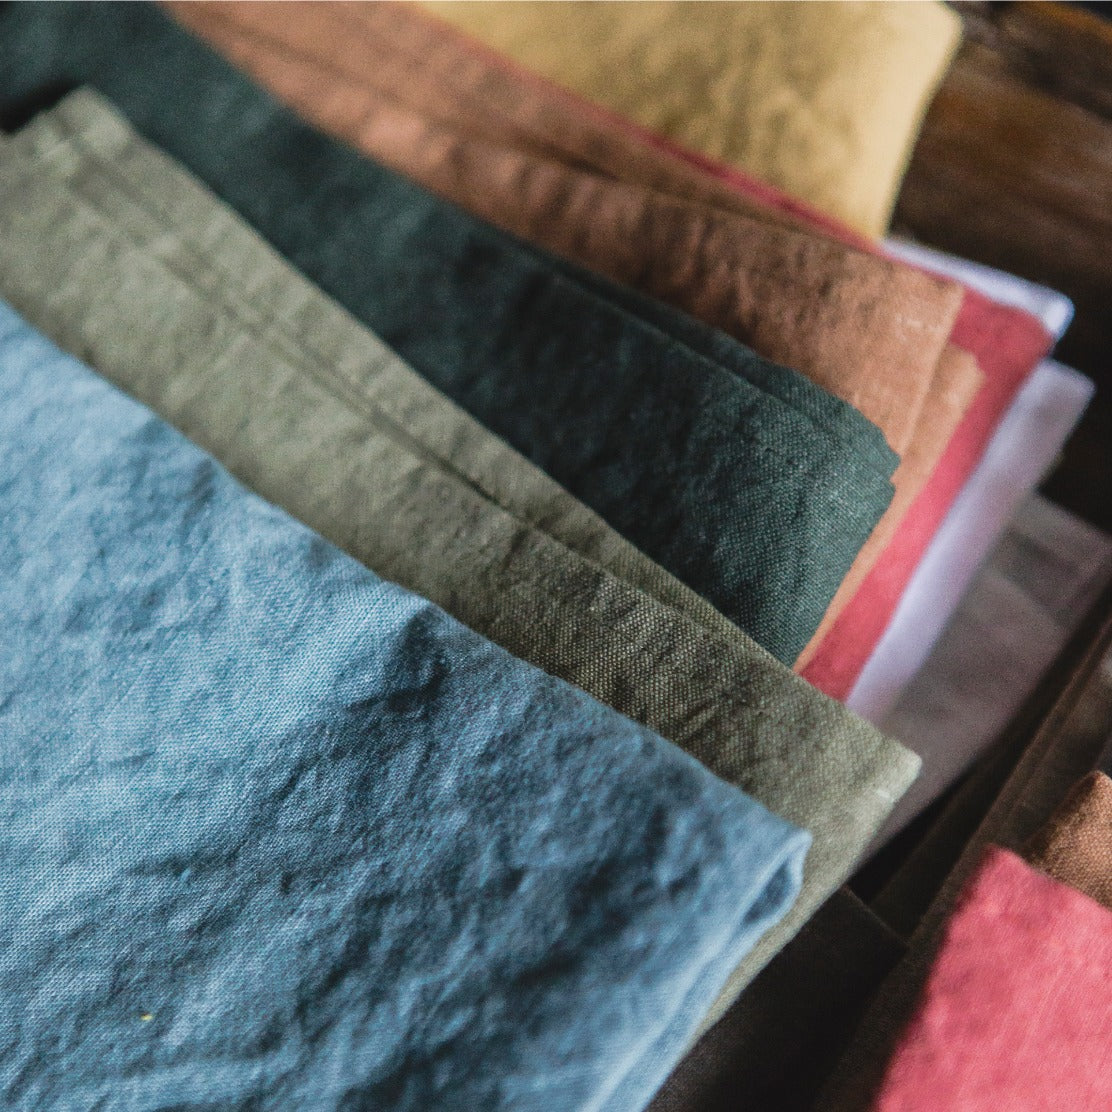
The real story begins the moment you step into our Atlanta fabric showroom.
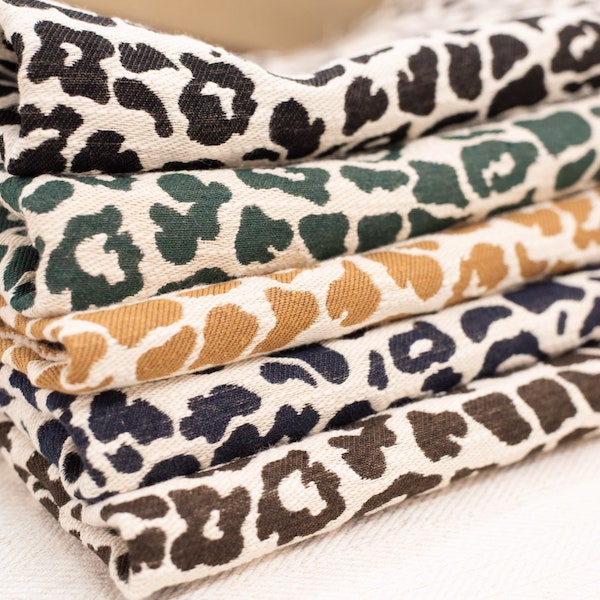
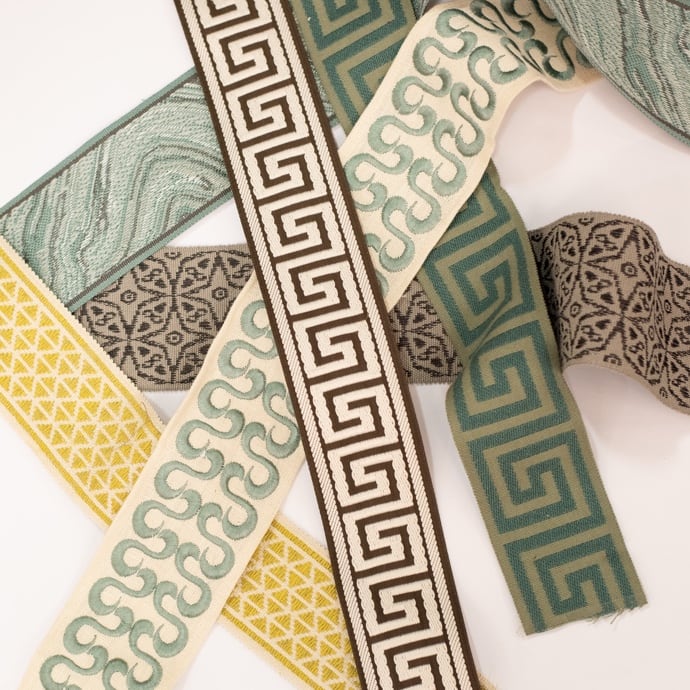
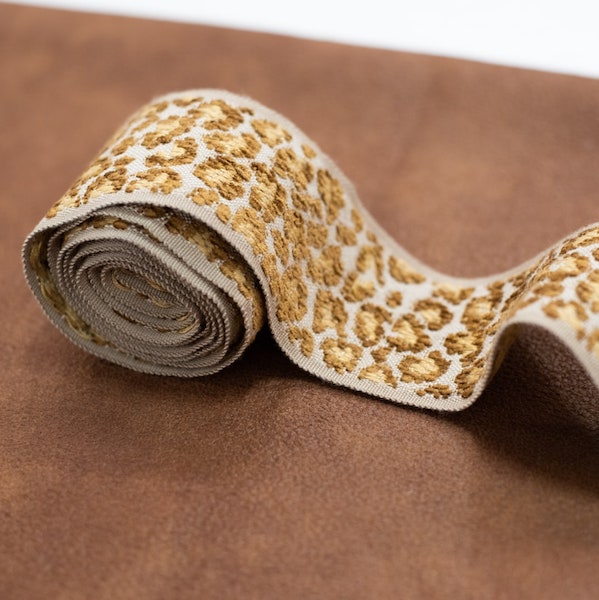
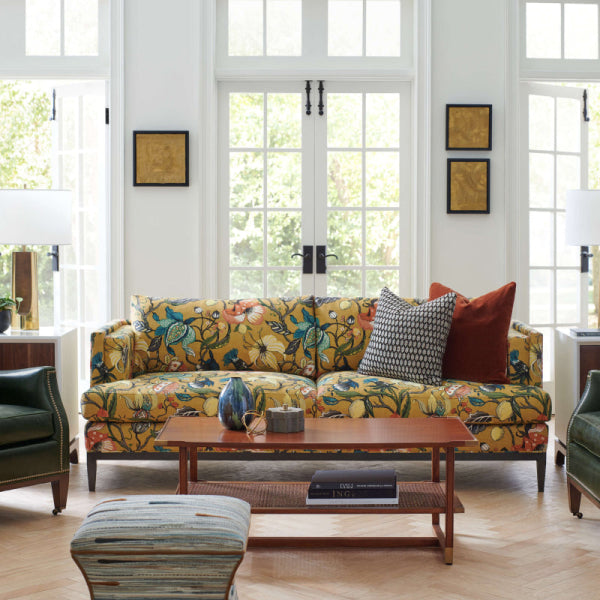
Imagine running your hand over fabrics you won’t find anywhere else. The handcrafted lines of a Verellen textile, the curated textures from Lee Industries, or the inviting comfort of a Wesley Hall weave. A DIY upholstered chair project lets you do incredible things. Pair a classic frame with a bold, contemporary print. Or a modern silhouette with a traditional, rich velvet.
This is your chance to:
- Create a true one-of-a-kind piece that reflects your style, not a retailer's catalog.
- Restore a family heirloom with fabrics that honor its history while fitting seamlessly into your modern home.
- Gain a genuine appreciation for quality by understanding how luxury furniture is really constructed.
This isn’t just a local trend; it’s a global shift. The DIY furniture market is valued at USD 11.81 billion in 2024 and is projected to more than double by 2033. With 65% of homeowners seeking unique furnishings, the desire for personalization is clear. North America commands 40% of the upholstered furniture market, and that drive is reshaping interiors in cities like Atlanta. You can discover more insights about this growing upholstered furniture market if you're curious.
More Than A Project—A Designer’s Mindset
Taking on a DIY upholstered chair isn't just a weekend task. It's an initiation into the world of high-end design. You start to think like the pros who frequent our Buckhead showroom. You're not just considering color, but the fabric’s "hand," its durability, and how it interacts with the light in your Roswell or Marietta home.
For designers, custom upholstery is the ultimate tool. By taking on this project, you're tapping into that same power. You're turning simple furniture into a focal point that tells a story of quality and personal history.
For the interior designers sourcing fine fabrics in Alpharetta or working with clients in Forsyth County, our Lewis and Sheron Trade Program offers exclusive access to these same luxury materials. But when you do it yourself, you gain a new level of empathy for the craft. You become a better, more knowledgeable creator. You’re building something with substance—a piece that’s not just seen, but felt.
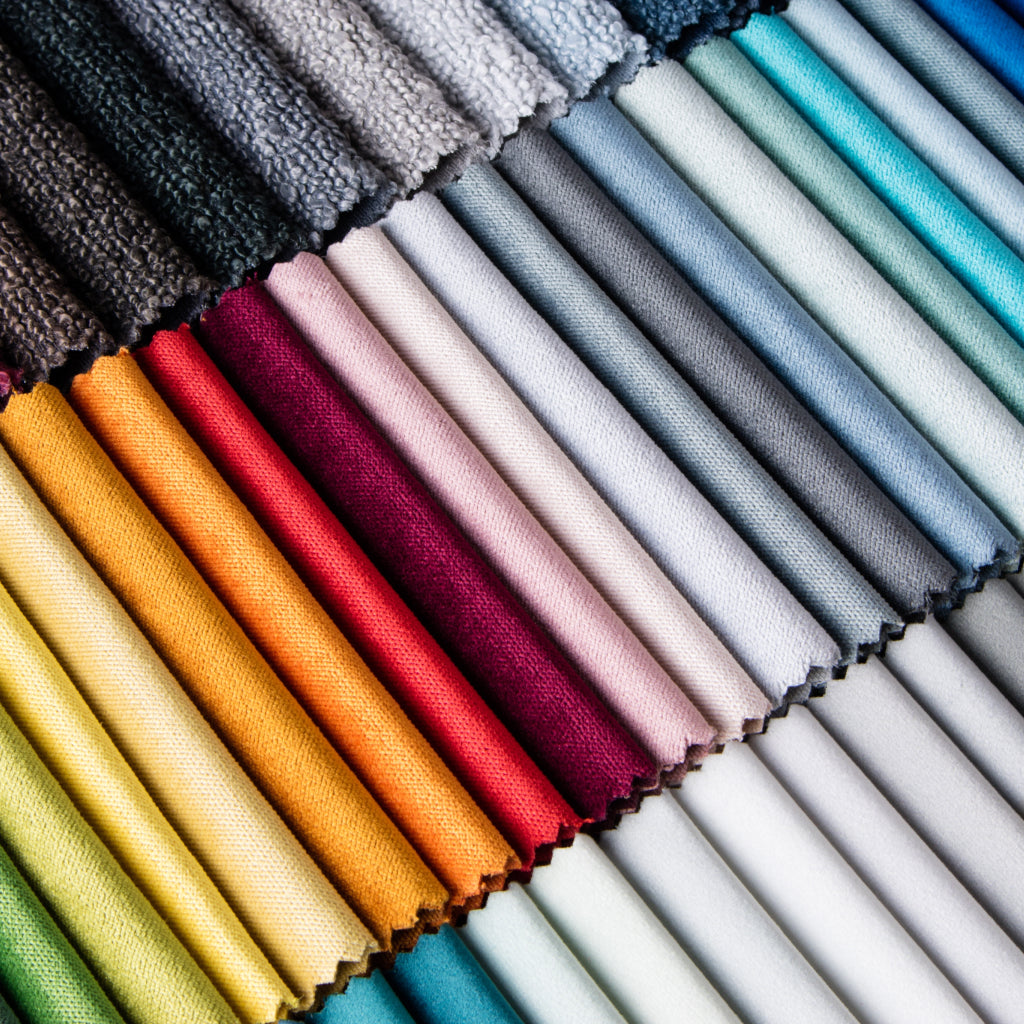
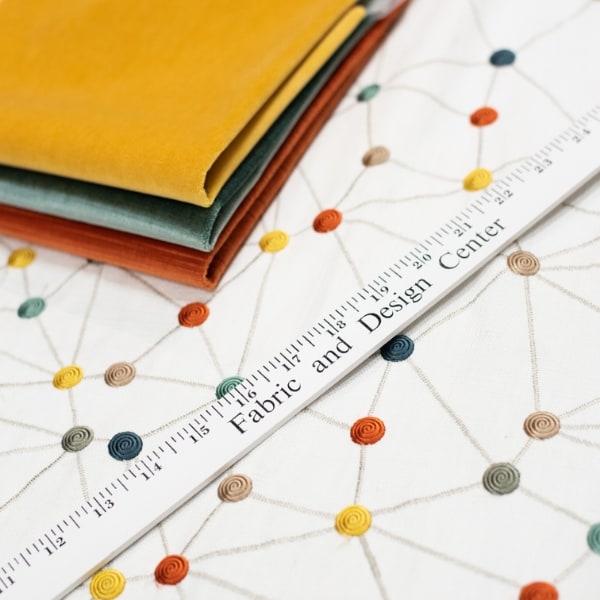
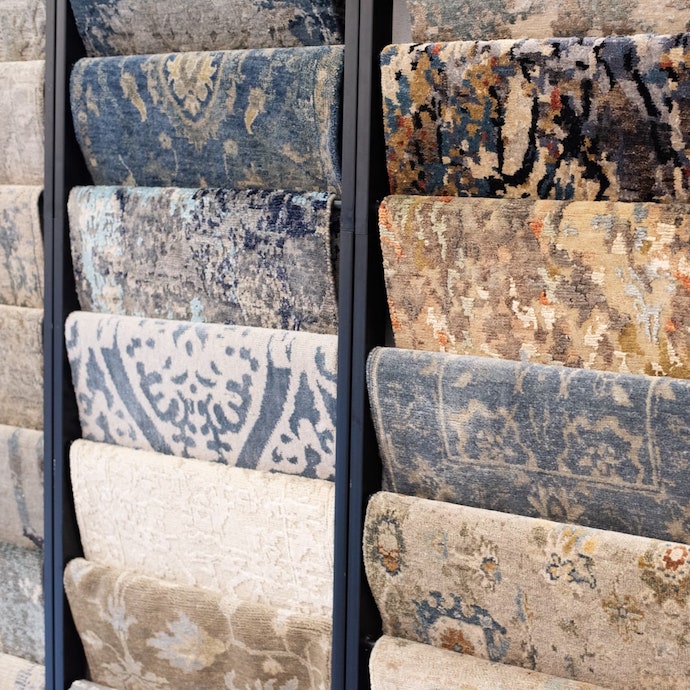
Selecting Your Designer Fabrics And Essential Supplies
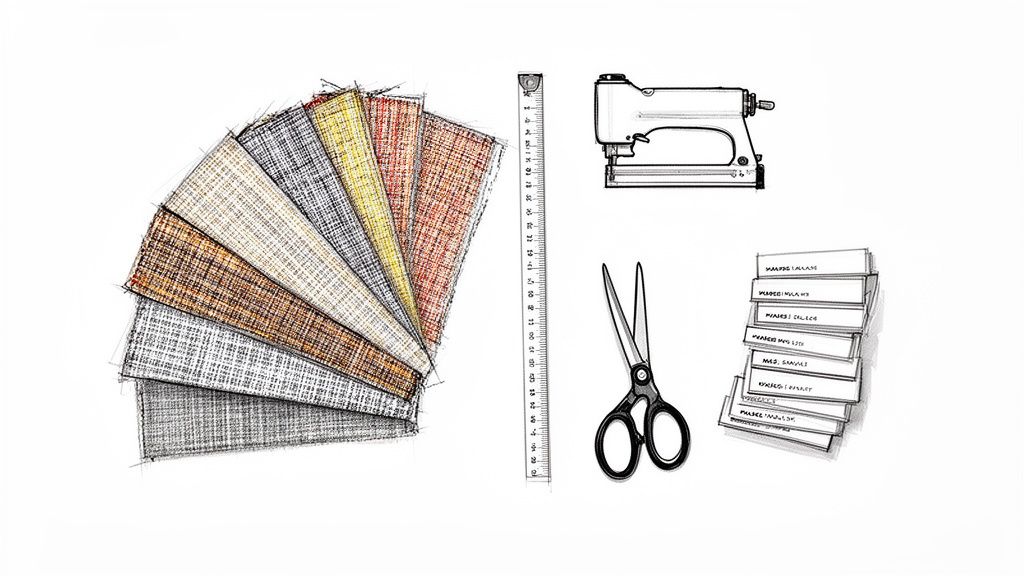
The fabric you choose is the soul of your chair. This is where a project goes from "passable" to a showstopper worthy of a Buckhead showroom. Getting this part right is everything.
You can scroll online for days, but nothing compares to seeing fabric in person. Come down to our Atlanta fabric showroom—you need to touch the textiles and see how light plays across the weave. An upholstery project is a hands-on experience. Choosing the fabric should be, too.
Thinking Like A Designer
Atlanta's top interior designers will tell you that fabric selection is more than picking a pretty pattern. It’s a conversation between texture, durability, and the chair's unique shape.
Where will the chair live? A formal sitting room in a Milton estate has different needs than a busy den in East Cobb. For high-traffic spots, think performance. Crypton fabrics are a game-changer for homes in Roswell or Forsyth County with kids and pets—they offer incredible resilience without sacrificing that luxury feel.
But for a piece that’s more art than daily use, the quiet elegance of a Libeco Belgian linen might be the perfect whisper of sophistication.
The secret is to think beyond color. Pay attention to the fabric's "hand"—how it feels—and how it will drape. A stiff fabric will fight you on a rounded armchair, while a delicate silk would be a disaster on a dining seat.
A fabric's durability is measured in double rubs, a test simulating wear and tear. For a typical residential chair, 15,000 to 30,000 double rubs is a solid choice. For a piece that will see heavy, daily use, aim for over 30,000. For a deeper dive, check out our post on the best fabric for reupholstering chairs.
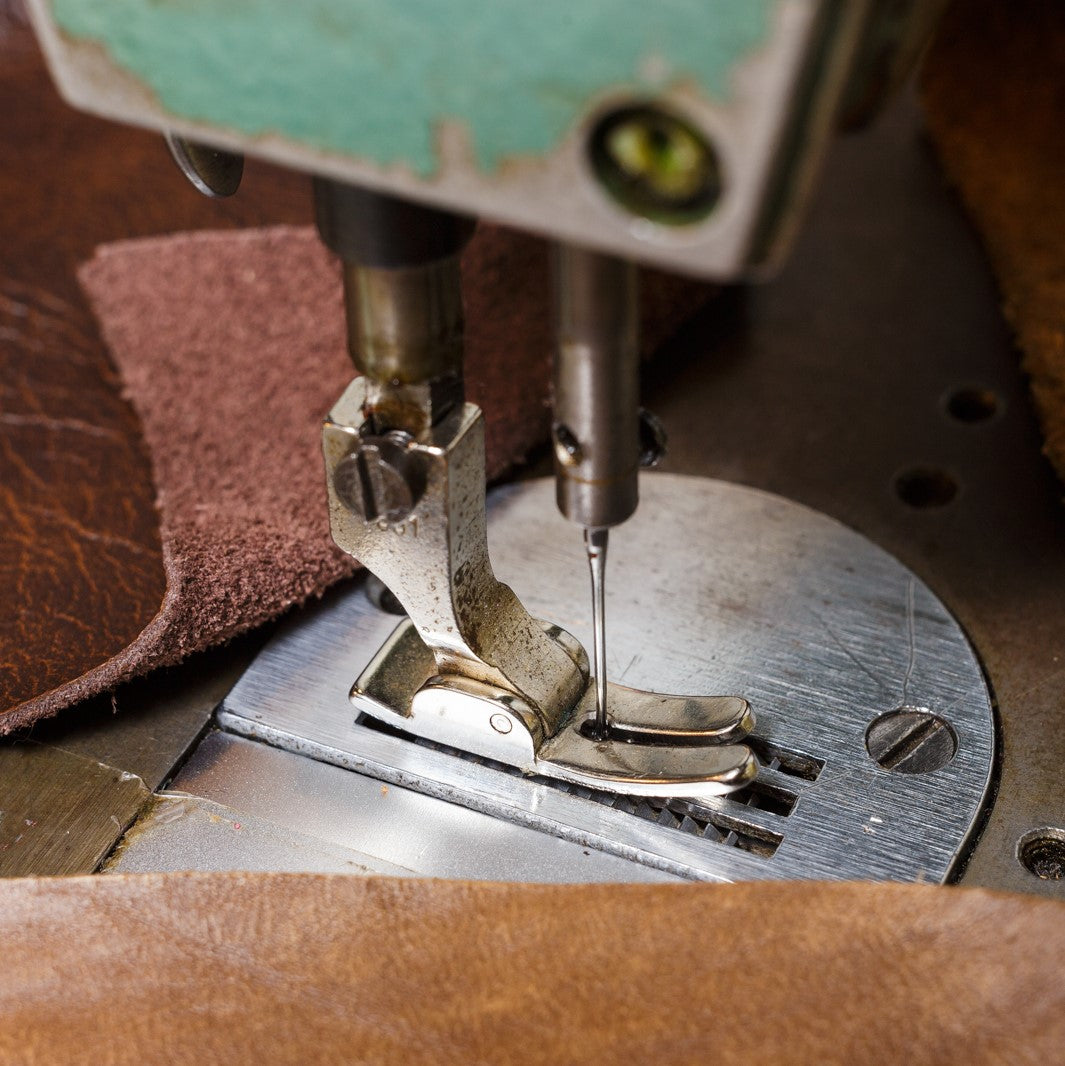
Assembling Your Professional Toolkit
Alright, let's talk tools. Want a result that rivals the fine furniture collections you see on East Paces Ferry? You need the right equipment. This isn't the time for flimsy craft-store supplies. Investing in quality tools guarantees that taut, clean, and lasting finish you're after.
A professional result requires professional tools. You'll thank yourself later. This isn't just a list; it's your recipe for success.
Here’s a breakdown of the absolute must-haves for a job you'll be proud of for years.
Your Essential Toolkit For A Professional DIY Upholstery Finish
| Tool | Purpose | Pro-Tip For Atlanta DIYers |
|---|---|---|
| Pneumatic Staple Gun | Delivers consistent power to drive staples deep into hardwood frames. Essential for a tight, pucker-free finish. | An air compressor makes this effortless. It's a worthy investment if you plan on more than one project. |
| Webbing Stretcher | A specialized tool that grips webbing, allowing you to get it drum-tight before securing. | Sagging seats are a dead giveaway of an amateur job. Don't skip this tool; it's the foundation of good support. |
| Upholstery Shears | Heavy-duty scissors designed to cut through thick layers of fabric cleanly without fraying. | Your standard fabric scissors won't cut it. A quality pair of shears makes every cut precise and effortless. |
| Staple Remover | A forked, sharp tool designed to get under staples and pry them out without damaging the chair's wooden frame. | You'll be removing hundreds of old staples. This tool will save you hours of frustration and prevent gouging the wood. |
| Magnetic Tack Hammer | A lightweight hammer with a magnetic end for holding and starting tacks, especially for decorative nailhead trim. | This ensures you apply decorative tacks straight and evenly, a finishing touch that defines luxury furniture. |
With the right designer fabrics and a proper toolkit, you're not just doing a DIY project. You're engaging in creation, building a piece with the same attention to detail as the artisans behind Verellen, Wesley Hall, or Lee Industries. To get even more granular, I recommend exploring everything you need to know about upholstery materials.
Taking the Chair Apart (The Right Way)
Before you can bring your new vision to life, you have to play furniture archaeologist. This is the deconstruction phase—more of a graceful excavation than a demolition derby. Every staple you pull, every layer you peel back, reveals the chair’s secrets.
You’re not just ripping off old fabric. You're carefully preserving the perfect patterns for your gorgeous new material. The goal here is surgical precision.
Your Photo "Insurance Policy"
First things first: grab your phone. Before you even look at a staple remover, photograph the chair from every conceivable angle. Get in close. Capture how the fabric is tucked into corners, the way the cording is attached, and where every seam lies.
Take dozens of pictures. I’m serious. These images are your bible when it's time to reassemble. They are the best insurance policy against that gut-wrenching moment of, "Wait, how did this part go again?"
Once you’ve documented every nook, start pulling off the old fabric. A quality staple remover is non-negotiable.
As you remove each piece, label it immediately with a marker and painter's tape. Be specific:
- Inside Back
- Outside Right Arm
- Seat Cushion Top
- Front Skirt
This careful labeling means zero guesswork when you’re about to cut into that exquisite textile you found at our Atlanta fabric showroom.
Inspecting the Chair's Bones
With the fabric gone, you get a look at the chair's true structure. This is a make-or-break moment for any DIY upholstered chair project, especially for finds from around North Georgia. Is the frame solid? Give it a good wiggle. If the joints are loose, they’ll need to be reglued and clamped before you go any further.
Now, look at the foundation—the springs and padding.
- The Padding: Is the foam yellowed, crumbly, or hopelessly flat? It has to go. Replacing old foam is one of the most impactful upgrades you can make. It affects both comfort and the final, professional finish.
- The Springs: Press down on the seat deck. Do the springs feel responsive, or do they sag? For many newer chairs, you’ll just need new foam. But for an heirloom piece, you might discover the springs need to be re-tied. That's a more advanced technique, but it’s what ensures another generation of use.
This is the careful inspection that separates a fabric swap from a true, high-quality restoration. It's the attention to detail that elevates a piece to the level of the luxury furniture Atlanta designers specify.
Think of the deconstructed frame as your blank canvas. By ensuring it’s solid now, you’re setting the stage for a piece that not only looks stunning but is built to last—just like the Wesley Hall sofas and Ambella furniture collections we admire.
Taking on a DIY upholstered chair puts you at the heart of a major design movement. It’s part of a customization wave reshaping the USD 65.72 billion upholstered furniture market. With 60% of reupholstery projects succeeding when done with pro-grade tools and quality fabrics, you’re creating real, lasting value. Discover more insights about the upholstered furniture market on mordorintelligence.com. This is your chance to join the designers and homeowners from Roswell to Buckhead who know that true luxury is personal.
Rebuilding The Foundation: From Padding to Fabric
With a clean, prepped frame, the real artistry begins. This is where you bring your chair back to life from the inside out, building up the layers that create both incredible comfort and that perfect, high-end shape. This part of the process is what separates a quick DIY job from true custom luxury furniture.
The foundation is everything. Skimp here, and even the most gorgeous fabric will look lumpy. But get it right, and you're building a piece with the same integrity as a Wesley Hall sofa or a classic Lee Industries chair.
Mastering Foam and Batting
Let's demystify foam and batting. This isn't just stuffing; it's sculpting. Foam gives you core support and shape. Batting smooths everything out, creating those soft, rounded edges you see in designer showrooms from Buckhead to Roswell.
- High-Density Foam: Non-negotiable for the seat. It provides a firm, supportive base that won’t turn into a sad pancake after a few months.
- Softer Foam Options: For the back and arms, you can use a slightly less dense foam. This gives you a plusher, more forgiving feel.
- Dacron Batting: This is the secret weapon. A layer of batting wrapped over the foam softens hard edges, keeps the fabric from shifting, and gives the finished chair that full, professionally rounded look. Never, ever skip this step.
When cutting, an electric carving knife is your best friend. It glides through foam like butter. Use a light mist of spray adhesive to tack the foam to the frame, then wrap it snugly with batting, securing it with another light spray or a few staples.
This helpful flowchart outlines the key steps of the deconstruction process, which really sets the stage for a flawless rebuild.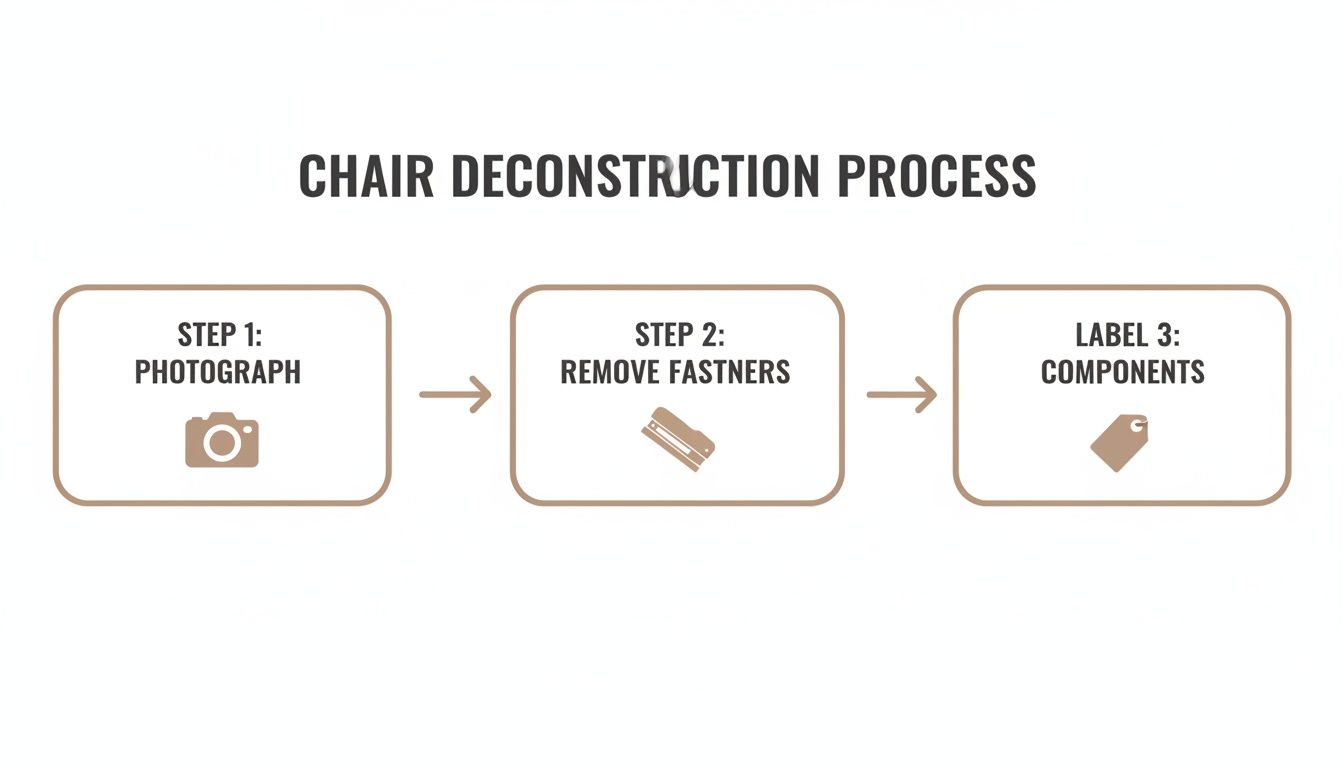
Following this methodical approach ensures you have perfect templates and a clear roadmap for the reassembly phase we're tackling now.
Applying Your Designer Fabric
Alright, here comes the main event—dressing your chair. All that patience is about to pay off. Grab those templates you so carefully preserved and lay them out on your new designer textile.
Pay close attention here:
- Pattern Matching: If your fabric has a distinct pattern, you have to make sure it flows seamlessly. A pro tip is to center the most prominent part of the motif on the inside back and seat for maximum impact.
- Fabric Grain: Always cut with the grain. This prevents weird stretching and distortion, and it's especially important for the look of velvets and other woven textures.
The order you attach the fabric in is crucial. The generally accepted sequence is: inside back, seat, inside arms, and then all the outside pieces. This method lets you pull each interior piece perfectly taut before you cover your work with the final exterior panels.
As you staple, technique is everything. Start with a few staples in the center of each side, then work your way out toward the corners. Pull the fabric taut—not so tight it warps, but firm enough to eliminate any slack. This consistent tension is the secret to avoiding puckers. For a deeper dive, our detailed guide on how to reupholster furniture is an excellent resource.
Nailing The Curves And Corners
Curves and corners are where amateur projects go wrong. To get it right, make small relief cuts—tiny snips in the fabric—that allow it to bend smoothly without bunching. Go slow. You can always cut more, but you can't put fabric back.
For the corners, mastering the hospital corner fold is a game-changer. It creates a neat, crisp pleat that looks incredibly sharp and tailored. It’s these small, meticulous details that elevate your work to a piece of art that could sit proudly next to an Ambella Home collection in a Marietta or Forsyth County home. This is the craftsmanship that defines luxury furniture in Atlanta.
Adding The Finishing Touches That Define Luxury
The difference between a good project and an exquisite piece of furniture is always in the details. These final steps elevate your chair from a DIY project to something truly special—a piece that could easily sit next to a Wesley Hall sofa. This is where you layer in the secrets Atlanta’s top interior designers never skip.
This last stage is where your patience and meticulous work shine. It transforms your hard work into a stunning chair that looks like it belongs in an exclusive Buckhead showroom.
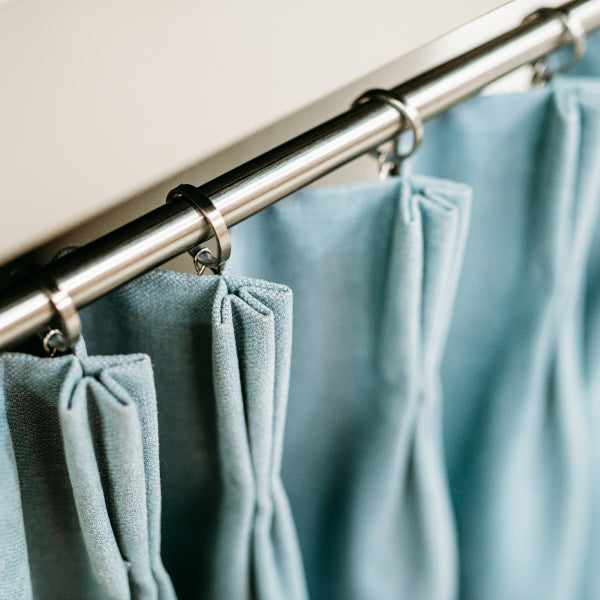
The Art Of Perfect Cording
Double-welt cording is that gorgeous, tailored trim you see along the seams of high-end furniture. It’s the secret to hiding staples and raw edges, giving you a clean, uninterrupted line that screams quality. While you can buy it pre-made, making your own from leftover fabric delivers that truly custom, high-end look.
It’s simpler than it sounds. You sew a long strip of your fabric around two pieces of cord to create the "double" welt. Then, with a steady hand, you attach it along the chair's seams using a hot glue gun. For a closer look at this professional edge, our guide on how to make perfect piping on cushions has great techniques you can use here, too.
Don't Forget The Dust Cover
Flip over any piece of high-quality furniture from a maker like Verellen or Lee Industries, and you’ll find a black cambric dust cover. This small detail is a huge sign of quality. It’s not just for looks; it protects the chair’s interior from dust and pests and gives the whole piece a finished feel.
A dust cover is like the lining of a bespoke suit—no one may see it, but it’s a mark of true quality. It shows you didn’t cut corners. It shows you cared about the piece from top to bottom.
Cut a piece of black cambric slightly smaller than the chair's bottom opening. Fold the edges under for a clean hem and staple it neatly into place. It’s a five-minute job that adds a decade of perceived value.
The Sophistication Of Nailhead Trim
For certain styles, nothing says classic luxury quite like a perfectly straight line of nailhead trim. This decorative accent can define a chair's silhouette, adding traditional elegance or a modern edge.
Applying it takes a steady hand. I recommend a spacer tool to make sure your spacing is even. A magnetic tack hammer is a lifesaver, letting you place each nail precisely. It’s a detail you'll often spot on fine furniture from our premium partner, Ambella, and it brings an incredible level of sophistication to any project.
This final push turns your DIY chair into a masterpiece. You're joining a movement of homeowners who prefer personalization over mass production, a trend fueling a global market projected to hit USD 178.67 billion by 2030. By sourcing top-tier textiles from our Atlanta fabric showroom, you can save 50-70% compared to professional reupholstery while achieving a truly bespoke edge. Read the full research about the upholstered furniture market on deepmarketinsights.com. You’ve built something with skill, taste, and a story—the very definition of luxury in Atlanta.
Knowing When to Call an Atlanta Upholstery Expert
There’s a special pride that comes from a successful DIY upholstered chair project. But real wisdom is knowing when to hang up your staple gun and call in a master. Some projects, especially those involving tricky antiques or intricate tufting, demand a skill set honed over decades. It’s about being honest—recognizing the line between a fun challenge and a project that’s genuinely over your head.
Take a hard look at the chair's bones. If the frame is wobbly, needs serious structural work, or has deep, diamond button tufting, it’s probably time to talk to an expert. These aren't just cosmetic fixes; they require specialized tools and deep knowledge to get right.
When to Trust a Professional
A few red flags should tell you a project is better left to a seasoned pro. Pick up the phone if your chair involves any of the following:
- Significant Frame Repair: We're not talking about a bit of wood glue. This is for loose joints that must be completely taken apart and rebuilt.
- Intricate Details: Think deep channel backs, dramatic curves, or that classic diamond tufting that requires mathematical precision.
- Valuable Antiques: If you’re working with a true family heirloom, one wrong move could diminish its value. Preserving its integrity is everything.
- Full Spring Re-Tying: This is a different ballgame. It's a foundational skill that directly affects the comfort and lifespan of your seat, and not something you can learn from a quick video.
For our designers in the Lewis and Sheron Trade Program and discerning homeowners across North Georgia—from Alpharetta to Forsyth County—we offer expert reupholstery services right here. We treat every piece with respect, blending generations of craftsmanship with our unparalleled collection of designer fabrics.
Entrusting a complex piece to an expert isn't admitting defeat; it's a strategic design decision. It ensures your cherished furniture is restored with the quality and mastery it deserves, transforming it into a lasting heirloom.
Whether you have a treasured Wesley Hall sofa or a one-of-a-kind vintage find, our team can restore it to its former glory. Think of us as the ultimate Atlanta interior design resource for projects that demand nothing less than perfection.
Your DIY Upholstery Questions Answered
We get it. Starting a DIY upholstered chair project can feel like standing at the base of a mountain. But with a few solid answers, you’ll be ready to dive in with confidence. Here are the most common questions we hear from folks in our Buckhead showroom.
How Much Fabric Do I Really Need?
This is the big one. A simple dining chair seat might only need a yard of fabric. A grand, tufted armchair could easily swallow seven yards or more. The most foolproof method is to use your old fabric pieces as a guide. Lay them out, measure each one, and tally it all up.
Here’s a non-negotiable tip from the pros: always buy at least 20% extra fabric. Seriously. This gives you a crucial buffer for matching patterns, fixing mistakes, or having some left for future repairs. If you've fallen for a large, repeating pattern, bump that up to 30% to be safe. For total peace of mind, bring your photos and measurements into our Atlanta fabric showroom—our team will happily give you a complimentary estimate.
What Is The Best Fabric For A Beginner?
For your first project, you want a forgiving fabric. Think of it as your new best friend. Medium-weight cottons, sturdy linens, or blends without a finicky pattern are perfect. They have enough body to be easy to handle and won’t scream about every minor imperfection.
On the other hand, avoid slippery velvets or rigid, large-scale geometric prints that demand perfect alignment. Save those for your next masterpiece. Surprisingly, many modern performance fabrics like Crypton are fantastic for beginners. They're incredibly durable and have just the right amount of stretch, making pulling and stapling a breeze—a smart choice for a piece in a busy Roswell or Alpharetta home.
Choosing the right starter fabric is like picking the right dance partner. You want one that’s supportive and easy to lead, not one that’s slippery and wants to do its own thing.
Can I Just Put New Fabric Over The Old Stuff?
It's a tempting shortcut. But please, don't do it. Layering new fabric over old is the fastest way to a lumpy, unprofessional finish that hides the chair’s beautiful lines.
More importantly, that old fabric has been collecting dust, allergens, and who-knows-what for years. Stripping the chair down to its bare frame is the only way to inspect the structure and build it back up properly. This is how you get that crisp, tailored result that will actually last. For a deeper dive into specific techniques, readers often find value when they explore more DIY upholstery tips on blogs.
Ready to turn that vision into a stunning reality? Your journey to the perfect custom piece starts at Lewis and Sheron Textiles. Visit our Atlanta showroom or explore our collections online to find the designer fabrics and expert advice you need to create something truly extraordinary.