


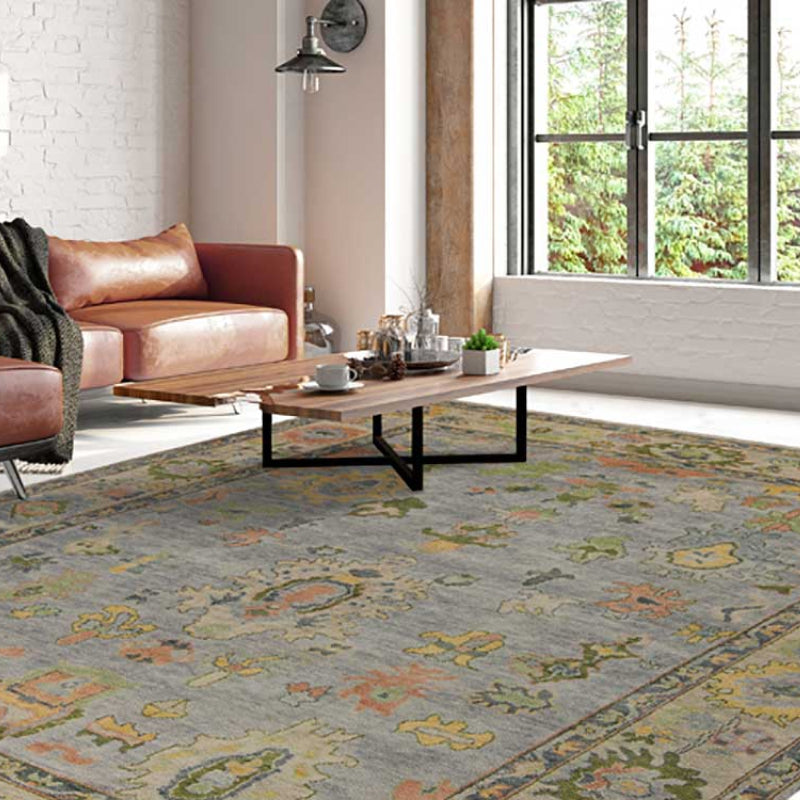

An organized sewing space is more than just tidy—it's where creativity happens. It’s a system where every tool and fabric cut is easy to find, turning a chaotic room into a functional sanctuary. This is how you spend less time searching and more time creating.
From Clutter to Creative Sanctuary
Let's be honest. A disorganized sewing room is a roadblock. Piles of fabric and tangled threads kill your creative flow—a tragedy for passionate designers who value their craft. It’s time to stop storing your supplies and start creating a system.
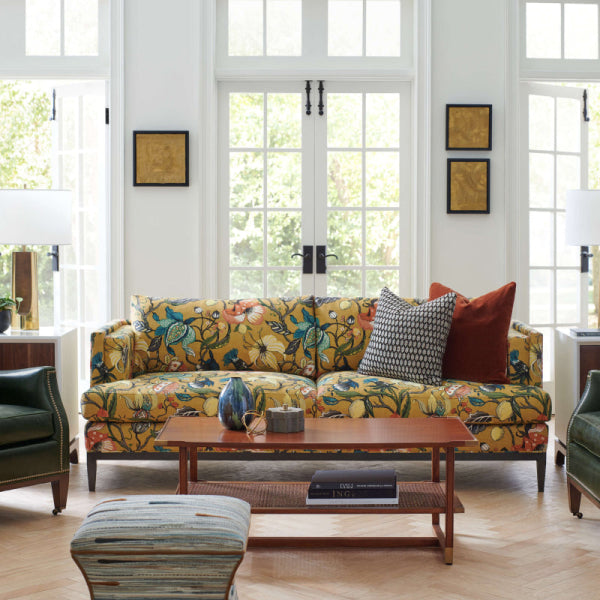
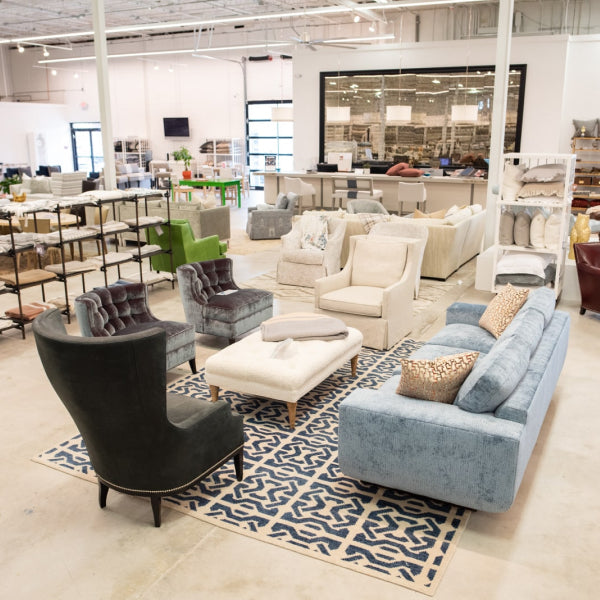
This isn't about generic plastic bins from a big-box store. We're building an intentional, efficient workflow worthy of a high-end Buckhead design studio. Think of it as applying sharp interior design principles to your own creative process. Whether you're a professional designer in Roswell sourcing fine fabrics or a dedicated sewist in East Cobb, the philosophy is the same.
The Workflow-First Approach
The biggest shift you can make is to organize by workflow, not just by item type. This simple change allows you to move seamlessly from one step to the next. Instead of a messy "fabric shelf," you create a curated "Fabric Library." This is how you reclaim your time and elevate your work.
A thoughtfully organized space isn't a luxury—it's a fundamental tool. It saves time, cuts down on stress, and lets your best ideas emerge. It’s the ultimate investment in your craft.
This mindset is catching on. The global market for sewing supplies, including clever organizing products, was recently valued at around USD 5.8 billion and is expected to climb. That growth points to a universal need for efficiency, with countless enthusiasts investing in dedicated storage to streamline their craft. You can explore more about these market trends and see how vital organization has become.
Let's forget temporary fixes. We’re building a lasting system that supports your passion. A space that feels less like a storage closet and more like your personal design sanctuary, ready for whatever project sparks your imagination.
Designing Your Four Essential Sewing Zones
Every gorgeous design project starts with a solid foundation. The same is true for your sewing space. Forget one-size-fits-all advice and think like a professional designer curating a high-end Atlanta studio. This isn't just about storage; it's about an intentional system that makes your process feel second nature.
A well-designed studio moves with you. It anticipates your next move. To get there, we break the space into four essential zones.
The Four Pillars of an Organized Studio
Think of these as distinct workstations, each with a crystal-clear purpose. Even if you're working out of a compact Alpharetta condo or a spare room in Milton, dedicating specific areas to these functions will transform your workflow.
We can break these down into the core areas every sewing space needs. The goal is a logical sequence, saving steps and keeping your mind on the creative work.
This handy table outlines each zone’s purpose and smart storage ideas to get you started.
Your Four Essential Sewing Studio Zones
| Zone | Purpose | Key Storage Solutions |
|---|---|---|
| Fabric Library | A curated collection of your prized textiles, organized to inspire and protect your investment. | Bookshelves, cubby units with bins, clear stackable containers, or filing cabinets for smaller cuts. |
| Notions Haberdashery | The dedicated spot for all the small-but-mighty details: threads, buttons, trims, zippers, and elastics. | Pegboards with hooks, clear drawer units, magnetic spice tins for pins, wall-mounted thread racks. |
| Cutting & Prepping Station | Your non-negotiable large, clear, and well-lit surface where precision begins. | A standing-height table with a self-healing mat, grid rulers, and rotary cutters stored safely nearby. |
| Project Hub | The command center where your sewing machine lives and projects finally come to life. | A sturdy desk with good task lighting, a comfortable chair, and small bins for project-specific tools like seam rippers and snips. |
Once you see your space through this lens, you begin to build a system that flows. It's the difference between a room full of stuff and a true, functional studio.
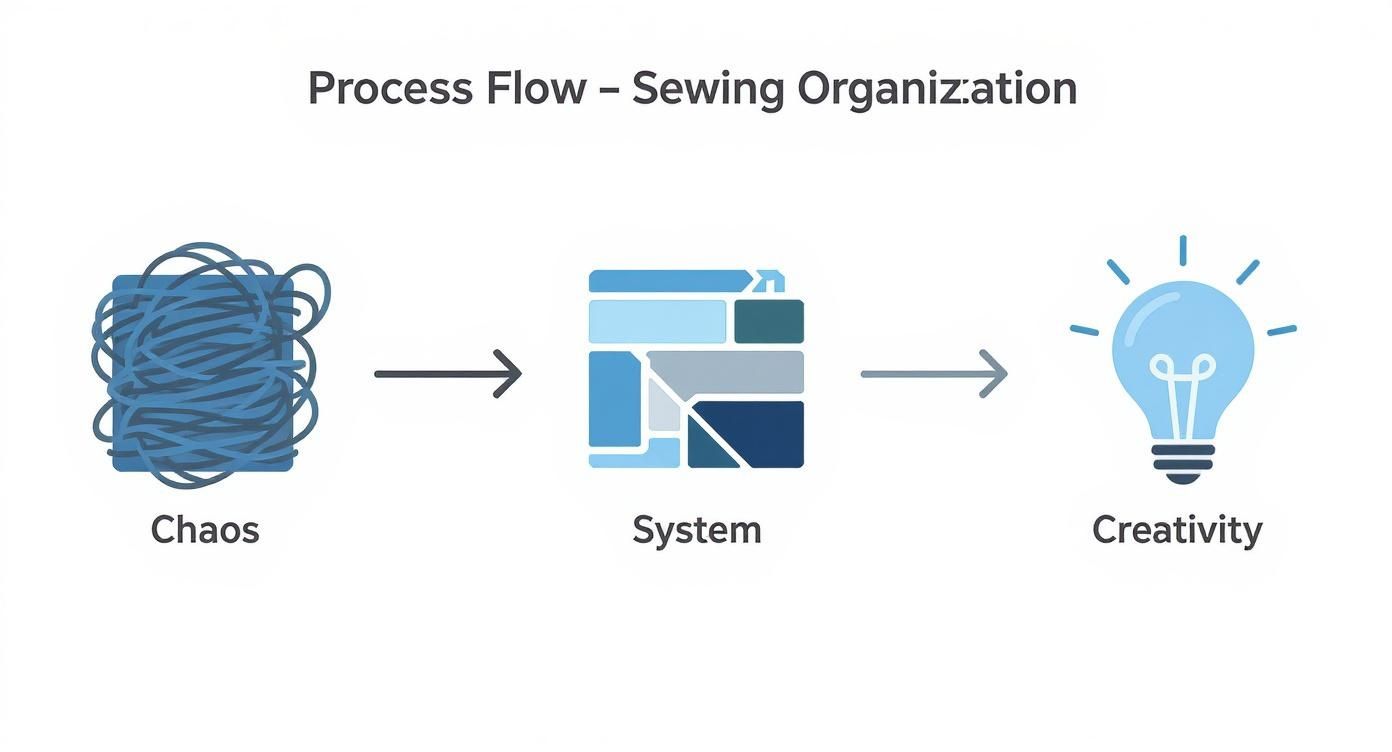
As you can see, a clear system is the critical bridge between chaos and creative output. It’s a principle Atlanta’s best interior designers swear by.
Function Meets Sophisticated Design
Arranging these zones logically is key. Imagine grabbing fabric from your Library, walking it to the Cutting Station, then moving to the Project Hub in a natural sequence. For visual inspiration, you can find truly versatile storage organization ideas for any space that blend efficiency with beautiful design.
This focus on a high-functioning home environment is a bigger trend than you might think. During the pandemic, the DIY sewing segment grew by an incredible 30%. Today, nearly 70% of home sewists invest in at least one new organizing product each year, showing just how much we value an orderly creative space.
A studio that works as hard as you do isn't an accident. It's a product of thoughtful design, where every container, shelf, and surface is chosen with purpose.
This same principle applies to any project, whether you're organizing a workspace or creating custom décor. For instance, you can't just pick any fabric when you want to learn how to make tablecloths that hang perfectly. The material must suit the purpose. In the same way, each zone in your studio must support the next, creating a seamless path from raw material to finished piece.
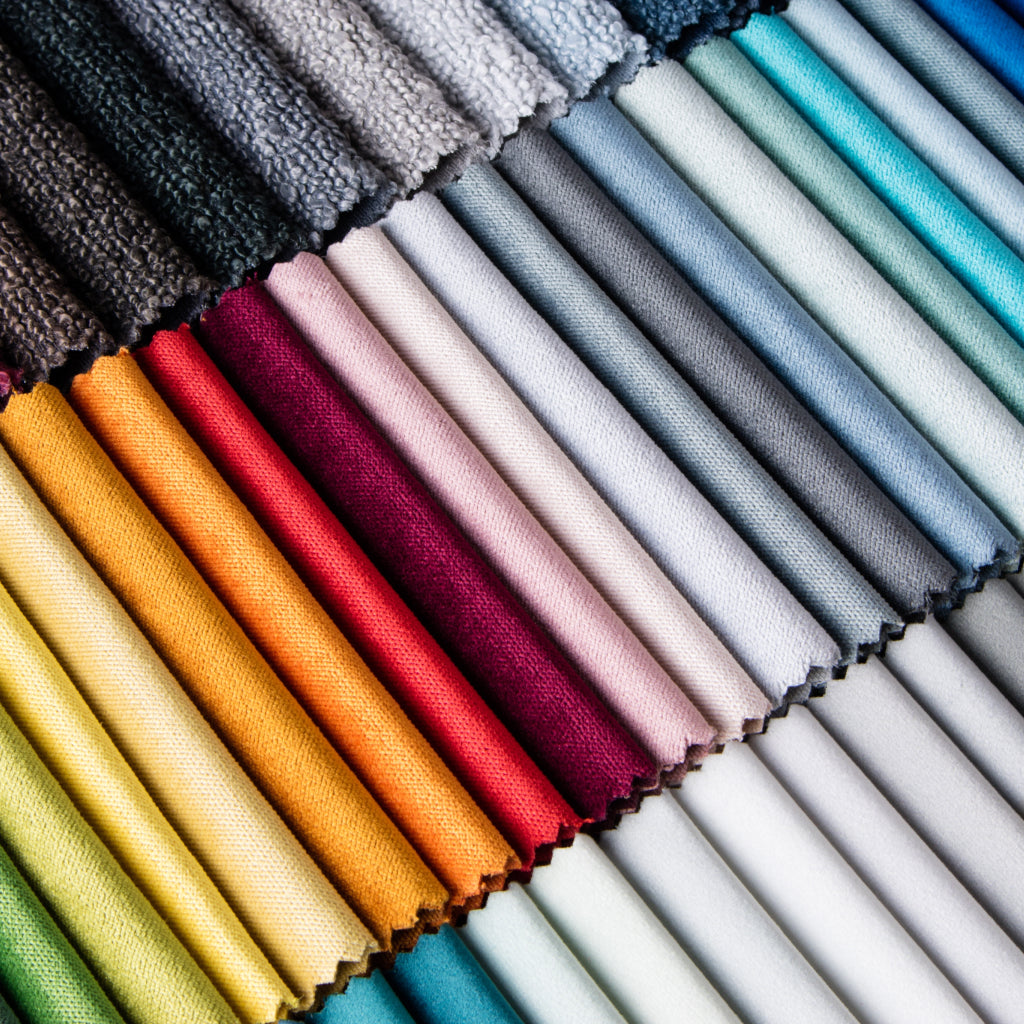
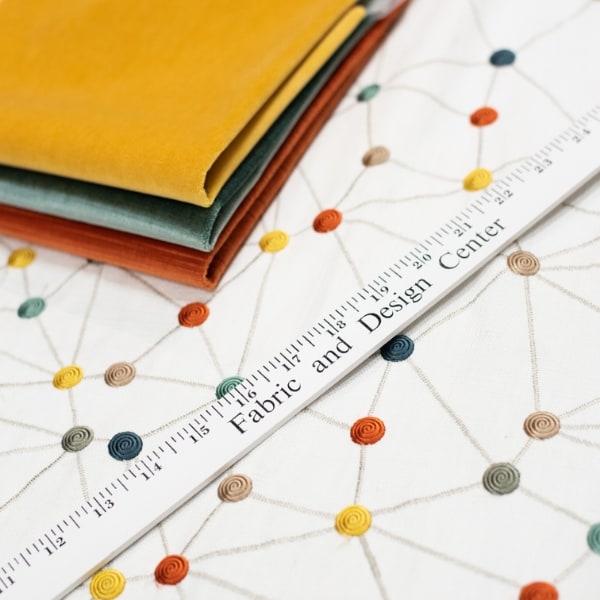
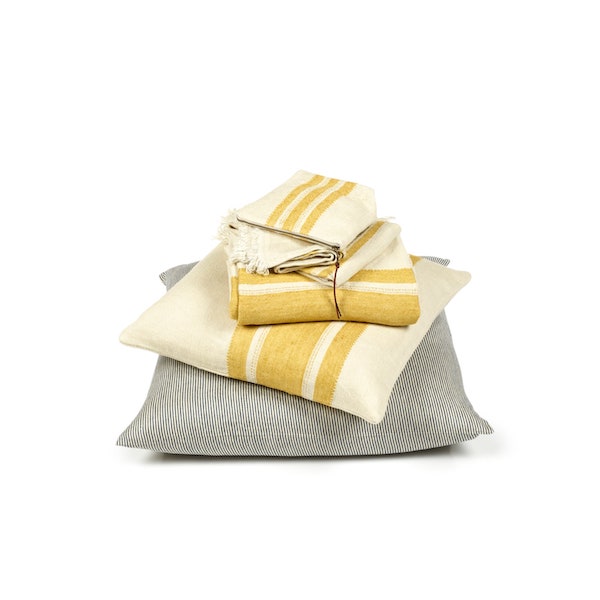
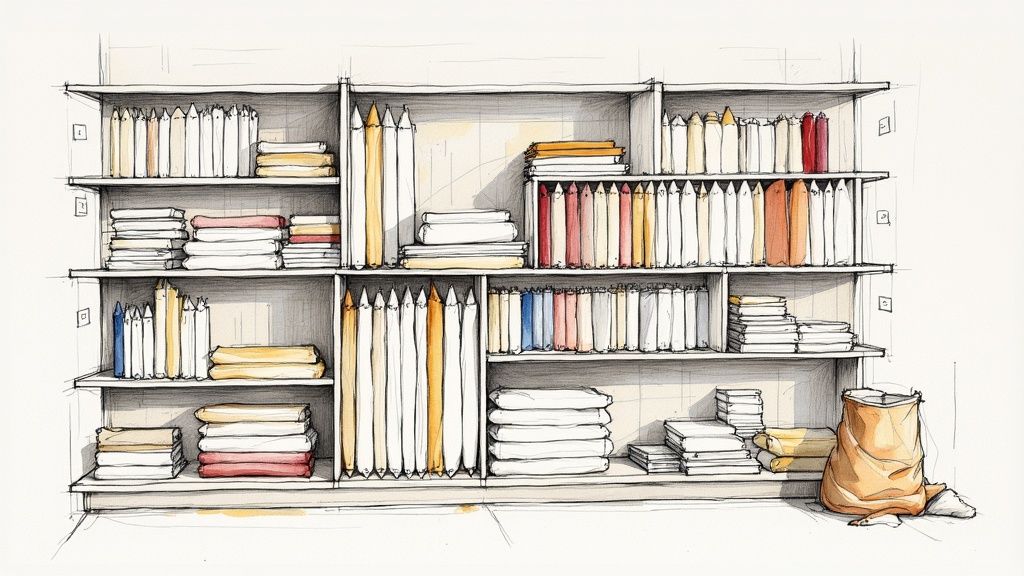
Curating Your Fabric Library Like a Pro
Your fabric isn't just material; it’s the heart of your collection and the soul of your design work. Let’s start treating it that way.
Piling exquisite designer fabrics from vendors like Lee Industries or Verellen into a dark bin is a disservice to your craft and your investment. This is your masterclass in curating a fabric library that works for you.
Think of it less as "storage" and more as a personal reference library. Every Atlanta interior designer knows presentation matters—not just for clients, but for your own creative process. When you can see your entire collection clearly, you'll make better, faster, and more inspired choices.
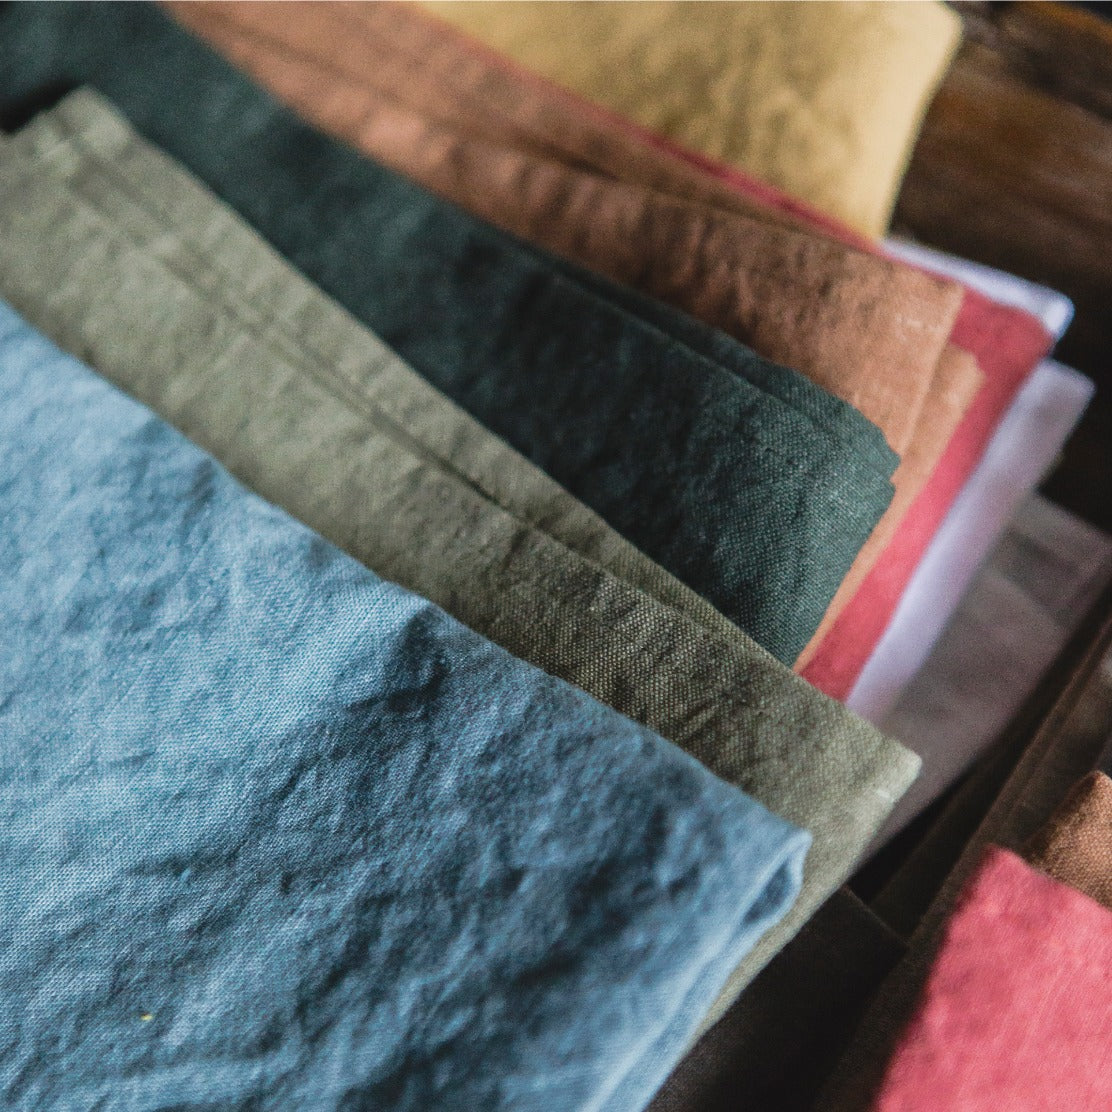
To Fold or To Roll? That Is the Question
The great debate in fabric organization always comes down to this: folding versus rolling. The answer is simple: you need both. Each method serves a different purpose, protecting the unique integrity of your textiles.
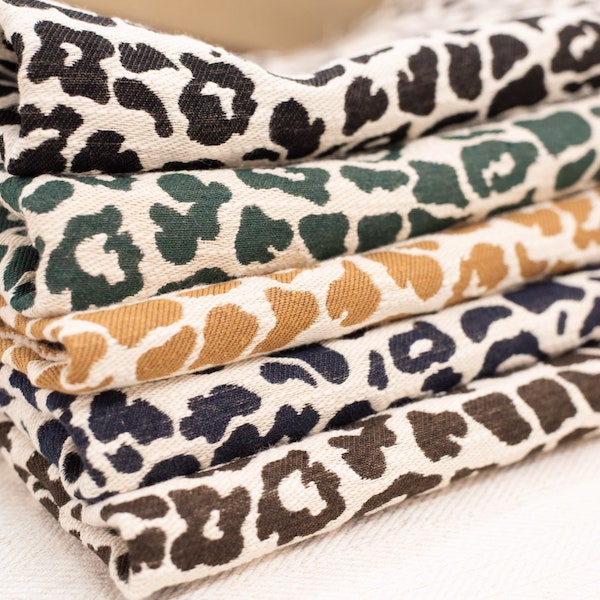
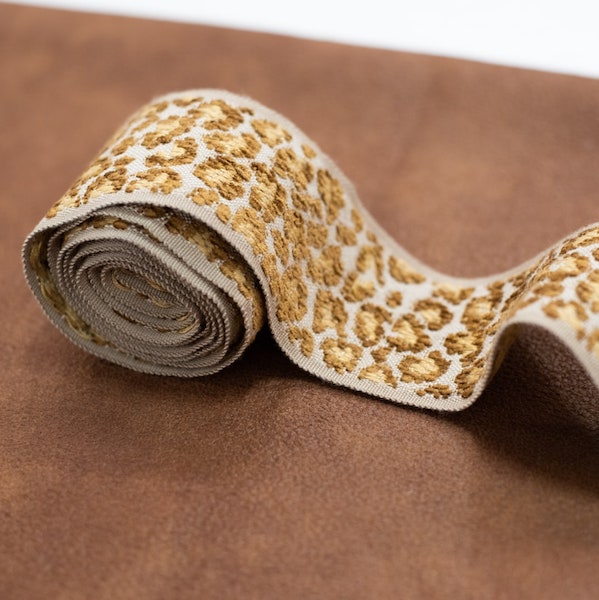
- Folding is perfect for: Cotton prints, quilting cottons, linens, and most apparel fabrics under three yards. My favorite trick? Fold them neatly around comic book boards. This creates uniform "mini-bolts" you can file vertically on a shelf, just like books. It makes them easy to see and pull out without toppling the whole stack.
- Rolling is essential for: Upholstery-weight fabrics, velvets, silks, and any material prone to stubborn creasing. Rolling these larger cuts around a cardboard tube prevents deep-set wrinkles. Store them vertically in a tall basket or lay them horizontally on a deep shelf.
A System for Sorting Your Collection
Once you've figured out how to store each piece, the next step is categorization. A chaotic system is no system at all. Atlanta's most efficient designers and sewists sort their libraries with intention, making it effortless to find the perfect material for a custom upholstery project or a client presentation.
You have a few solid options:
- By Color: This is the most visually inspiring method. Arranging your fabrics in a rainbow or gradient looks stunning and helps you zero in on the right hue in seconds.
- By Fabric Type: Grouping all your velvets, linens, and prints is incredibly practical. When a project calls for a specific texture, you know exactly where to look. For a deeper dive, you can explore some great examples of woven fabrics to sharpen your knowledge.
- By Vendor or Designer: For professionals in our Trade Program, sorting by high-end vendors like Wesley Hall or Ambella makes perfect sense for sourcing and client work.
The goal isn't just to be tidy. It's to create an environment where your materials are protected, accessible, and ready to spark your next great idea. A well-organized fabric library is a working tool, not a static collection.
Protect Your Prized Textiles
Finally, protecting your fabrics from the elements is non-negotiable, especially for the fine fabrics you'll find in our Atlanta fabric showroom. Light and dust are the enemies of longevity.
If your library is in a room with natural light, use a cabinet with doors or elegant, labeled bins to shield delicate silks and wools from fading. For your most precious cuts—a hand-printed textile or a luxurious velvet—wrapping them in acid-free tissue paper provides an extra layer of defense.
This isn't just about organizing sewing supplies; it's about preserving the quality and value of your assets. It’s the professional approach.
Mastering the Details of Threads and Notions
The smallest details make the biggest impact—both in your projects and in your organization. If your fabric library is the heart of your studio, then your notions are the intricate components that bring it to life. But let’s be honest: threads, buttons, and trims create chaos faster than anything else.
Forget the classic pincushion and that messy junk drawer. We’re transforming this zone into a professional-grade haberdashery, a space worthy of an Atlanta design studio where finding the perfect finish is effortless.
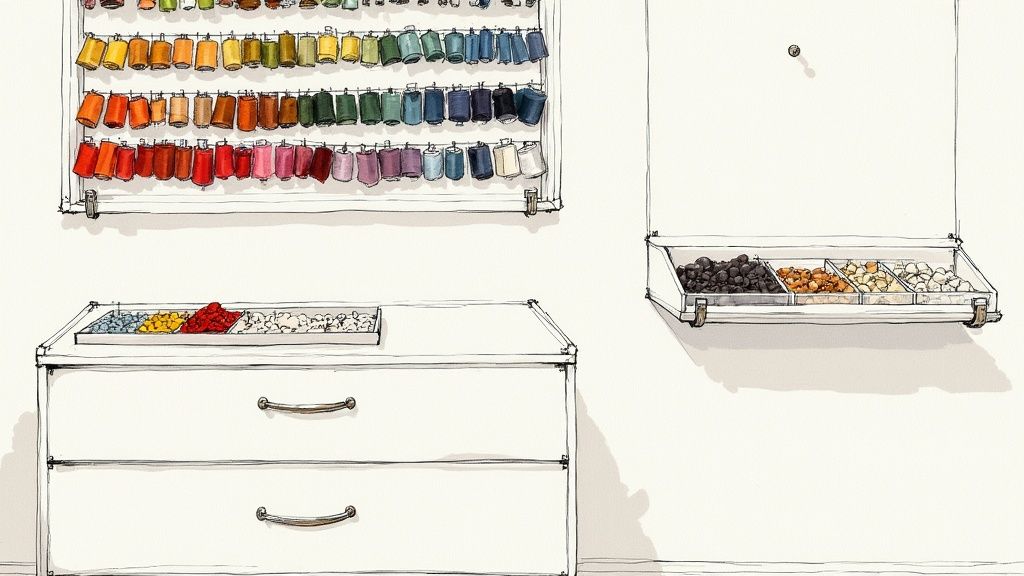
Elevating Your Thread Collection
Your thread collection deserves to be seen. A wall-mounted thread rack does more than hold spools; it turns your collection into a stunning, functional piece of art. Arranging them by color creates a visual palette that helps you match shades to your fabrics in an instant. This is a game-changer for custom upholstery work where precision is everything.
The sheer scale of thread production is massive. The global sewing thread market was valued at USD 3.66 billion, underscoring how fundamental this supply is to our craft. With such a variety of colors and materials, organizing them properly is non-negotiable.
A well-organized notions station isn’t just about being tidy. It’s about speed and inspiration. When you can see every option clearly, you make better design choices.
For threads you use less often—or specialty types like metallics—clear bobbin cases or shallow drawer dividers are perfect. This keeps them dust-free and, most importantly, untangled.
A System for Buttons, Hardware, and Trims
Buttons, hooks, and zippers are the jewelry of your sewing projects. Treat them that way. Instead of tossing them into one big jar, give them the display they deserve.
- Small, clear drawers: Ideal for sorting buttons by color, size, or material. Think of a small apothecary cabinet.
- Magnetic tins: Perfect for pins, needles, and small metal snaps. Mount them on a magnetic strip near your sewing machine for instant access.
- Labeled photo boxes: A stylish and uniform way to store zippers, elastics, and other packaged notions.
For the tiniest items, meticulous organization is key. Solutions like these drawer inserts for finer details can make a world of difference.
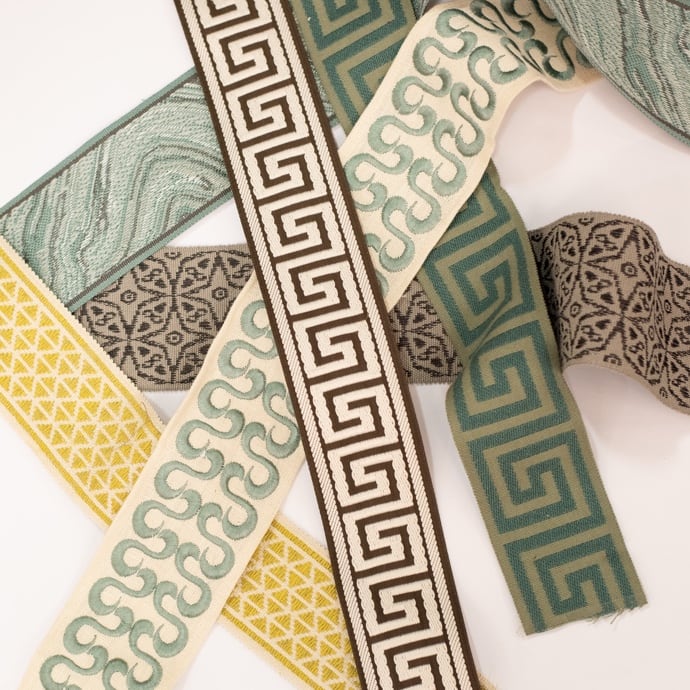
Showcasing Exquisite Ribbons and Trims
That collection of exquisite trims—perhaps sourced from the fine fabrics selection right here at Lewis and Sheron—should never be left tangled in a box. These decorative elements are central to high-end design, adding that final touch of luxury to pillows, drapery, and custom furniture.
There are elegant ways to keep them organized:
- Wrap them around sturdy cards. Cut pieces of cardboard and wrap your trims, securing the end with a pin. File them vertically in a box, like a card catalog.
- Use a hanging organizer. A simple dowel rod or even a pants hanger works wonderfully to loop longer lengths of trim, keeping them straight and visible.
- Create project-specific kits. For designers in our Trade Program, grouping all notions for a specific client project into a clear, labeled pouch is a lifesaver.
For more inspiration on managing these beautiful details, check out our guide on organizing ribbons and trim. By giving these small but mighty supplies a proper home, you ensure they’re ready the moment inspiration strikes.
Maintaining Your Organized Creative Space
Getting your studio organized is a huge win, but keeping it that way is the real test. An immaculate space can slide back into chaos faster than you can say "creative mess." The secret isn't another massive overhaul; it's building small, sustainable habits that make order effortless.
This is about creating a system that works with you, not against you. It's about protecting your investment in beautiful fabrics and preserving the inspirational clarity you worked so hard to find.
The 15-Minute Weekly Reset
One of the best habits you can build is the 15-minute weekly reset. Set a timer once a week—maybe Friday afternoon—and just tidy. Put away stray threads, refold fabrics you pulled out, and return tools to their designated homes.
You will be floored by what you can accomplish in just 15 minutes. This quick, consistent blitz prevents tiny messes from snowballing into overwhelming clutter. Think of it as a ritual that keeps your creative sanctuary ready for the moment inspiration strikes.
Smart Habits for Lasting Order
Beyond that weekly reset, a few core principles can make all the difference when it comes to organizing sewing supplies for the long haul.
- The 'One In, One Out' Rule: Your best defense against a stash bursting at the seams. The next time you bring home a gorgeous cut of designer fabric from our Buckhead showroom, challenge yourself to use or donate a piece you no longer love. It's a simple inventory control method that stops your collection from becoming unmanageable.
- Finish-Line Tidy: Don't wait until your studio is a disaster. As soon as you finish a project, take ten minutes to clean up. Snip the last threads, put away the notions you used, and file the pattern away. Closing out one project completely before diving into another keeps your workspace feeling fresh and focused.
For the design professionals in our Trade Program, project-specific bins are non-negotiable. Keeping every fabric swatch, trim, and notion for one client in a clearly labeled container is essential. This not only keeps you incredibly organized but also guarantees client materials stay separate and pristine.
Ultimately, maintaining an organized space is about respecting your craft and materials. These habits aren't restrictive. They’re about creating a permanent foundation for creativity, making sure your studio always feels less like a storage room and more like the high-end Atlanta design space it's meant to be.
Common Questions on Organizing Sewing Supplies
Even with the best system, a few practical questions always pop up. When you get down to the nitty-gritty of organizing a creative space, some hurdles are universal for both seasoned designers and home sewists. Let’s tackle some of the most common ones.
Think of this as the final polish—the small adjustments that make your Atlanta studio not just organized, but truly a joy to work in.
What Is the Best Way to Organize Sewing Patterns?
When it comes to sewing patterns, you’re balancing easy access and preservation. Honestly, the best method hinges on the size of your collection.
If you have a smaller, curated library, I love using simple magazine file holders or binders with clear sheet protectors. It keeps them upright and makes browsing feel like flipping through a lookbook. But for a larger collection, like what you’d find in a professional design studio, you can’t beat a filing cabinet. Get some hanging folders, label them clearly, and you’re set.
The most important tip? Categorize them in a way that makes sense to you. Whether it’s by garment type (dresses, custom upholstery), by vendor, or by client, the goal is to find what you need without a major search party.
How Should I Organize Fabric Scraps Effectively?
Ah, the fabric scrap pile. It can go from a small basket to a small mountain in no time. The first step is tough love: be realistic about what you’ll actually use. If a scrap isn’t big enough for a real project, it might be time to let it go.
Once you’ve whittled it down, sort the survivors by color or size into clear bins or bags. My favorite solution is a set of shallow, clear drawers. Dedicate one drawer to each color family—one for blues, one for greens, and so on. This instantly turns a chaotic mess into a usable color palette for smaller projects like appliqué or patchwork.
Pro tip: For those tiny, odd-shaped pieces you just can't part with, cut them into uniform squares. Think 2.5" or 5" blocks. This little bit of prep work transforms clutter into a ready-to-use stash for quilting.
What Are the Best Storage Solutions for a Small Sewing Space?
When you’re short on square footage, you have to think vertically. Every inch of space has a job to do, and multi-functional solutions are your best friend.
- Go Vertical: A wall-mounted pegboard is a game-changer. With a few hooks and shelves, you can get your thread, scissors, and rulers off your desk and turn them into a functional (and beautiful) display.
- Use Hidden Space: Don't forget the back of your door. An over-the-door organizer with clear pockets is brilliant for stashing little notions and tools that would otherwise get lost.
- Embrace Mobility: A rolling utility cart might be the most valuable piece of furniture in a small studio. Load it up with your current project and most-used tools to create a mobile sewing station, then tuck it into a closet or corner when you're finished.
And finally, never waste the space under your cutting table or desk. It’s the perfect spot for clear, stackable containers for your fabric stash—keeping everything visible but neatly out of your way.
Ready to create a workspace that inspires you every day? The first step is surrounding yourself with quality materials. Visit Lewis and Sheron Textiles to explore Atlanta’s most exquisite collection of designer fabrics, custom furniture, and fine trims that will elevate your next project.