


That quick, one-and-done window measurement? It’s the fastest way I’ve seen a design project go completely off the rails. If you want to learn how to measure windows for shades the way a pro does, it all comes down to two things: absolute precision and a steel tape measure.
The secret isn’t complicated. Measure your window in three places for both width and height. Always.
Why Precise Measurements Are a Designer's Secret Weapon
Forget what you think you know about measuring windows. In the world of high-end design, getting the numbers right isn’t a preference—it’s the entire foundation for a flawless look. That custom, tailored appearance you admire in beautiful Atlanta homes, from a sleek Buckhead high-rise to a timeless Roswell estate, begins with a measurement taken to the nearest 1/8 inch.
This goes way beyond avoiding annoying light gaps. It’s about making sure your investment in luxury furniture and designer fabrics is protected and showcased exactly as it should be.

Beyond Just a Perfect Fit
Properly measured shades do so much more than fit snugly. They perform.
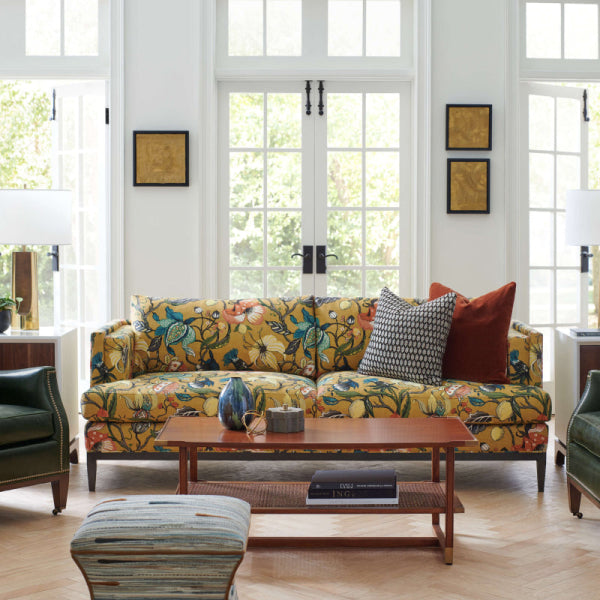
- Protect Your Investments: They shield your beautiful Verellen furniture and Wesley Hall sofas from the harsh Georgia sun, preventing fading and keeping those fine textiles looking pristine.
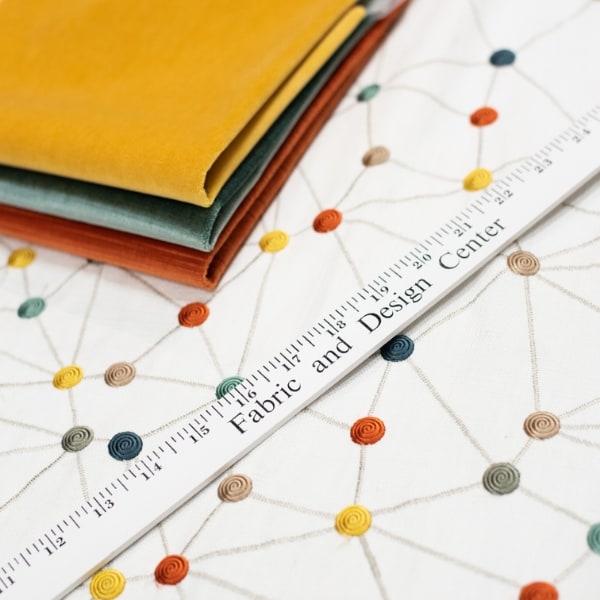
- Enhance Your Fabrics: They allow custom fabrics from our Atlanta fabric showroom to hang just right, showcasing every detail of the texture and pattern.
- Boost Energy Efficiency: A perfectly fitted cellular shade makes a real difference in your home’s insulation. A small detail with a big impact.
The difference between a designer look and a DIY mistake is often a quarter of an inch. "Close enough" is never good enough when you're curating a space with pieces from Lee Industries or Ambella furniture.
Thinking Like a Pro
So, what’s the secret? The right tool. A steel tape measure is your best friend here. It’s non-negotiable. Unlike a cloth tape, it won’t stretch or sag, giving you the crisp, accurate numbers you need for that perfect fit.
Getting accurate window measurements for replacement shades or new ones is the critical first step that sets a project up for success.
For the designers in our Lewis and Sheron Trade Program, mastering this skill is essential. It’s the insider’s edge that ensures every project, whether in Milton or Marietta, finishes with a polished look. You’re not just covering a window; you’re framing a view and completing a vision with the finest designer fabrics Atlanta has to offer.
Choosing Between an Inside and Outside Mount
Okay, before you grab that tape measure, we have to talk about the most important decision you'll make. It's the first question we ask every client: are we doing an inside mount or an outside mount? This choice isn't just a technical detail; it’s the foundation for the entire look of your window treatment.
An inside mount is all about a clean, built-in look. The shade fits neatly inside the window frame, perfect for showing off beautiful trim. We love this for modern spaces, like a sleek Alpharetta condo, where it creates a minimalist vibe.
On the other hand, an outside mount—installed on the wall or trim above the window—is a powerful design tool. It makes a window feel larger and more dramatic. Plus, it’s fantastic for maximizing light control. This is a go-to trick for classic Milton homes where we want to add a sense of grandeur.
When to Go with an Inside Mount
A crisp, tailored inside mount is the right call when you want the shade to feel like part of the window itself. It’s the perfect choice if:
- You have gorgeous window trim that deserves to be the star.
- Your window casing is deep enough for the shade’s hardware (this is non-negotiable).
- You’re aiming for a clean, uncluttered look that lets your furniture, like a beautiful Lee Industries chair, remain the focal point.
Making the Case for an Outside Mount
Sometimes, an outside mount isn't just an option—it’s the only solution. We always lean this way when:
- The window frame is too shallow for the headrail.
- You want a near-blackout effect by covering light gaps.
- The window frame is uneven, and you’d rather hide it completely.
By extending the shade past the frame, you create a polished, unified look that beautifully complements custom upholstery from our Atlanta fabric showroom.
Inside Mount vs. Outside Mount: Which Is Right for You?
Choosing your mount style comes down to your windows, your needs, and the look you want. This table breaks it down.
| Consideration | Inside Mount | Outside Mount |
|---|---|---|
| Aesthetics | Clean, minimalist, built-in. Showcases window trim. | Creates a larger, more dramatic look. Can hide window trim. |
| Light Control | Allows for small light gaps on the sides. | Offers superior light blockage by overlapping the window opening. |
| Privacy | Good, but light gaps can slightly reduce total privacy. | Excellent, as the overlap prevents anyone from peeking in. |
| Window Depth | Requires sufficient depth in the window casing for hardware. | Works with any window, regardless of depth. Ideal for shallow frames. |
| Obstructions | Can be blocked by window cranks or locks. | Easily clears any obstructions within the window frame. |
| Best For | Showcasing beautiful architecture; modern designs. | Maximizing room-darkening; making windows appear larger; hiding imperfect frames. |
Both inside and outside mounts can look fantastic. The key is knowing what each style is designed to do.
These aren't just style points—they have real measurement implications. For inside mounts, we deduct 1/4 to 1/2 inch from the narrowest width for a smooth fit. Outside mounts need a 2-3 inch overlap on each side. A tiny 1/8-inch error can reduce a cellular shade's energy efficiency by 15-20%. The demand for these high-performance options is growing, as seen in this market analysis from Fortune Business Insights.
Knowing your mount style brings clarity to the measuring process. If you’re still weighing aesthetics, check out our guide on how to choose window treatments.
How to Measure for Sleek Inside Mount Shades
If you’re aiming for that clean, built-in look, measuring for an inside mount is all about precision. It's the secret behind shades that feel like a natural part of the window frame, a detail we see in beautifully designed homes from Buckhead to Alpharetta.
This isn’t a time for guesswork. Windows are almost never perfectly square. A single measurement won’t cut it. To get that truly custom fit, you have to measure like the pros.
The Art of the Triple-Check
Let’s start with the width. Grab your steel tape measure and check the inside of the window casing in three spots:
- Across the top, right where the headrail will sit.
- Through the middle, to catch any bowing.
- Along the bottom sill, where the shade will rest.
Look at those three numbers. The narrowest width is your magic number. This is the most important rule for an inside mount. Your shade has to clear the tightest part of the opening to glide smoothly.
Do the same for the height. Measure on the far left, in the center, and on the far right. This time, you’ll use the shortest height you recorded. This prevents the fabric from bunching up at the bottom.
One of the most overlooked details is window depth. Measure from the glass to the front edge of your trim. This tells you if the headrail will sit flush or stick out. A slim roller shade might need 2 inches, while a substantial Roman shade could require 3 inches or more.
This quick visual guide simplifies the logic of choosing your mount.

It all comes down to whether you have enough depth for a clean inside fit or if an outside mount is a better solution.
Avoiding Costly Errors
This triple-check method is your best defense against mistakes. It's also critical to use a steel tape measure, never a fabric one, to get an accurate reading to the nearest 1/16 of an inch. Simple measurement errors are behind 25-30% of all custom shade returns—an expensive, frustrating, and entirely avoidable mistake. You can see more on these trends in this industry report from Grand View Research.
One last pro tip: do not make any deductions yourself. When you place your order, give us the exact narrowest width and the exact shortest height. The manufacturer will make the small, precise deductions (usually about 1/4 inch) needed for a perfect fit.
Follow these steps, and you’ll get custom shades that deliver that bespoke look—a perfect partner to the exquisite Wesley Hall or Lee Industries pieces in your room. This is how Atlanta’s top interior designers get those magazine-ready results.
Mastering Measurements for Dramatic Outside Mounts
If you want to make a real statement, an outside mount is the way to go. It’s a designer’s secret for achieving maximum light control, hiding an imperfect window frame, or creating the illusion of a grander window. We use this technique all the time in high-end homes, from Roswell to Marietta, where the design needs to command attention.
Getting this look right is more art than just adding a few inches. It's about creating an intentional, balanced overlap that elevates the entire room.

Defining Your Width and Overlap
First, measure the total width of your window, including any trim or molding. This is your baseline.
Now for the overlap—this is where the magic happens. A professional finish calls for at least 1.5 to 3 inches of overlap on each side.
So, if your window molding is 36 inches wide, your final ordered width should be between 39 inches (adding 1.5" to each side) and 42 inches (adding 3" to each side). That extra coverage stops those annoying slivers of light from creeping in.
Perfecting the Height for a Luxe Look
For height, your goal is to add scale. A classic designer trick is to mount the headrail 2 to 3 inches above the top of the window frame, drawing the eye upward and making ceilings feel taller.
From that mounting point, measure down to where you want the shade to stop. For a polished look and to kill light gaps, the shade should extend at least 1.5 to 2 inches below the windowsill. Add these numbers together to get your final height.
This strategic overlap transforms a window covering into a statement piece. It ensures your custom shades beautifully complement the fine details of your Verellen furniture or the rich textures from our Atlanta fabric showroom, creating a cohesive, luxurious design.
Following this method gives you the confidence to measure for shades that don’t just cover a window but truly enhance it. If you're dealing with especially large windows, our guide on window treatment ideas for large windows has more inspiration. With an outside mount, you’re in complete control.
Common Measuring Mistakes and Pro Tips
After decades serving Atlanta's design community, we’ve seen it all. We know the small missteps that derail a custom window treatment project, turning excitement into frustration. Getting your measurements right is the absolute foundation of a high-end look.
You wouldn't commission custom upholstery with a "close enough" fabric measurement. The same laser focus applies here.
Sidestep These Common Errors
The most frequent mistakes are surprisingly simple, but they have a huge impact. Watch out for these culprits:
- Using a Flimsy Tape Measure: Vinyl or cloth tapes stretch and sag. Always use a steel tape measure for crisp, reliable measurements.
- Forgetting Obstructions: It's easy to overlook window cranks, locks, and alarm sensors. Ensure your shade has enough clearance to operate smoothly, especially for an inside mount.
- Assuming Windows Are Identical: Never measure just one window and apply those numbers to others, even if they look the same. Homes settle. Frames are rarely uniform. Measure every single window.
One of the most critical mistakes is mixing up width and height. Always write your measurements down as Width (W) x Height (H). This simple habit prevents costly ordering errors and is a non-negotiable for professionals on projects from Milton to Marietta.
Your Pro Measurement Checklist
Embrace a few professional habits to ensure success. This is the kind of wisdom you get from experience—like having a designer from our Buckhead showroom right beside you.
- Triple-Check Everything: Measure width at the top, middle, and bottom. Measure height on the left, center, and right. Then, double-check your notes.
- Label with Precision: Clearly mark which measurements belong to which window. A note like "Living Room Left" or "Master Bedroom Bay" saves headaches later.
- Account for Overlap: For outside mounts, that overlap isn’t just for looks; it’s for function. A small overlap leaves frustrating light gaps.
Industry data shows that up to 20% of window treatment installation failures are due to simple sizing issues. For a perfect outside mount, add 3-4 inches to the total width for a 1.5-2 inch overlap on each side. Extending the height 2-3 inches above and below the frame ensures total light control, protecting your luxury furniture and fine fabrics. If you're curious about market trends, you can review the latest insights from Data Bridge Market Research.
By avoiding these pitfalls, you’re setting the stage for a flawless installation. The result? Custom shades that elevate your entire design, whether you're showcasing Verellen furniture or custom textiles from our Atlanta fabric showroom.
Your Questions About Measuring Shades, Answered
No matter how clear the instructions, measuring for shades always brings up a few questions. Trust us, we’ve heard every query imaginable in our Buckhead showroom from designers and homeowners across North Georgia. Here are the answers we give most often.
What if My Window Is Not Perfectly Square?
First, don't panic. This is normal, especially in older Atlanta homes with character. Perfectly square windows are the exception, not the rule.
If your measurements are off by more than 1/4 inch, we almost always recommend an outside mount. It’s a designer’s trick that works wonders, beautifully hiding any quirks in the frame and creating a clean, symmetrical look.
You can still go for an inside mount, but you must use the narrowest width and shortest height. Even then, an outside mount is the best way to guarantee a flawless finish.
How Much Depth Do I Need for an Inside Mount?
This depends on the specific shade and its headrail. A sleek roller shade might only need 2 inches of depth to sit flush. A more substantial Roman shade or a motorized option could require 3 inches or more.
For many of our clients, from Forsyth County to East Cobb, this detail makes the decision for them. If your casing is too shallow, an inside mount headrail will stick out. If you want that seamless, built-in look, an outside mount is your best friend.
Do These Instructions Work for Motorized Shades?
Yes, the basic process of measuring width and height is the same. But with motorized shades, there are extra things to consider. You have to account for the motor's housing inside the headrail and figure out your power source—battery wand or a hardwired connection?
Beyond measurements, you might be curious about options, like modern automated shades for your smart home. When it comes to motorization, we always suggest letting the pros handle it.
CRITICAL TIP: Don't Do the Math Yourself Should you make your own deductions for clearance on an inside mount? Absolutely not. Always provide the exact, tight measurements of your window opening when you order. The workroom will make the precise, necessary deductions (usually 1/4 to 1/2 inch) for you. Trying to do this yourself is a fast track to shades that are too small.
These guidelines should give you the confidence to measure, but sometimes you just want an expert eye. If you're working with tricky bay windows, intricate designer fabrics, or just want perfection, our in-house designers are here to help. For a different perspective, our guide on how to measure for curtains covers similar principles for drapery.
From selecting the perfect designer fabrics to ensuring a flawless fit, Lewis and Sheron Textiles is your partner in creating timeless interiors. Visit our Buckhead showroom to explore our exquisite collections of high-end furniture and get expert advice for your next project.