












You ordered the linen, set a luxury sofa into the alcove, and then the curtains arrived as one flat panel. They cover the front glass and leave both side windows bare. Or they catch at the first corner and hang crooked over the seat. That is how most bay jobs start in a Buckhead living room or a Roswell family room, and it is fixable if you treat the bay as several planes instead of one wide window.
Custom drapes for bay windows work when measurement, fullness, mounting, and operation are decided together. The panels have to clear the glass, cut the heat, and stay out of reach of children and pets. A premium sectional or a custom chair in that nook only looks finished when the fabric follows the angles.
Why Bay Windows Need Their Own Drape Plan
A bay is an alcove pushed outward from the wall, so it never behaves like a single flat window. It creates several planes at once: a center window, angled or curved side facets, and often a seat or sill below. Every plane has its own width, its own angle, and its own limit on how far fabric can stack.
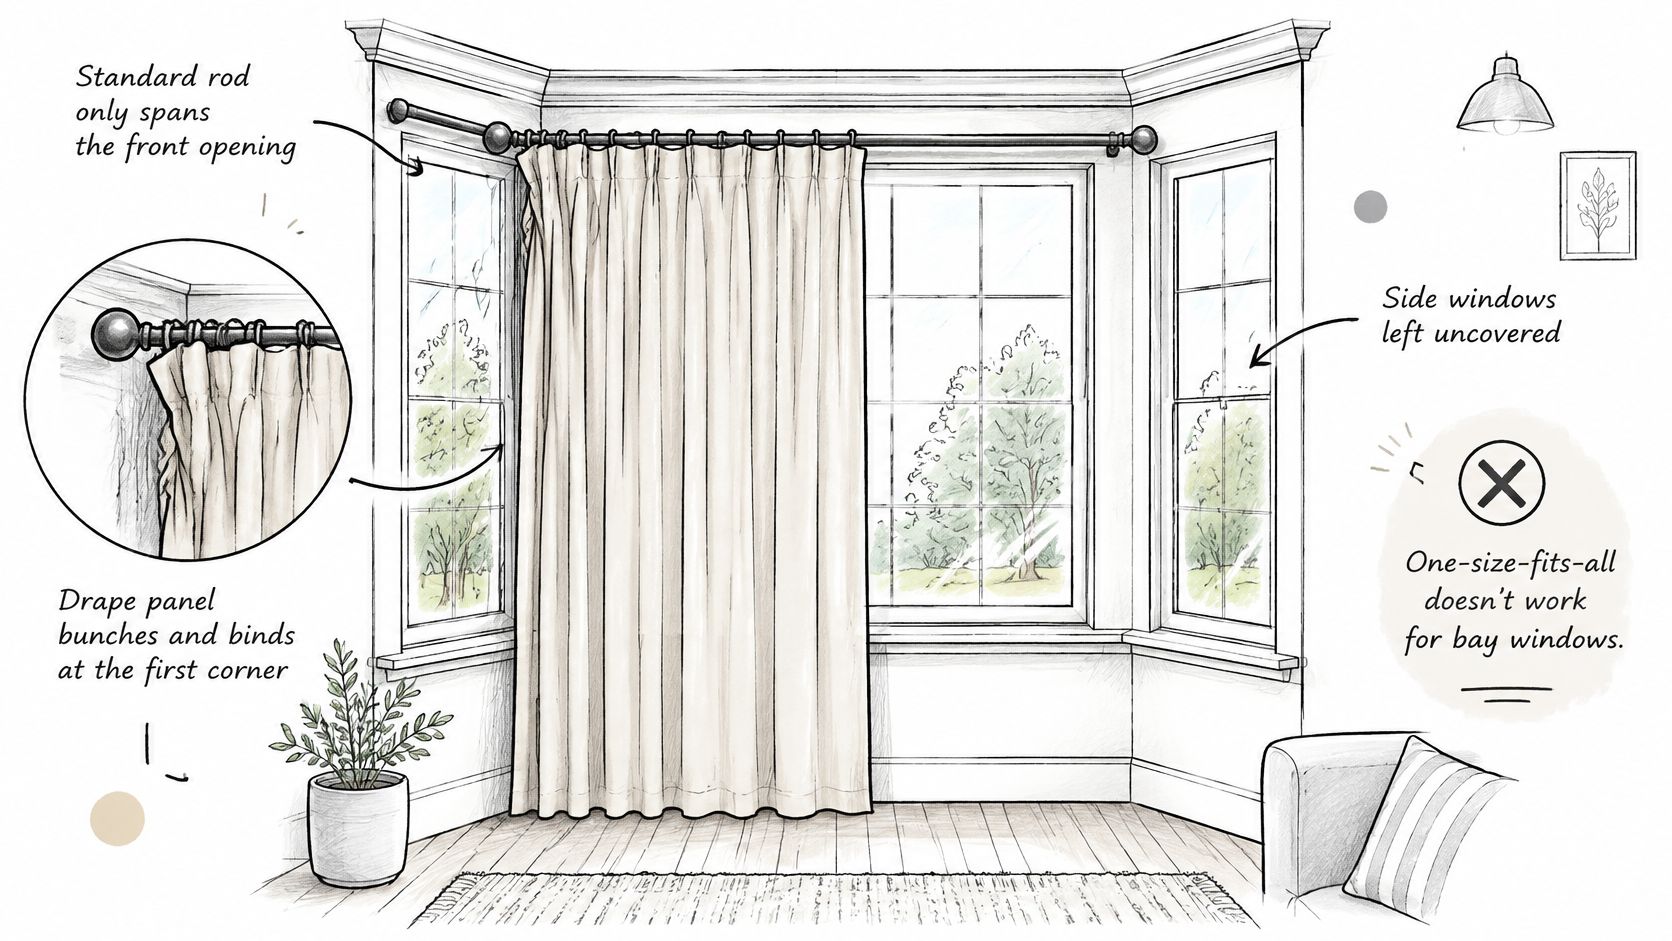
Britannica defines a bay window as the exterior expression of an interior bay created by projecting a wall outward. Common forms include rectangular, polygonal, and arc-shaped configurations, and the purpose was to admit more daylight than a window set flush with the wall. Chicago School buildings used both polygonal bay windows and bow windows to that end.
Drapes that swallow that daylight defeat the architecture. The job is to control glare and privacy without giving the light away. Each plane needs its own measurement, its own hardware path, and its own fullness decision, and the three depend on each other: fullness sets how much wall the open panels need, stack room sets where the track can run, and mount height sets the drop. Treat the bay as a set of angled planes and the plan writes itself. Force a rectangle across it and the fabric fights every corner.
Before you measure, gather a steel tape, an angle finder, photos of the room, and a written list of what the drapes must do, such as privacy, glare control, or heat reduction. Tall rooms follow the same rule that applies when you make the most of kitchen height: raise the hardware so the bay reads taller, then keep the stack off the glass.
Measure the Developed Track, Not the Width
Measure the developed hardware path, not the straight-line width across the room. A three-sided bay in Sandy Springs can look symmetrical from the sofa and still have two different angles once you are on a ladder.
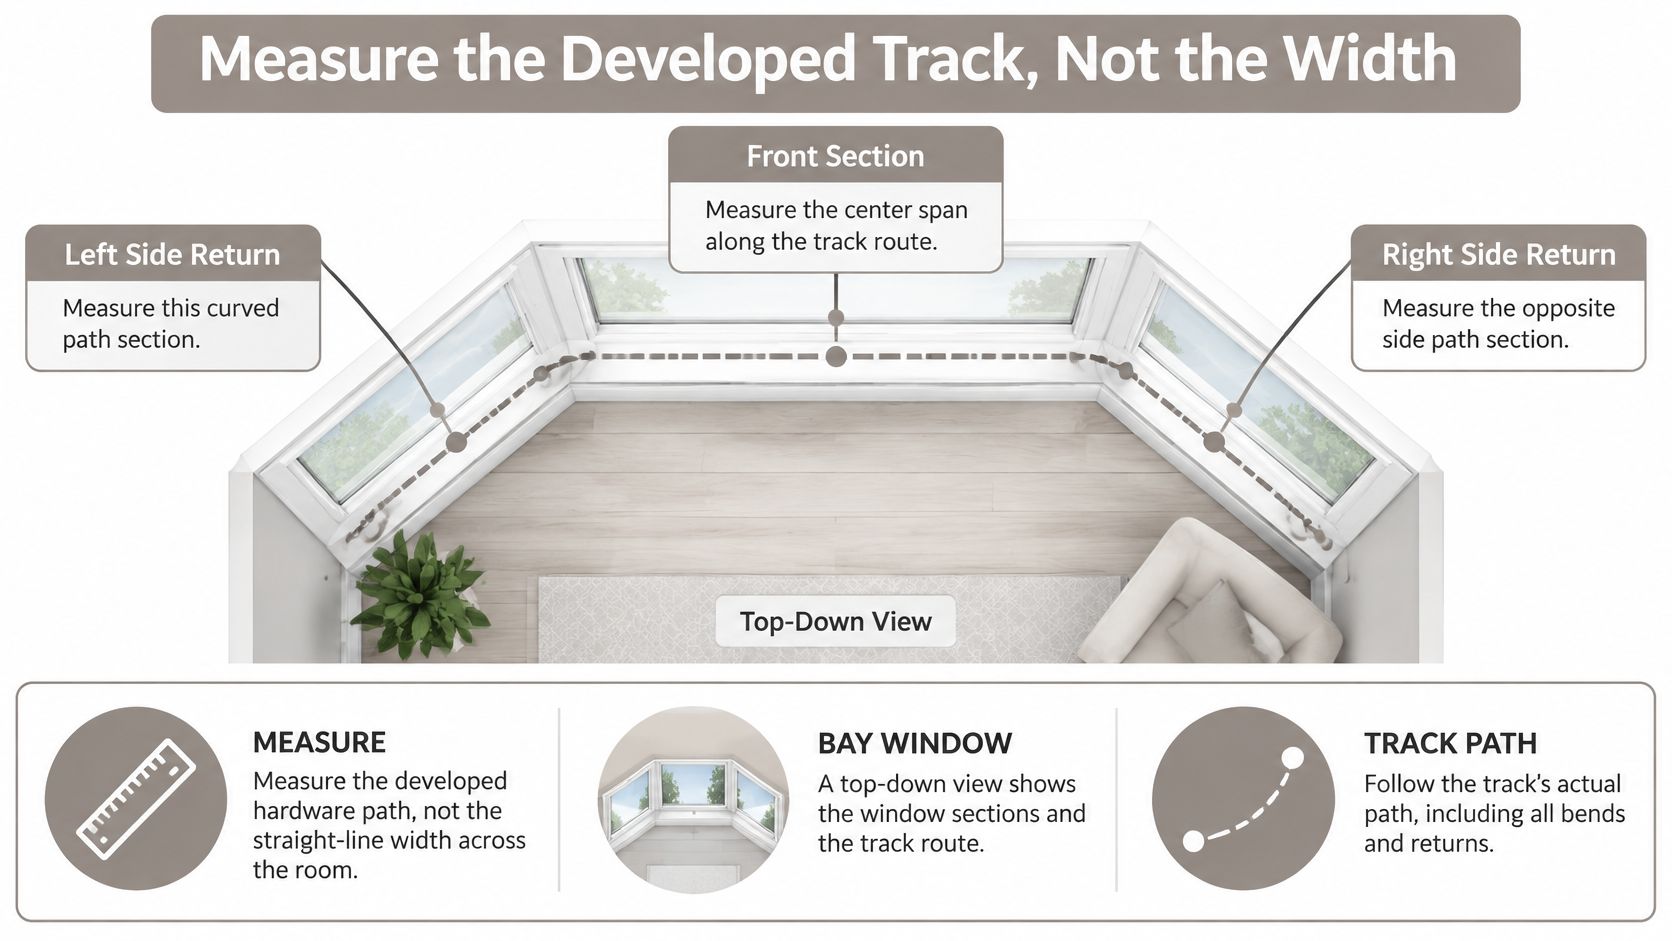
The Dunelm bay measuring guide is clear on the sequence. Work it this way.
- Sketch the bay from above and label every facet left to right, including the side returns.
- Measure each section corner to corner at the height where the track or pole will sit, not along the floor or the window frame.
- Record every internal angle with an adjustable bevel or a digital angle finder. Bays that look even often aren't.
- Note projecting sills, window catches, vents, radiators, and anything that limits how far a panel can stack.
- Set the drop from the hardware installation line down to the intended hem, not from the frame or the floor alone.
- Add stack-back of roughly 20–30 cm (8–12 in) beyond each outer end where the wall allows, so open panels clear the glass.
Where the measure usually fails
The frequent failure is measuring only the front width or assuming equal angles. That produces binding at corners, short returns, and curtains that cover glass when they are open. The same discipline used in Stahl Home Center's furniture measuring guide belongs on a bay. Record the actual path, not the picture you hoped for.
Practical rule: If the recess is tight or the bow is curved, book an in-person measure. Our professionals come to your home or office to measure the space for custom drapes.
Finish with one sheet. List each facet's developed length, angle, drop, and stack-back. That sheet feeds the header and the fabric order. For the rest of a standard opening, our notes on how to measure windows for curtains cover width, drop, and hardware line so the bay numbers stay consistent with the rest of the room.
Choose Fabric, Lining and Header Style
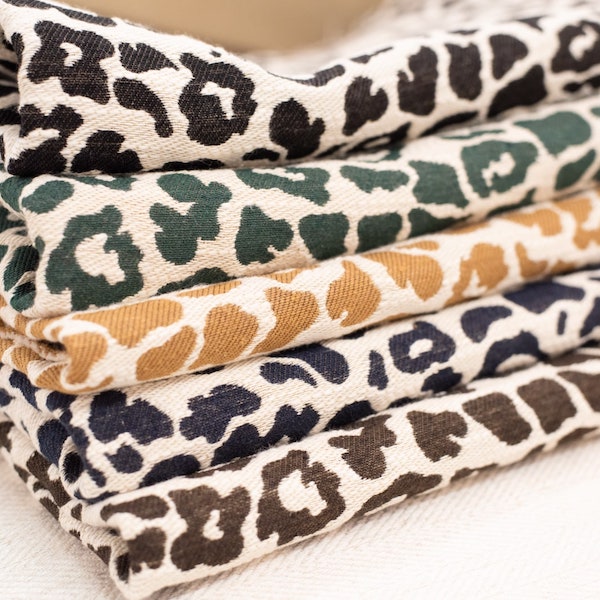
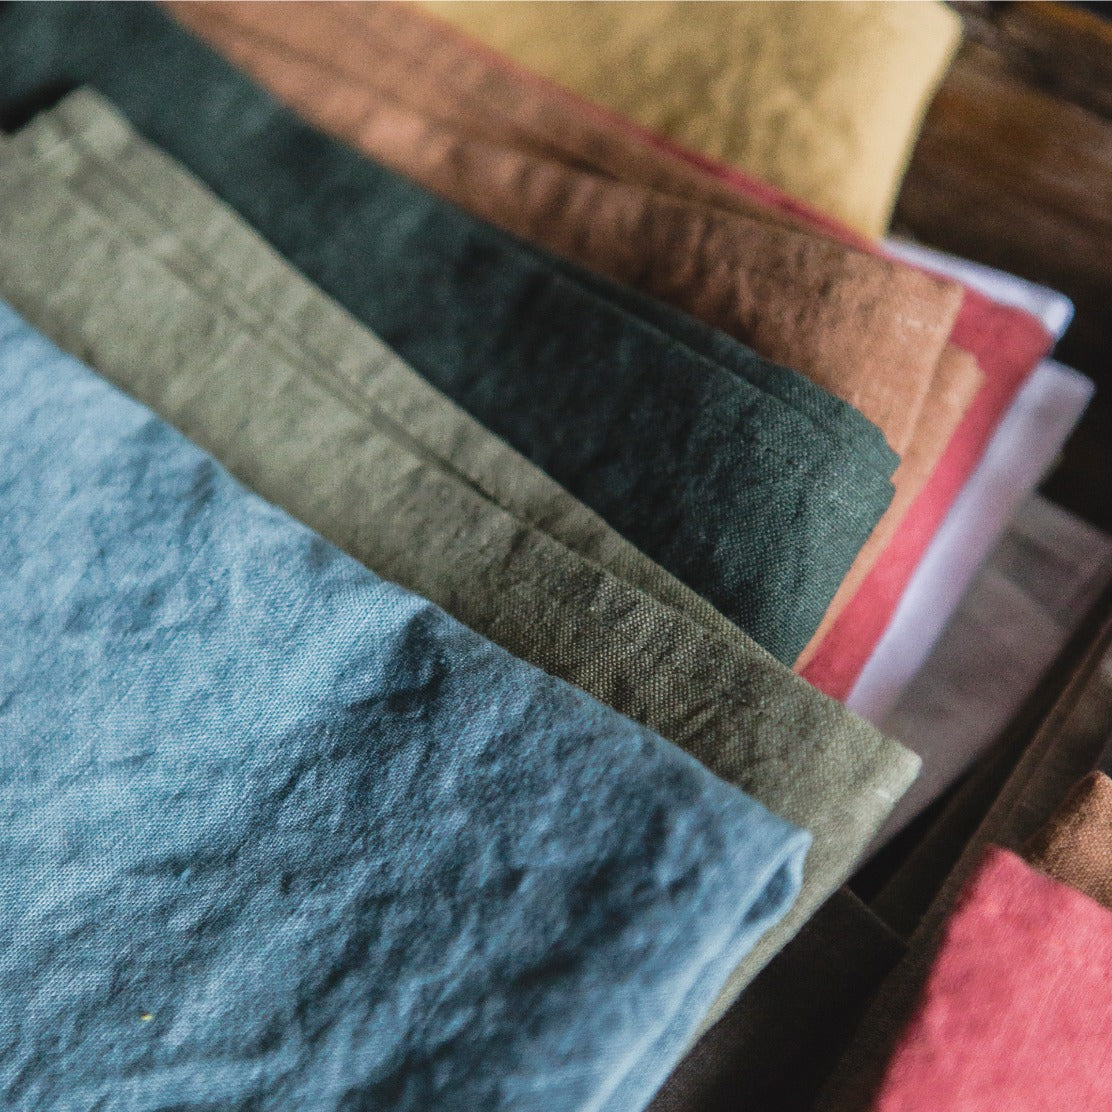
Pick fabric, lining, and header as one set, matched to what each facet has to do. Weight drives the hardware. Linen and lined velvet need a sturdier track than a sheer, and a heavy cloth on a shallow return will sag at the corner. A large pattern repeat wraps poorly around a tight angle. Use a small scale or a solid where the facets turn hard.
Lining is a job, not a finish. Light-filtering lining suits a reading seat. Blackout lining suits a media wall. Interlining helps with winter heat loss and noise. Hang samples in the bay in daylight and again after dark before you commit. Our guide to the role of drapery lining walks through how lining changes light, privacy, and the way a panel hangs.
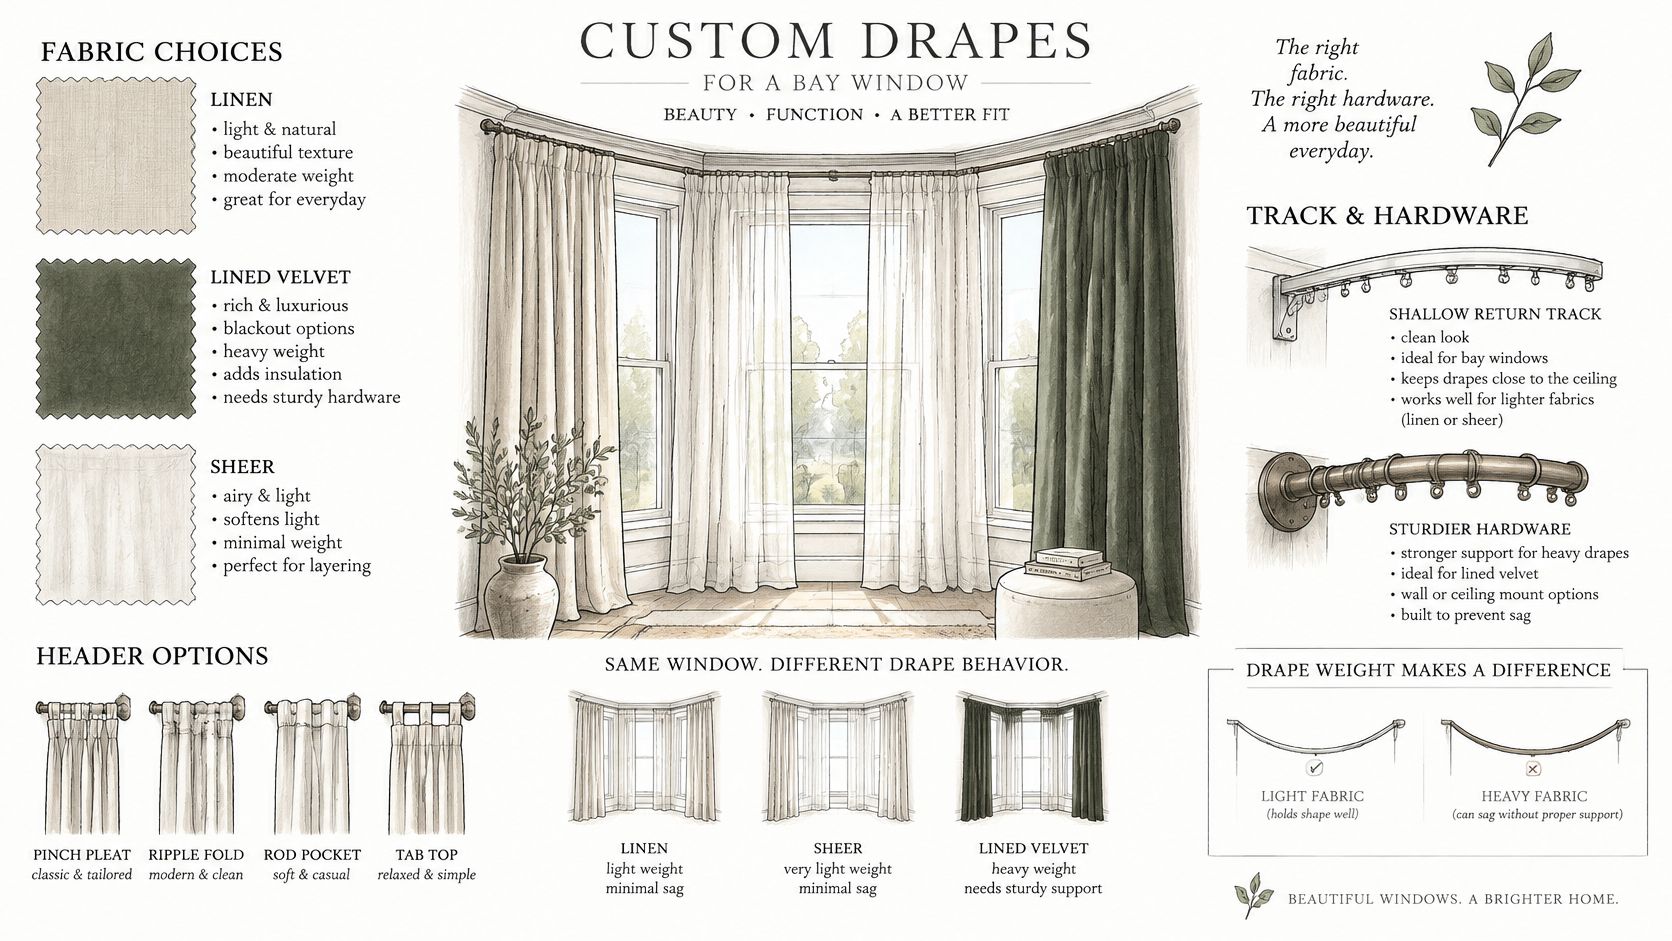
Header styles side by side
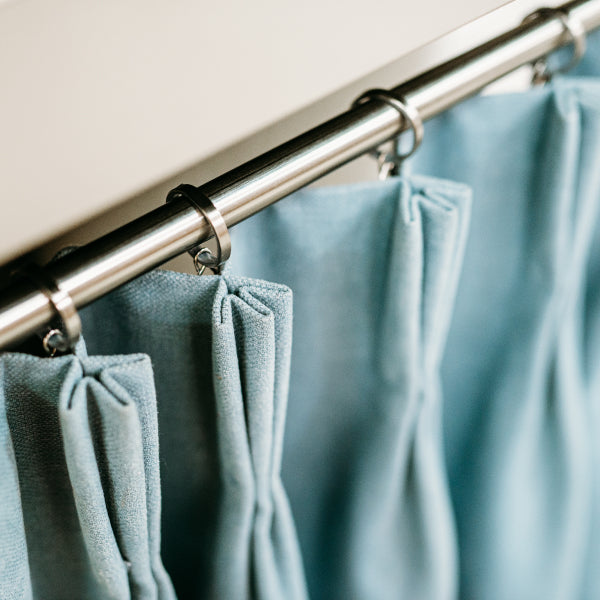
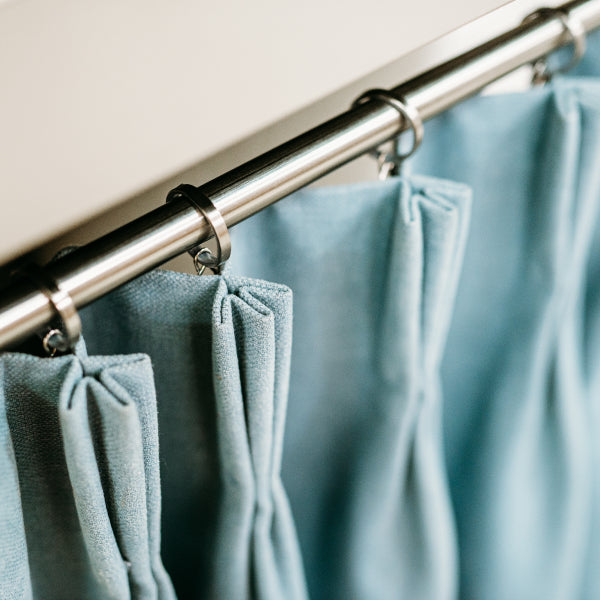
- Pinch pleat: Crisp, formal lines. Best when you want the bay to look as refined as a designer sofa.
- Euro pleat: A fuller modern fold. It needs more fabric and a track that can carry the weight.
- Grommet: Casual and easy to slide. It looks lighter and shows more of the pole.
- Tab top: Fine on light fabrics only. Heavy lined cloth will pull the tabs out of shape.
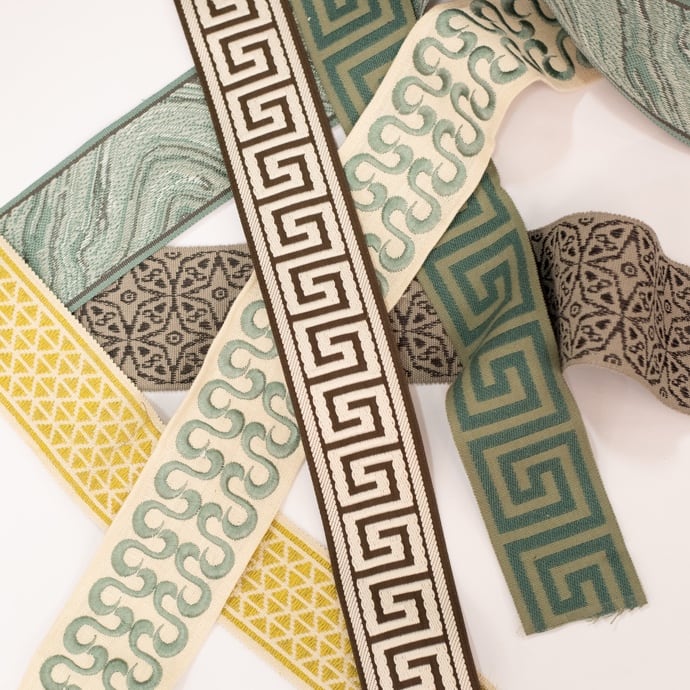
The workroom controls the details that tie the planes together: stitching patterns, nailheads, pleat style, and trim. A vertical stripe can also stretch the height of a short bay. Vertical striped curtains for taller-looking windows show how a stripe changes the proportion without adding bulk at the corner.
Keep one header style across every facet so the bay reads as one unit. Order one dye lot for every panel.
Confirm fabric, lining, and header against the measurement sheet before the final order. The fullness math in the next decision depends on the header you lock in here.
Calculate Fabric Width and Fullness
Fullness is the ratio of finished curtain width to the track. Knoll's drapery guidance states that 100% fullness requires fabric equal to twice the finished width, a 2× total. Higher fullness makes deeper folds and also adds weight, yardage, stack-back, and hardware load. A common benchmark is about 2.5× for permanent-pleat or rod-pocket treatments and about 2× for tab or grommet styles. Adjust for fabric weight, pattern repeat, lining, and how sharp you want the fold.
Say a three-facet bay has a 240 cm developed track and you add 25 cm of stack-back at each end. Covered width is 290 cm. At 2.5 times, that is about 725 cm of fabric before side hems, returns, and pattern-repeat waste. Calculate that total across the whole developed track. Don't split fabric by the visual width of each window and hope the corners work.
Fullness ratio by header style
| Header style | Typical fullness | What changes at higher fullness |
|---|---|---|
| Rod pocket | About 2.5 times | Deeper folds, more weight on the rod, and more stack-back |
| Pinch pleat | About 2.5 times | Crisper pleats, heavier loading on hardware and pleat tape |
| Grommet | About 2 times | Softer gathers, less pleat definition |
| Tab top | About 2 times | Casual look, weight shared across tabs |
| Euro pleat | About 2.5 times | Fuller modern folds and more weight on the track |
From covered width to a work order
- Add stack-back to the developed track to get covered width.
- Pick the fullness ratio from the table for your header.
- Multiply covered width by that ratio to get total fabric width.
- Divide the total across the panels for each facet, and keep each return in view.
- Add side hems, returns, and pattern-repeat waste.
- Confirm the hardware and the recess can carry the lined fabric without the stack covering the glass.
Watch these pitfalls:
- Pattern repeat: Ignoring it shortens the usable width and breaks the motif at a corner.
- Recess depth: High fullness in a shallow bay leaves the stack sitting on the glass.
- Hardware load: A light pole under a lined panel will bow at the angle.
Before fabrication, the written work order should name finished width, fullness ratio, panel allocation, lining, hem allowance, and corner or return treatment.
Mounting and Hardware for Light and Heat
Fabric and fit change how much sun a bay lets in. The U.S. Department of Energy, as summarized by Consumer Reports, reports that medium-colored draperies with white plastic backings can reduce heat gain by 33%. The same summary states that effective management of window coverings can reduce heat gain by up to 77%, while exterior awnings can reduce solar heat gain by as much as 65% on south-facing windows and 77% on west-facing windows.
That 33% figure is not a whole-home guarantee. Results depend on color, backing, orientation, glass, installation quality, and how often you close the drapes. A south or west bay in Atlanta can still make the alcove hot in the afternoon even when the rest of the room feels conditioned. Choose mounting and lining by compass direction and by how you use the seat.
Bay mounting options compared
| Option | Best for | Trade-off |
|---|---|---|
| Inside-mount track following the bay contour | Clean lines and tight edges at the glass | Needs enough recess depth for the stack |
| Ceiling-mount track above the bay | Full coverage across corners and extra height | More visible hardware and more installation work |
| Wall-mount pole with returns | Simple bays with clear wall space at each end | Gaps at corners unless returns are deep enough |
| Separate panels per facet | Opening each facet independently | More operating points and more cords or tiebacks to manage |
| Motorized or cordless traverse | Reachable bays used by children or pets | Higher cost and a power or battery plan |
A drape that stops short of the reveal lets heat and light pass around the sides. Overlap at the center and deeper returns at the sides close those gaps. A custom curtain track can follow the contour so the carriers turn the corner instead of bunching. A professional team can install custom drapes at your home as an optional full-service step once the layout is confirmed. Mark the edge seal on the same measurement sheet you already built.
Install the Track and Check the Fit
Install only after the layout is confirmed on paper. A pole fixed to an uneven plaster wall in an older North Atlanta house will show every dip once the weight is on it.
- Mark the hardware line following the bay contour, and check it with a level at each facet.
- Place brackets at the spacing the hardware maker specifies. Use anchors rated for plaster, drywall, or masonry, because the side walls often differ from the front.
- Dry-fit the panels or carriers before the final fixings, so a binding corner shows up while you can still move a bracket.
- Open each panel and check that the stack clears the glass, the sill, and any radiator. If it doesn't, shorten the return or adjust the stack-back.
- Close the panels and confirm each return overlaps the next so light doesn't leak at the seams.
Common mistakes are fixing brackets only to the window frame, mounting a pole on an uneven wall without shims, and discovering a radiator clash after the order is already built. Write down every adjustment so the workroom and the installer share one sheet.
Choose Cord-Free Operation Before You Order
A three-panel bay gives a child three places to grab, and each angled facet puts a cord within reach of a different piece of furniture. Settle two questions before you order: who uses the room, and can a child or a pet reach the sill or the cords? Custom panels carry the same cord risks as off-the-shelf ones.
Cord safety is regulated, not just recommended. The U.S. Consumer Product Safety Commission identifies operating cords on window coverings as an unreasonable strangulation risk for children eight and younger when accessible cords exceed eight inches, and recommends cordless coverings where young children live. The updated ANSI/WCMA A100.1-2022 standard now requires stock coverings to avoid hazardous cords and sets requirements for tensioned devices when custom products still need cords or chains.
What to specify instead
- Cord-free tracks: Best when kids or pets can reach the sill. You trade a pull cord for a wand or a hand draw, and a wand also keeps hands off the leading edge so the panels track straight through the bay's corners.
- Motorized traverse: Useful on a high or wide bay in Alpharetta or Fulton County. You need a power or battery plan, and you should still be able to open an egress window by hand.
- Tiebacks: Keep them high, out of reach, and clear of the sofa. A holdback at seat height is another cord in disguise.
If the bay is an emergency exit, don't block the operable sash with a fixed panel or a heavy stack.
How to place the order
- Speak with a Design Studio Associate about the drapes you want.
- Have the bay measured in person from your sheet.
- Choose cordless or motorized operation for any reachable bay.
- Allow 4 to 6 weeks for production.
- Choose pickup or white-glove delivery.
Lock the operation method before the fabric is cut. Changing a cord plan after the headers are sewn means rebuilding the panels.
Lewis and Sheron Textiles has made custom drapery in Atlanta since 1944, from classic linen to modern sheers. You can review fabrics with a designer, then have the bay measured, made, and installed so the panels clear the glass and fit the room. Visit Lewis and Sheron Textiles to start with a Design Studio conversation.