


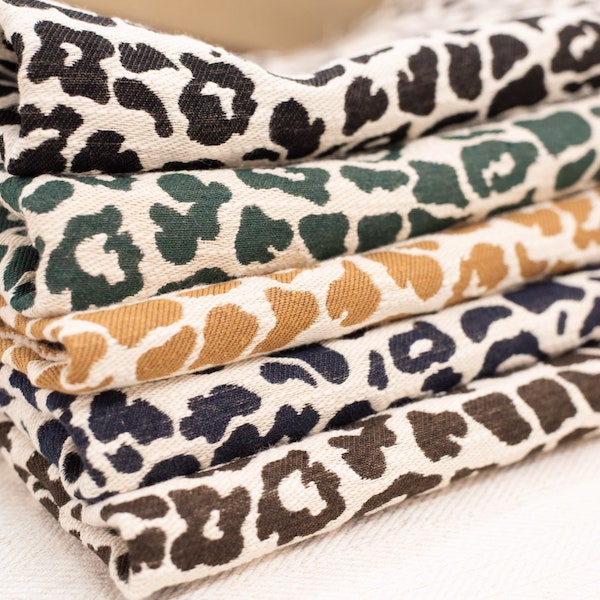
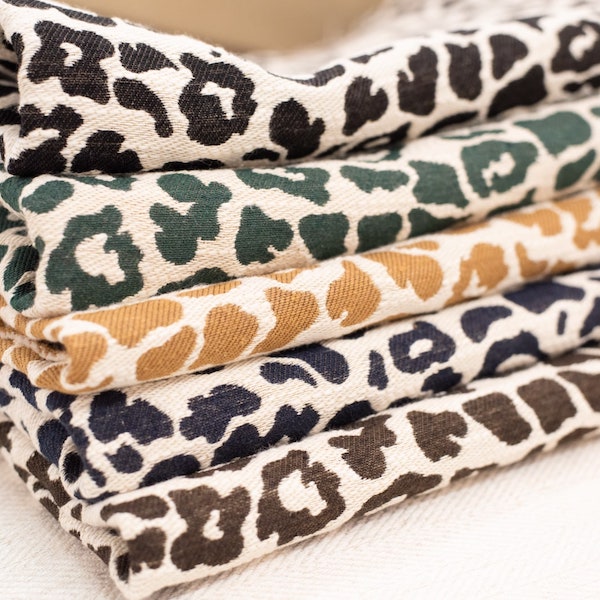
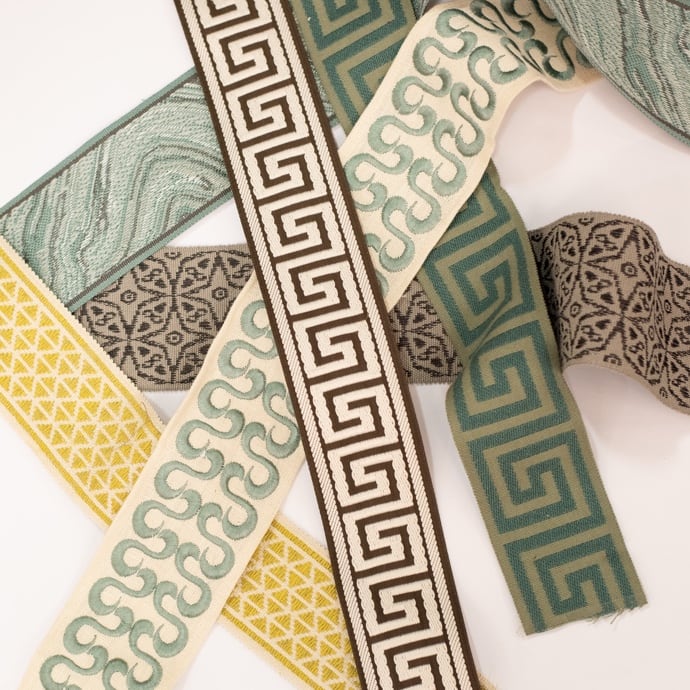

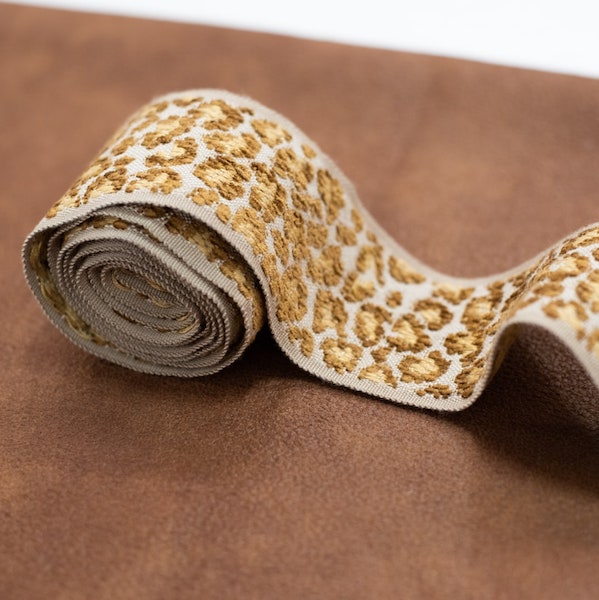




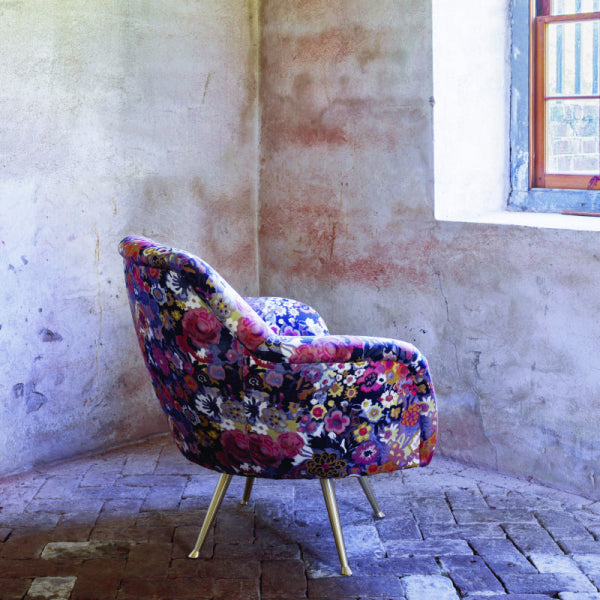




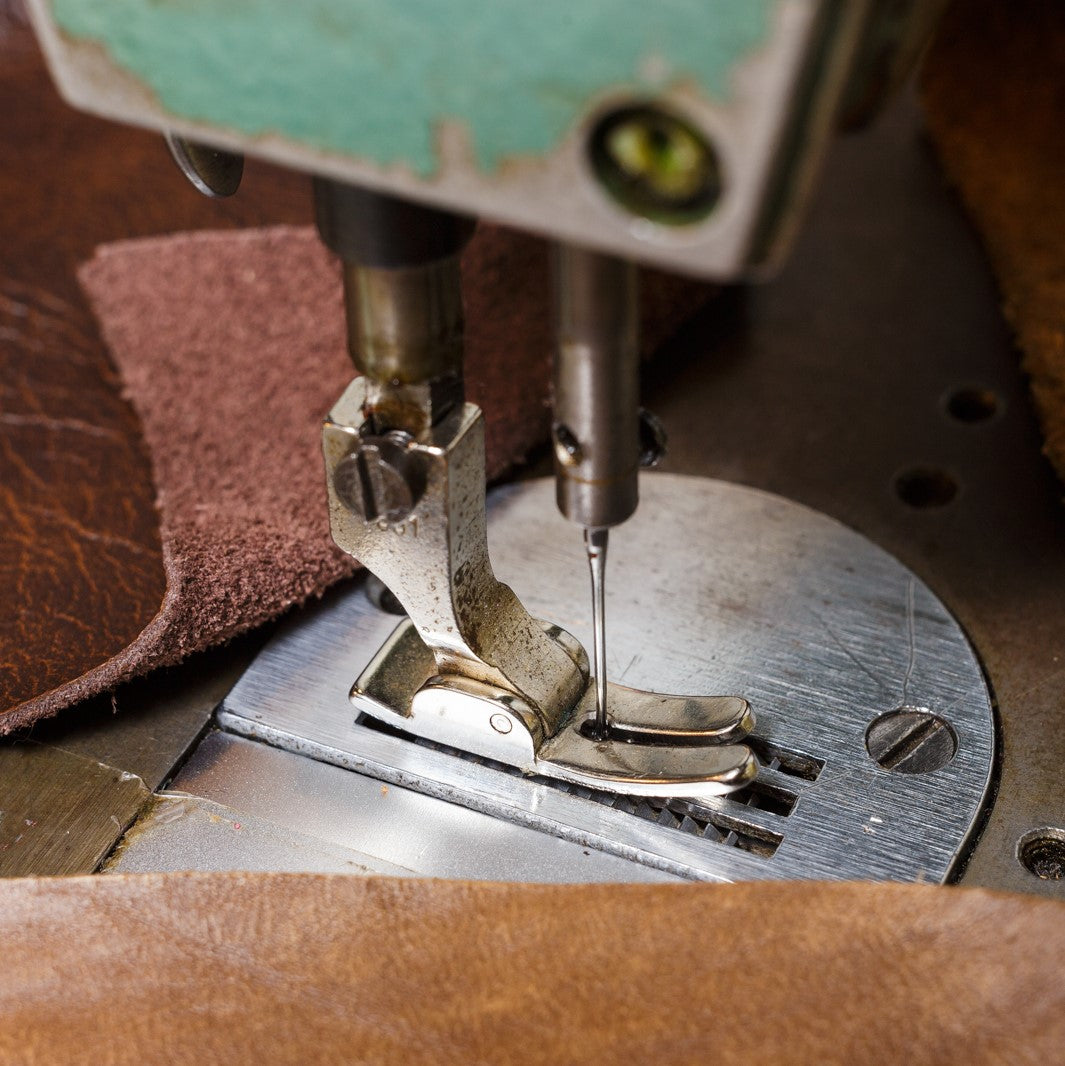



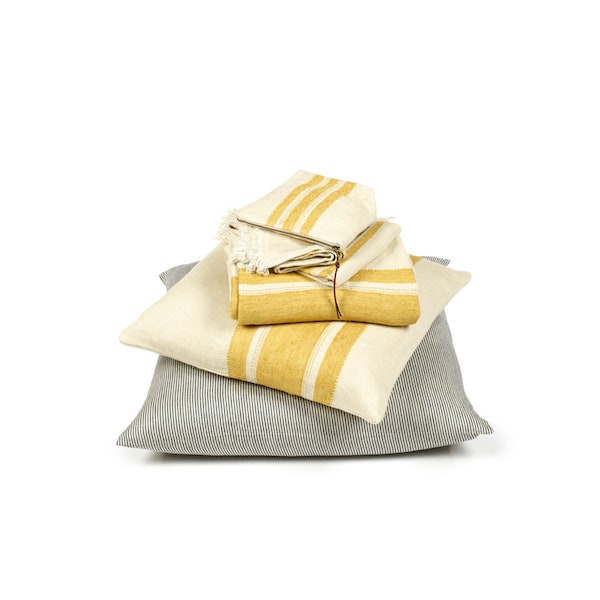

A client in Buckhead brings in a nineteenth-century chair for restoration. The frame is sound, the proportions are exceptional, and the original textile is too fragile to put back into daily service. Across the worktable, an upholsterer lays a hand-stitched appliqué panel over the new seat back, adjusting a curved monogram until it follows the chair's lines rather than fighting them. At that point, hand sewn appliqué stops being a decorative afterthought. It becomes part of the furniture's construction, scale, and future care.
That distinction matters on luxury sofas, custom chairs, premium sectionals, and heirloom-quality furniture. A motif can change how a heavy linen hangs, how a bolster rounds over a seam, and how easily a panel can be removed during later reupholstery. The right method produces controlled, quiet detail. The wrong one leaves puckering, shadowing, frayed edges, or stitches that announce themselves from across the room.
Why Hand Sewn Appliqué Still Matters in a Designer Studio
The historical case for appliqué is unusually strong. Hand-sewn appliqué is an ancient textile technique with documented examples reaching back at least 3,300 years, and likely earlier. One of the best-known early examples came from the tomb of Tutankhamun, who died around 1323 BC. Archaeological evidence also places appliquéd leather in Egypt around 980 BCE, while appliquéd leather and felt appeared on carpets and hangings in Siberia and Mongolia in the 4th century BCE, as documented by the Textile Research Centre at Leiden.
In a designer studio, though, history alone doesn't justify the labor. The value lies in control. On heavyweight linen, a blind appliqué can settle into the surface without the hard, uniform edge a machine often creates. On a bolster, hand tension lets a slip stitch follow a curve while remaining nearly invisible. During restoration, the work can be removed with less disruption than a fused or heavily machined treatment, an important consideration when the base textile, trim, or original structure must be preserved.
Practical rule: Use hand stitching when the edge, tension, reversibility, or material sensitivity matters more than production speed.
Appliqué can serve several different purposes, and they shouldn't be confused. Decorative appliqué adds a motif, crest, border, or monogram. Functional edge finishing secures a turned edge or reinforces a vulnerable area. In upholstery, the same shape may also guide visual emphasis around a cushion, arm, or back panel. Those jobs demand different stitch choices and different levels of stabilization.
The technique also has a long domestic and design history. The earliest known chintz appliqué quilt dates to 1776, and most surviving chintz appliqué quilts were made between 1820 and 1850 in the Delaware Bay region and several southern U.S. states. The Baltimore Album Quilt, which emerged in the 1840s, established hand appliqué as a highly valued form of craftsmanship rather than merely a repair method, according to the Quilt Index historical record.
This guide focuses on four hand stitches, two broad stabilizer approaches, and three practical end uses, pillows, drapery, and heirloom or upholstered pieces. It also makes room for an honest alternative. If a project is a washable child's textile, a production run, or a firmly bonded geometric panel, a fusible or machine satin stitch may be the better decision. Craftsmanship isn't measured by how slowly a piece is made. It's measured by whether the chosen process suits the material and the life of the finished object.
Choosing Fabrics and Stabilizers That Behave Under the Needle
A fabric can look perfect on a showroom memo and fail once the needle draws tension through it. Weight, weave, and fray behavior determine whether appliqué behaves. Test every proposed combination on a scrap: fold it, turn the edge, stitch it, and press it. The test should reflect the finished use, because a decorative sample on a table does not predict performance on a sat cushion or hanging drapery.
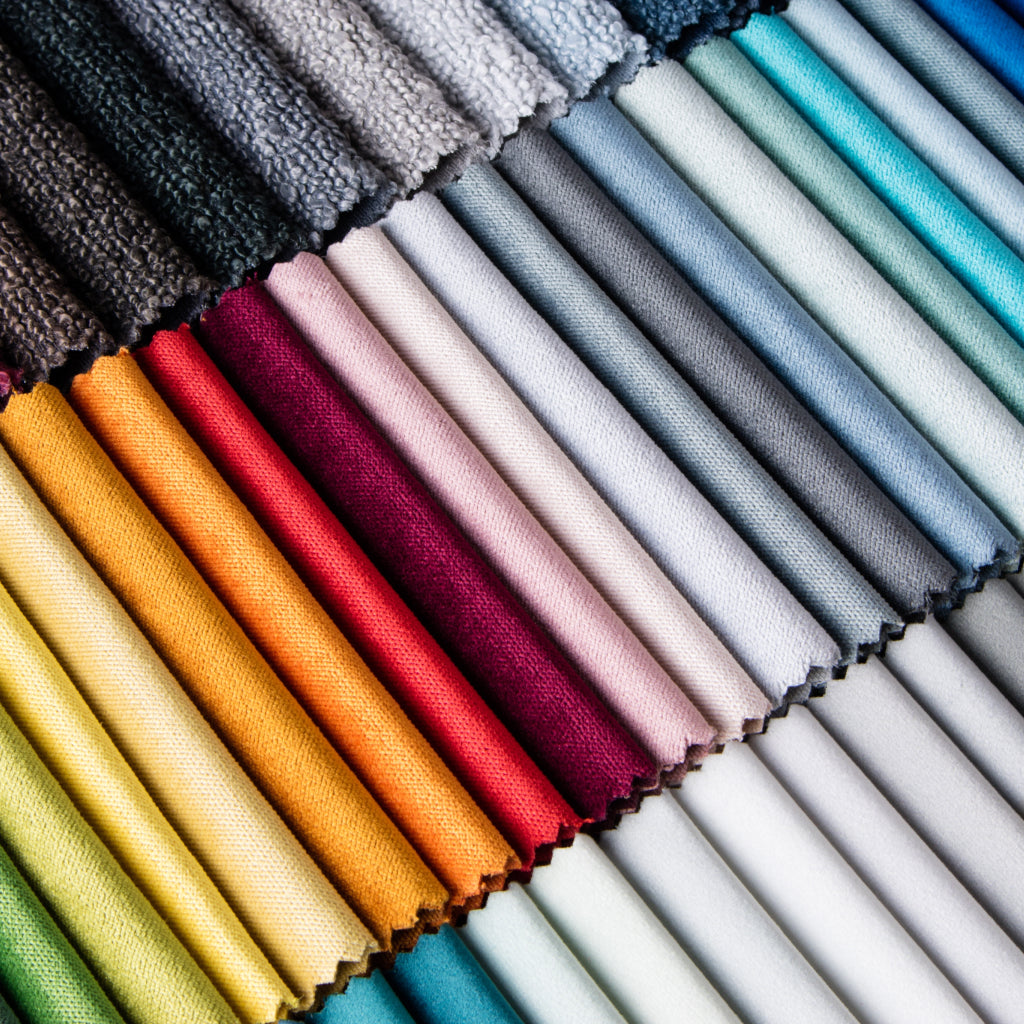
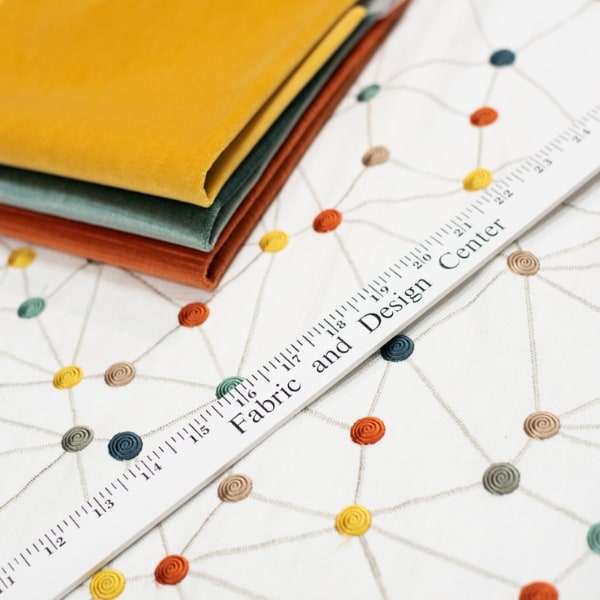
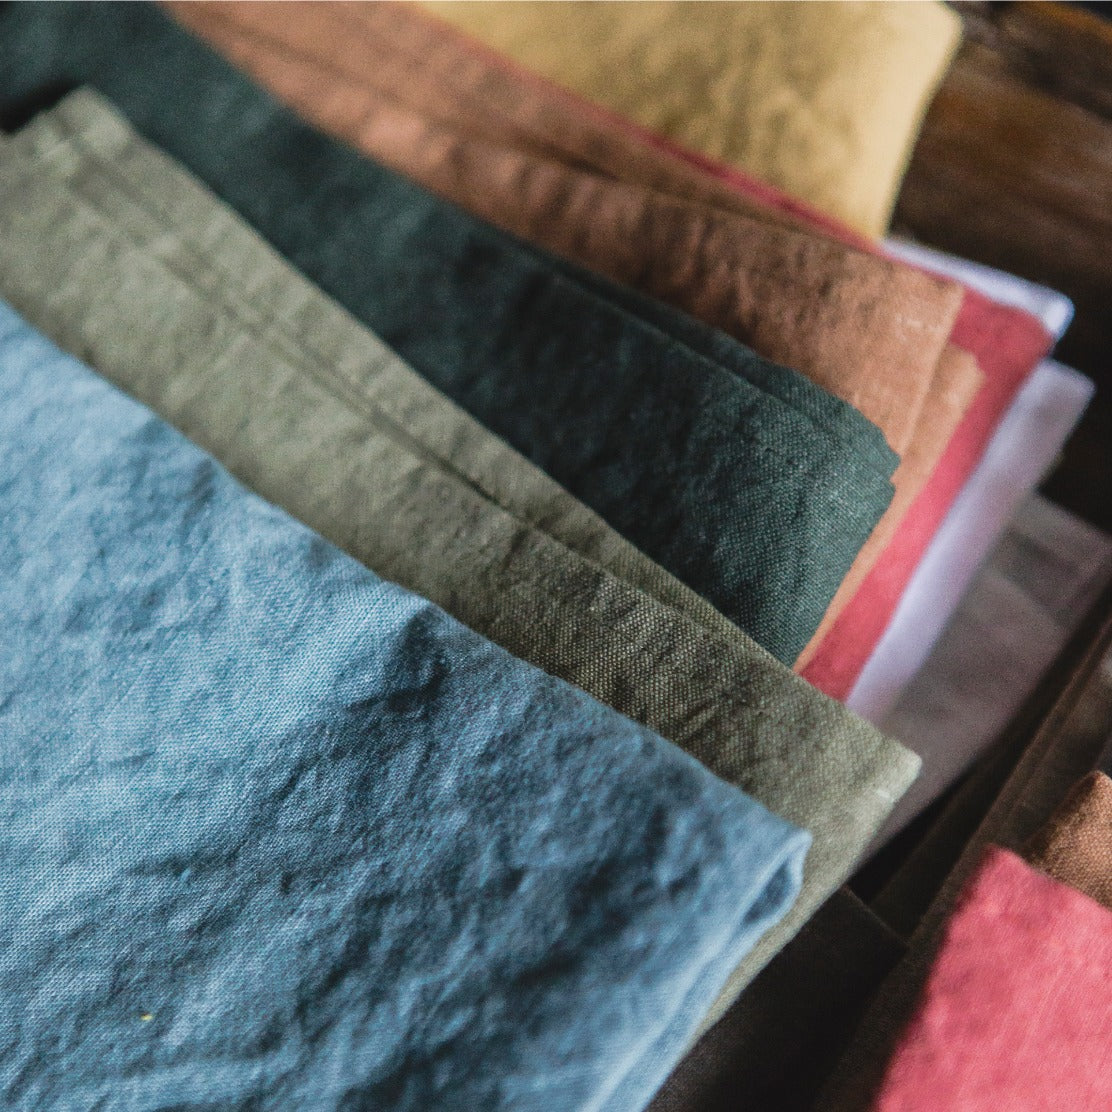
Premium linen has presence and breathability, but loosely woven linen can shift beneath small stitches. Heavy upholstery linen offers a steadier ground; its thickness may require a sharper needle and careful grading behind the motif so a ridge does not telegraph through the face. On heavyweight linen drapery, excess backing can also reduce the soft fall that gives the cloth its value. Silk dupioni has a crisp formal surface, while its slubs can interrupt an even blind stitch. Wool felt is forgiving because it does not ravel like woven cloth, making it useful for graphic motifs and a raw-edge blanket stitch.
Velvet demands restraint. Stitch from the wrong side where possible, protect the pile, and never flatten it directly beneath a hot iron. A crushed pile can remain visible after the appliqué is complete, especially on a panel that receives repeated handling.
Cotton sheeting and quilting cotton are dependable baselines. Their weave is stable, marking is predictable, and bulk is manageable. Slubbed textiles, loosely woven linen, and heavily calendared prints need closer testing. Stitches may pull between the yarns, disappear into a coated surface, or form a ridge that pressing cannot remove. On an heirloom reupholstery project, that ridge can become more obvious as the cover is handled and tension shifts across the frame.
Stabilizer selection by project behavior
Stabilizers fall into temporary and permanent categories. Temporary supports assist marking and stitching, then are removed or dissolved. Permanent supports stay in the construction and continue to provide body. Choose according to handling, cleaning, drape, and whether the piece may later be recovered.
- Tear-away stabilizer: Useful beneath stable cotton or light linen when temporary support is needed. Remove it carefully so the appliqué edge stays undisturbed.
- Cut-away stabilizer: Suited to motifs exposed to repeated handling, particularly where the ground needs continuing reinforcement. Trim it neatly without cutting the stitch line.
- Wash-away stabilizer: Use only when the complete textile can safely tolerate moisture. It is unsuitable for many upholstery and vintage applications.
- Lightweight interfacing: A practical permanent support behind cotton, linen, or drapery fabric, provided it does not create a visible shadow or stiff patch.
- Linen scrim: A compatible linen layer behind the ground can integrate more naturally than a commercial product, particularly on a large panel or restoration textile.
The International Quilt Museum's hand appliqué tutorial recommends a traced template with a scant 1/4-inch seam allowance, incremental turning, and short working sections of about 1/2 to 3/4 inch. For curves, clip or notch up to, never through, the drawn line. This limits excess bulk and helps prevent a raised edge after pressing.
| Ground Fabric | Appliqué Fabric | Recommended Stabilizer | Best Stitch |
|---|---|---|---|
| Quilting cotton | Cotton or wool felt | Lightweight interfacing or temporary tear-away | Blind appliqué |
| Heavy upholstery linen | Linen, wool, or stable silk | Linen scrim or lightweight interfacing | Slip stitch |
| Fine drapery linen | Silk dupioni or cotton | Lightweight interfacing, tested for shadowing | Blind appliqué |
| Cotton velvet | Wool felt or firm cotton | Temporary support beneath the ground | Blanket stitch |
| Fragile vintage textile | Compatible lightweight fabric | Conservation-minded support chosen after testing | Slip stitch |
For a larger home textile, this DIY duvet cover tutorial offers useful panel-planning and construction-order guidance, although appliqué still requires separate fabric tests. Before committing a motif to a finished panel, designers can also consult a guide to designer fabrics for home décor, especially when comparing upholstery-grade linens and damasks.
Transferring Patterns and Prepping Appliqué Pieces
A clean appliqué begins before the needle enters the fabric. Transfer the motif according to how often you'll use it, how accurate the scale must be, and whether the final textile can tolerate visible marking.
For a one-off motif, tracing paper and a light box are the most flexible choices. A sunny window works in a pinch. Trace the design, check the orientation, and transfer it to the fabric with a chalk pencil or silver pencil suited to the ground. This method is ideal for a custom monogram on one chair or a single statement pillow where minor adjustments are part of the design process.
Freezer paper is more efficient for crisp geometry and repeated production. Draw the reversed motif on the paper side, fuse the waxy side to the wrong side of the appliqué fabric, cut accurately, and peel away after the edge has been prepared. It holds a clean perimeter without permanently bonding the piece, which is useful when the final treatment is hand sewn rather than fused.
Template plastic or Mylar belongs in the studio when a shape must be reused or repositioned across a large panel. It's particularly useful for repeated leaves, medallions, and architectural motifs on premium sectionals or coordinated drapery. Mark the grainline on the template as well as the fabric. A repeated shape that rotates unpredictably can make a custom installation look casual rather than intentional.

Preparation details that prevent later distortion
Choose marking tools according to the textile. Chalk pencil works well on many upholstery grounds. Silver pencil can read clearly on dark fabric, but test removal. A Frixion pen may disappear with heat on some natural fibers, yet the mark can return under cold conditions, so it isn't my choice for heirloom work. Tailor's tacks remain the safer option when ink is forbidden.
Preshrink the appliqué fabric in the same manner as the ground fabric. Then trim the seam allowance consistently to 1/8 inch where that allowance suits the chosen turned-edge method. Curves need clipped or notched allowances, but the cut must stop before the drawn line. Press the prepared piece flat before basting. Warp and weft need to settle before the needle introduces directional tension.
The Four Hand Stitches Every Designer Should Master
Each stitch leaves a different visual signature and places tension on the fabric differently. The choice should follow the textile's weight, the expected handling, and how much edge definition the design needs.
Blind appliqué is the quietest option. Turn the raw edge under incrementally and take tiny stitches that catch only a few threads of the background fabric. A small, sharp needle and fine matching thread help the join disappear. This works especially well for light linen and refined drapery motifs, but it loses security on a heavily stressed seam or a seat edge exposed to constant abrasion.
Slip stitch also suits turned-edge work, particularly on fine wool and shaped upholstery details. It creates a controlled, flexible join along curves. Keep the stitch angle consistent and don't pull the thread tight enough to draw the ground fabric inward. A medium-fine hand needle and thread matched to the appliqué usually give the best balance between strength and concealment.
Satin stitch makes the motif visible from a distance. It's appropriate for a crest, graphic flower, or decorative emblem where the outline is part of the design language. Use a smooth embroidery thread with a needle suited to its diameter, and keep the stitch width consistent. Satin stitch can pucker on loose weaves because dense thread coverage concentrates tension along the edge.
Raw-edge blanket stitch is the rugged choice. It works on wool felt, firm cotton, and applications where a visible handmade line is welcome. Use a stronger thread and a needle with enough eye capacity to prevent abrasion. The raw edge must be sealed or stabilized, especially on loosely woven wool, because blanket stitch alone won't stop every edge from fraying.
The different types of sewing stitches are useful for comparing these choices with broader hand-sewing applications.
| Stitch | Best For | Thread & Needle | Avoid When | Visibility |
|---|---|---|---|---|
| Blind appliqué | Light linen and understated drapery | Fine matching thread, small sharp needle | High-stress seams and exposed seat edges | Nearly invisible |
| Slip stitch | Turned edges on wool, linen, and shaped panels | Fine to medium matching thread, hand needle | Raw-edge designs | Low |
| Satin stitch | Graphic motifs and statement pieces | Smooth embroidery thread, compatible needle | Loose weaves and unstable linen | High |
| Blanket stitch | Wool felt and rugged upholstery accents | Stronger thread, needle with adequate eye | Unsealed, fraying edges | Clearly decorative |
The Prima hand appliqué guidance emphasizes a tiny-stitch standard: enter the background fabric only, then return at the appliqué edge. Right-handed sewists generally work from right to left to maintain a consistent angle. Keep fasteners at least 1/4 inch from the fold line, so pins or basting don't block the stitch path.
Basting, Placement, and Stitching Order That Prevents Puckers
Puckers usually begin during placement, not at the moment they become visible. Lay the entire panel flat before securing anything. Mark the grainline on the ground and each motif, then position the largest shapes first. A motif that is perfectly centered but off grain can still twist after the panel hangs or the cushion is filled.
Pin from the center outward. This distributes movement rather than trapping fullness at one edge. Place pins well away from the fold line, and use short appliqué pins when the fabric allows. For a quick mockup, pin basting is efficient. For a drapery panel or a repeated motif that must remain exact, thread baste with contrasting silk thread. The fine thread leaves less disturbance and is easy to remove.
Spray adhesive has a place in upholstery, particularly where pins would distort velvet pile or create loft marks. Use it sparingly, test for residue, and never treat it as a substitute for structural stitching. The appliqué still needs an edge finish that matches the fabric and the stress level.
Stitching order on large and shaped work
Begin with the largest appliqué piece and move toward the smallest. Anchor each motif with a hidden tack stitch at its center of gravity before outlining it. On a leaf or curved emblem, complete the inner curves before the outer edges. That sequence keeps the piece from shifting as the perimeter tightens.
On drapery, baste along the intended fold line. The hanging fabric may sag or settle differently once installed, so placement should account for the final fold rather than the flat worktable alone. On a seat cushion, baste through the ground, motif, and stabilizer below when the construction permits. That extra connection helps resist shifting as the cushion is handled.
Workshop observation: If the fabric moves while you're stitching, smaller stitches won't rescue the design. Stabilize the layers first, then reduce tension in the thread.

Use short sections and turn the work often on curves. The International Quilt Museum's guidance recommends turning the raw edge incrementally through sections of about 1/2 to 3/4 inch, which keeps the fold smooth and controllable. If the line is long, stop, finger press, and reset your hand position rather than dragging the fabric toward the needle.
Troubleshooting the Failures You Will Actually Hit
A visible defect often has a structural cause. If the same fault appears in the same position across several motifs, inspect the thread tension, fabric grain, and stabilizer before restitching a single edge. On upholstery, ignoring that cause can shorten the appliqué's working life. On a drapery panel, the defect may become more obvious once the fabric hangs and settles.
When the thread shows
Visible thread tracks usually indicate thread that is too heavy, a needle entering too far into the ground fabric, or stitches placed too far from the folded edge. Match the thread to the appliqué fabric, shorten the stitch, and let the needle catch only a few background threads. On lightweight drapery, this restraint protects the surface. On heavy upholstery, it also reduces the line of perforations that can weaken a frequently handled panel.
If repeated needle entry has marked the ground fabric, remove and reset the piece. Denser stitching only hides the damage temporarily and can make the area stiffer than the surrounding cloth.
When linen puckers
Low-thread-count linen draws inward when the thread is pulled tight. Large seam allowances add bulk, while uncut curve allowances keep the edge raised above the ground. Use a scant 1/4-inch allowance, clip or notch curves up to, but not through, the drawn line, and turn the edge in controlled increments, as noted earlier.
Pressing can settle mild rippling. It cannot correct a motif stretched during basting or stitched while the ground was distorted. If puckering follows the full perimeter, remove the stitches and rebuild the area. A smooth surface after pressing may not last once heavyweight linen hangs in folds or a cushion is filled.
When edges fray or show through
Loosely woven wool may require a stabilizing backing or a different stitch. Blanket stitch can look finished while the raw edge continues loosening underneath. Trim unstable fibers, support or seal the edge where the materials allow, and test the treatment under the handling the finished piece will receive.
Shadow-through appears when a dark backing or adhesive shows through a light drapery ground. Hold the layers against light before stitching. If the support is visible then, pressing harder will not solve it. Change the support layer, increase compatible opacity, or use a lighter construction.
Dry cleaning can reveal weakness after the work leaves the studio. Fiber content, adhesive choice, and age all affect the result. The Cutesy Crafts hand-appliqué guide addresses recurring workshop concerns, including bunching, clipped curves, pre-pressing, basting, and deciding whether adhesive belongs in the construction. For heirloom reupholstery, test the complete layered assembly before committing it to the finished cover.
Finishing, Pressing, and Care for Pillows, Drapery, and Heirlooms
Finishing determines whether hand appliqué remains elegant after the first use. Clip curves and corners without cutting the stitch line. Grade seam allowances on heavy linen so layers don't form a hard ridge, then press from the back with a pressing cloth. A tailor's ham is essential for shaped motifs, bolsters, and curved chair panels because it supports the form while the seam settles.
Pressing temperature must follow the fiber and the pile. Linen and cotton generally tolerate more heat than silk, but the exact setting should be confirmed on a scrap and with the fabric supplier's guidance. Cotton velvet requires protection from direct pressure so the pile doesn't crush. Silk dupioni needs restrained heat and a pressing cloth. Wool and vintage textiles should never receive aggressive heat just because a stitch looks unsettled.

Care by finished application
Pillow covers should be designed around removable inserts. Spot clean when possible, and use a gentle cycle in a mesh bag only when the fiber, backing, thread, and appliqué construction can tolerate washing. A well-shaped insert matters as much as the cover because overfilling can strain curved appliqué edges. For clients selecting inserts, these Comfort Pure pillow options provide a useful reference for comparing forms and support.
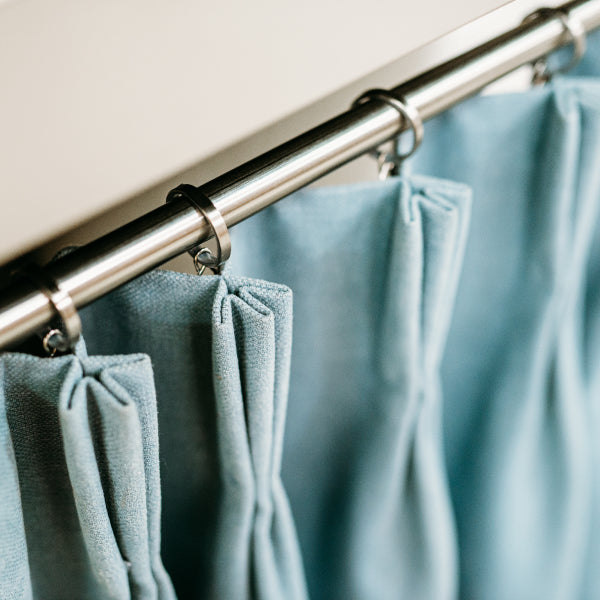
Drapery benefits from low-suction vacuuming with a clean upholstery attachment. Avoid pulling directly across the motif. Professional cleaning should be scheduled according to soil, fiber, lining, and exposure, with a common planning interval of every 3 to 5 years where the textile and environment support it. Always disclose hand appliqué to the cleaner before treatment.
Upholstery needs controlled use rather than aggressive spot treatment. Rotate loose cushions, manage direct sunlight, and avoid solvent spot treatments near hand stitching unless the cleaner has tested the complete assembly. The custom throw pillow cover guide offers useful construction context for removable textile applications.
Heirlooms require restraint. Conservation-grade cleaning, minimal washing, and archival storage are safer than routine laundering. Store flat when practical, or roll around an archival support with appropriate acid-free materials. Never fold a fragile appliquéd panel along a stitched motif.
Wet-cleaning versus dry-cleaning
Use wet cleaning only when the fiber content, dyes, stabilizer, backing, and age have been tested together. Natural-fiber textiles with unstable dyes, aged adhesives, or historic stitching may distort or bleed in moisture. Dry cleaning isn't automatically safer either. Solvents can affect adhesives, finishes, and older fibers, so the cleaner needs to know the full construction before choosing a process.
A client care sheet should include:
- Fiber content: Record the ground, motif, thread, and backing fibers.
- Cleaning limits: State whether spot cleaning, wet cleaning, or professional cleaning is permitted.
- Heat warning: Prohibit direct high heat on velvet, wool, silk, and vintage textiles.
- Sun exposure: Note whether the piece needs lining, rotation, or filtered light.
- Storage: Keep heirlooms clean, dry, supported, and free from sharp folds.
- Inspection: Check edges and attachment points before a small issue becomes a restoration project.
For luxury home furnishings, appliqué earns its place when it supports the design and survives the way the piece will be used. A monogram on a formal bolster, a wool motif on a statement chair, or a restrained linen border on a custom drapery panel can add identity without making the room feel decorated for decoration's sake. The craft should disappear when it needs to, and speak clearly when visibility is the point.
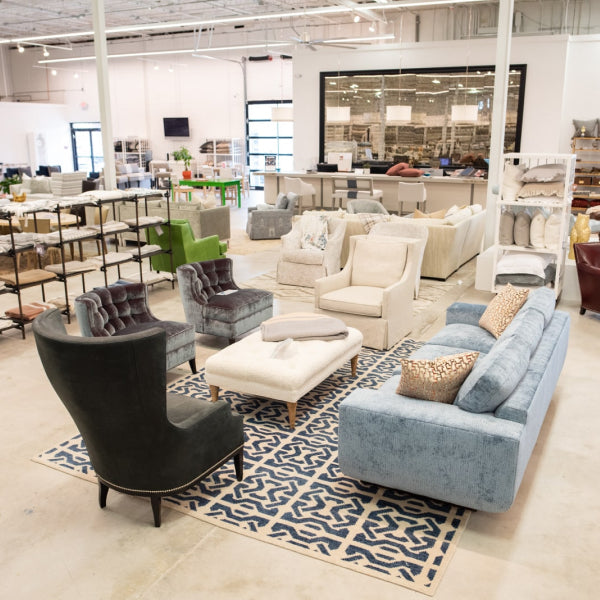
Lewis and Sheron Textiles offers premium home fabrics, custom upholstered furniture, expert reupholstery, and custom drapery for Atlanta-area interiors, including Buckhead, Alpharetta, Roswell, and Sandy Springs. Visit Lewis and Sheron Textiles to source upholstery-grade linens, Belgian textiles, trims, pillow forms, and designer furnishings for appliqué work intended to last.