


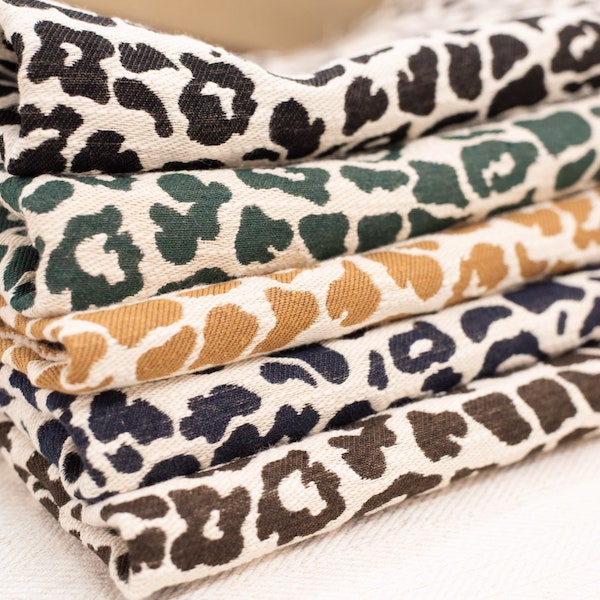
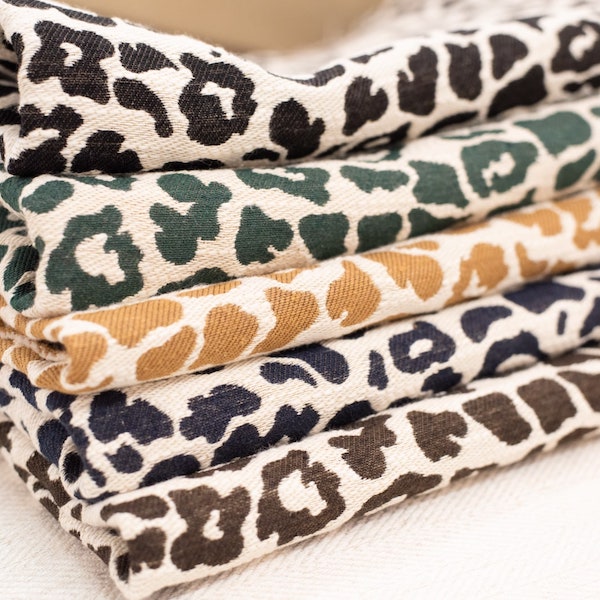
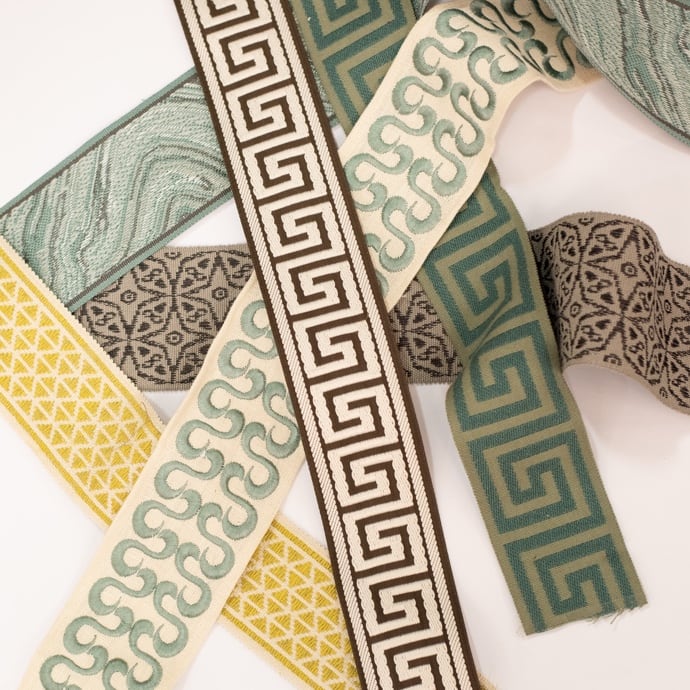

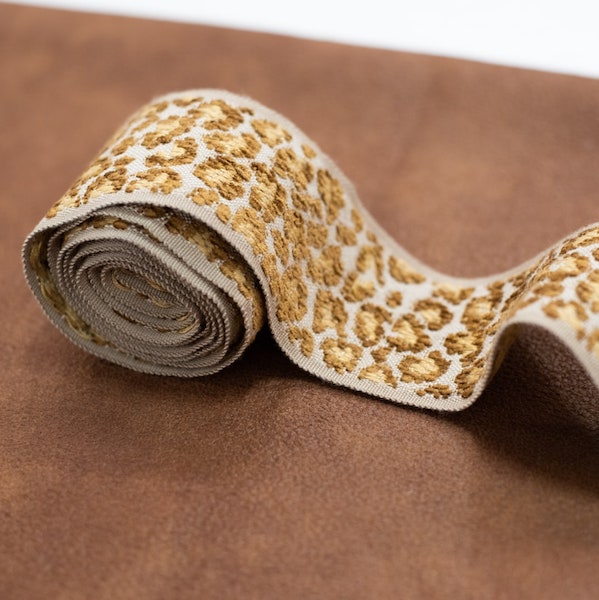


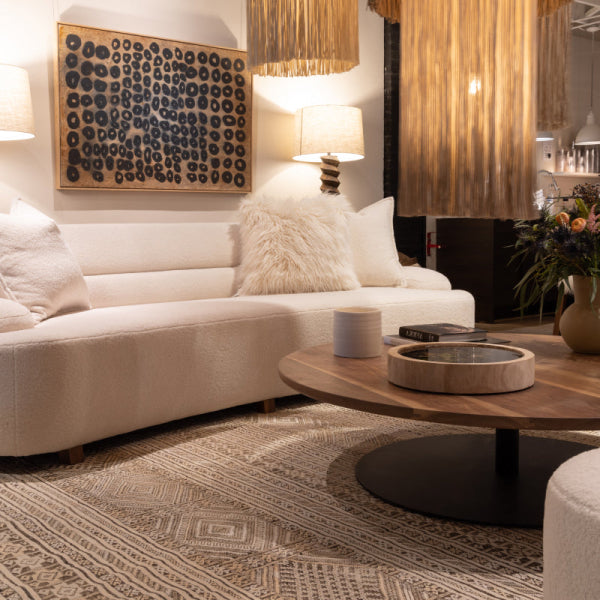


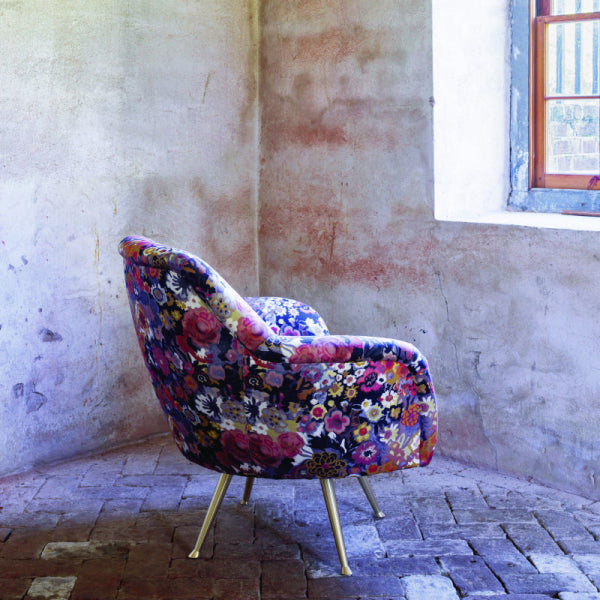
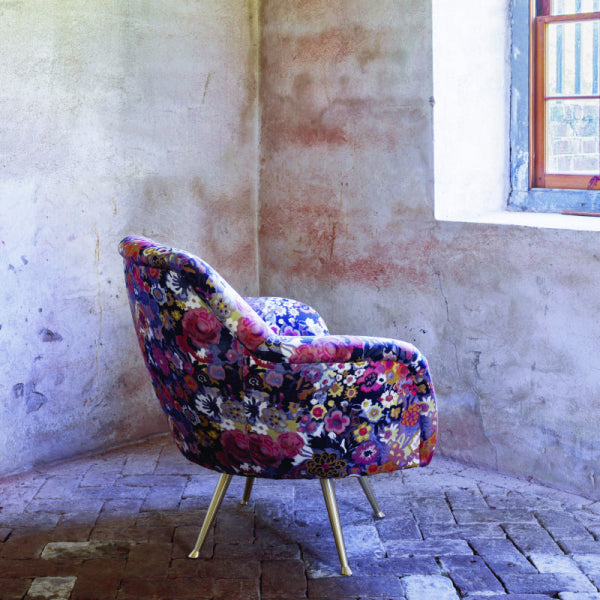





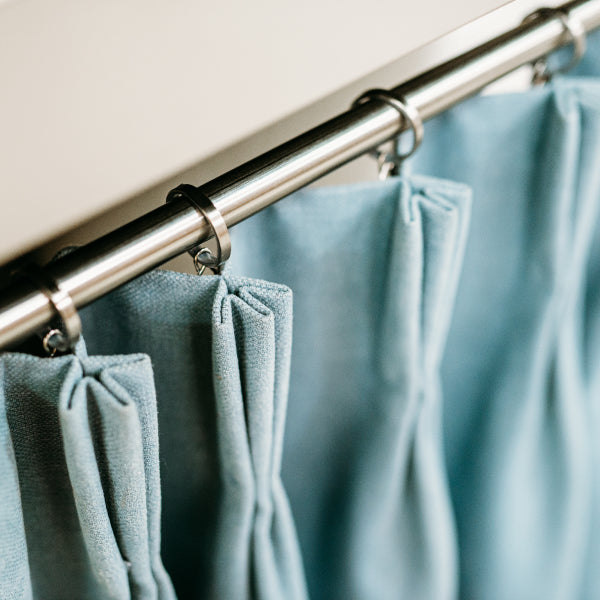
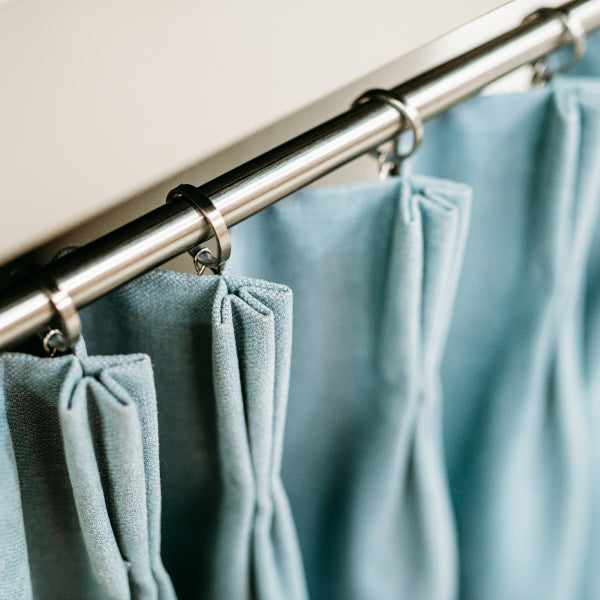
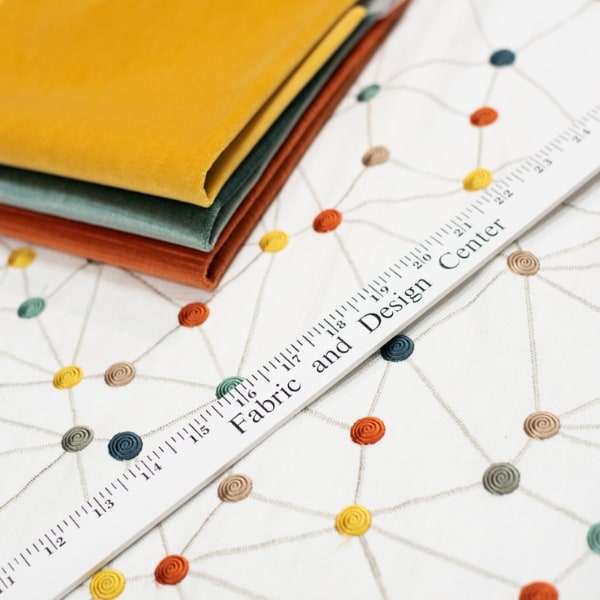
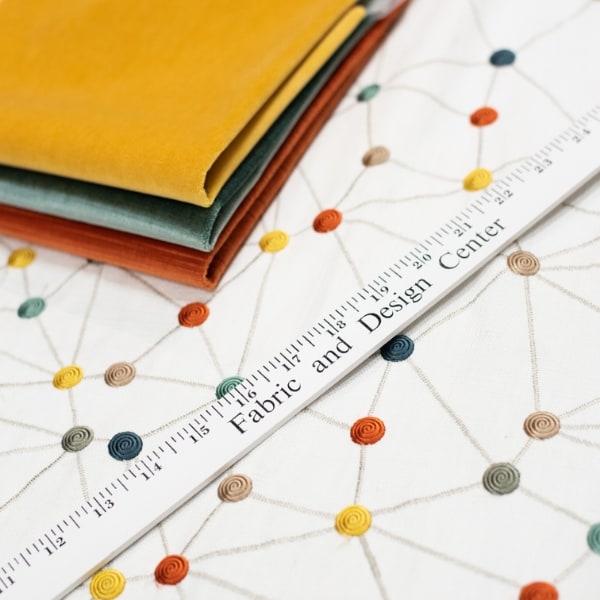






You can spend serious money on a sofa, drapery panel, or accent chair and still lose the room if the trim looks rushed. I see that all the time in Atlanta homes, especially in Buckhead, Sandy Springs, and Alpharetta, where the furniture is meant to read as designer furniture, not something assembled to fill space. The difference is rarely the fabric alone. It's the edge, the finish line, the way piping, fringe, gimp, or tassels sit once the piece is installed and lived with.
That's why trim installation matters so much in luxury furniture and custom soft goods. On a good day, trim sharpens a silhouette and gives a piece real weight. On a bad day, it puckers, waves, pulls away at the corners, or looks like an afterthought on an otherwise beautiful investment.
Why Trim Transforms Luxury Furnishings
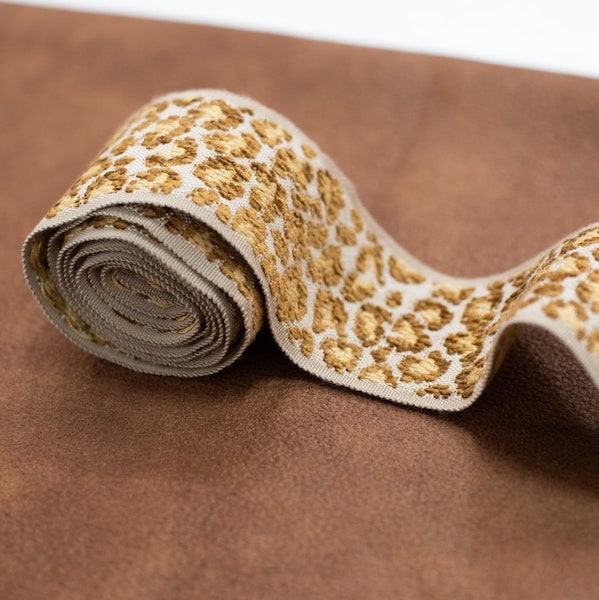
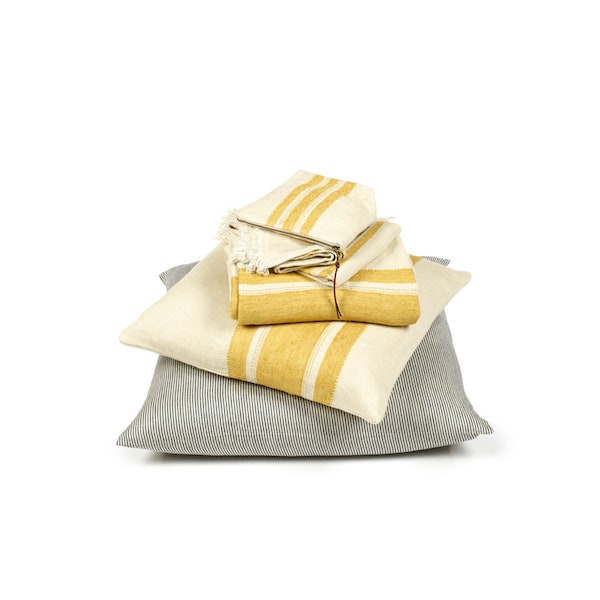
A client can bring in a sample of braided cord, a length of silk fringe, or a spool of gimp and still feel uncertain about the final result. That hesitation makes sense. Trim looks small in the hand, but once it's on a sofa skirt, a drapery panel, or a set of custom chairs, it changes the whole read of the room.

In custom work, trim does three jobs at once. It defines edges, adds visual weight where a fabric might otherwise disappear, and introduces texture contrast that plain cloth can't deliver. That's why interior designers across Atlanta often specify trim on high-end furniture, drapery, and upholstery. It's not decoration for decoration's sake. It's a finishing move that tells the room the piece was made, not just purchased.
What trim does to a room
Piping can sharpen a cushion edge so it holds its shape visually. Fringe can soften a skirt or panel and keep a heavy fabric from feeling severe. Gimp works well where you want to disguise a seam line without drawing too much attention to it. Tassels and braided cord add a more formal, collected look, which is why they show up so often in luxury home furnishings and heirloom-style interiors.
Practical rule: the more tailored the room, the more unforgiving sloppy trim becomes.
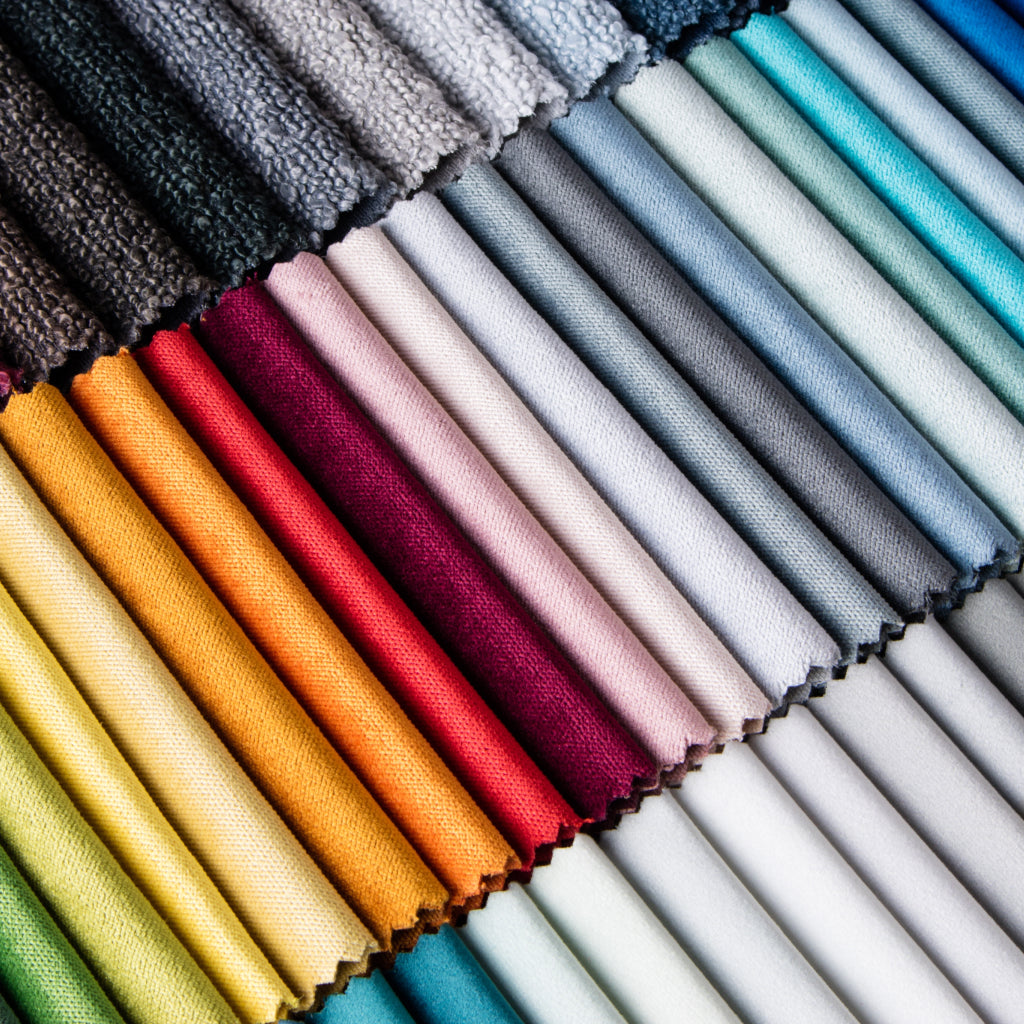
The other reason trim matters is scale. A thick chenille sofa can take a more substantial welt or braided edge. A delicate linen drapery panel usually needs a lighter hand, because the trim can overpower the fabric if the weight doesn't match. In premium homes, the goal isn't to add as much ornament as possible. It's to make the ornament look inevitable.
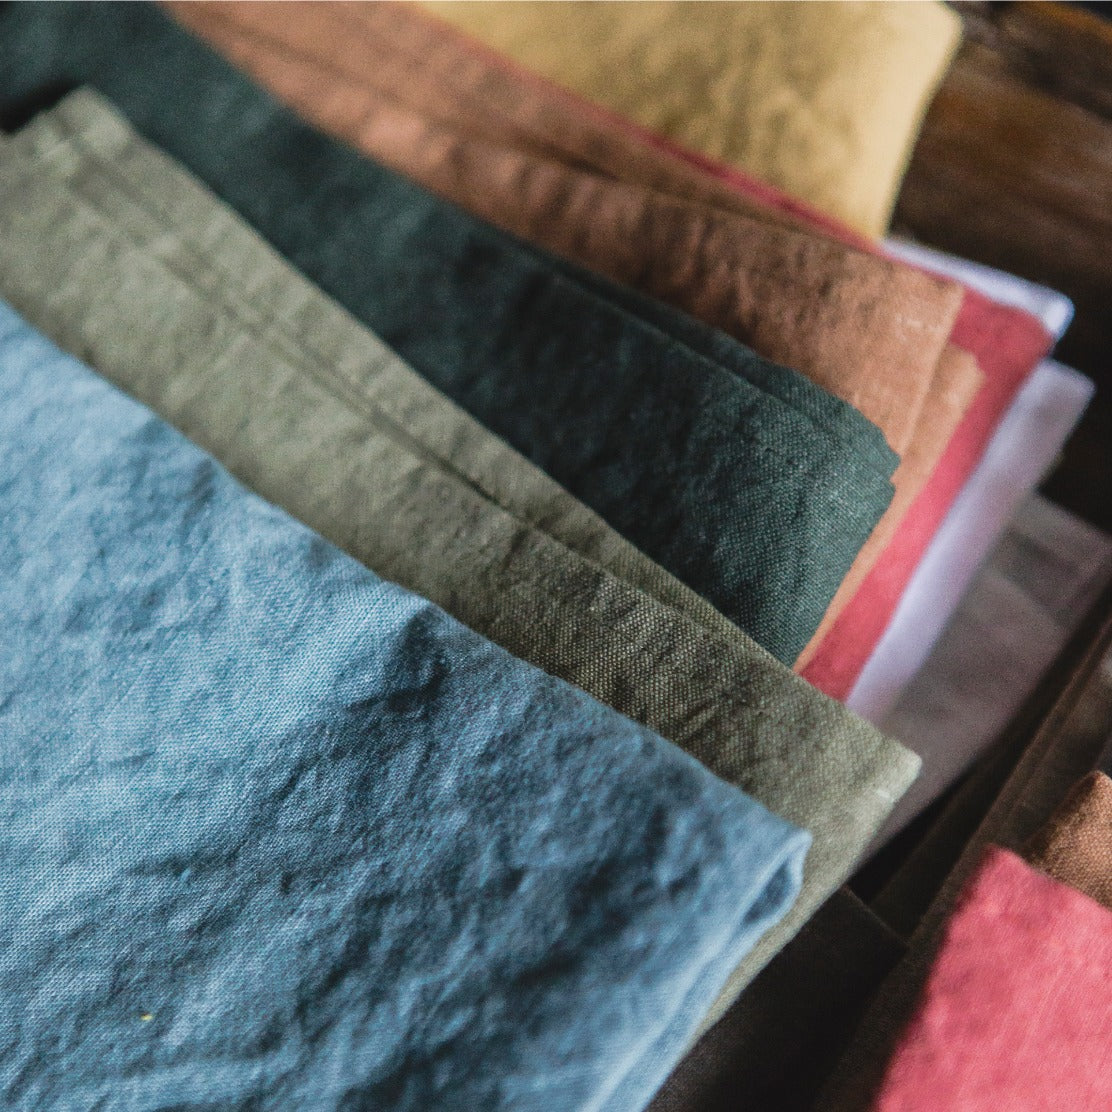
For readers exploring trim by the yard, Lewis and Sheron Textiles keeps a useful trim selection in context with the rest of a room, and their broader fabric resource is worth a look through ribbons and trim. That matters because trim rarely lives alone. It has to work with the body cloth, the lining, the fill, and the way the piece hangs or sits.
Trim is also a test of restraint. Too little and the piece feels unfinished. Too much and the room starts looking busy. The strongest custom work finds the middle ground where the trim supports the furniture instead of competing with it.
Essential Tools and Materials for Professional Trim Work
A sofa edge that looks crisp, a drapery panel that lands cleanly, and a piped chair seat that sits flat all start the same way, with the right tools on the table before the first stitch. The surface has to be clean and dry, the trim has to be sorted, and the tools have to match the material. That kind of discipline is what keeps an expensive furnishing from looking improvised.

Cutting, marking, and prep
Sharp fabric shears matter for long, clean cuts on fabric-backed trim. A rotary cutter works well on flatter trim types and on long, straight runs where consistent pressure matters and hand fatigue starts to creep in. A seam ripper should stay within reach too, because even a careful workroom sometimes has to pull a test run apart before the final pass.
Measuring tools should flex with the work, not fight it. A soft tape, tailor's chalk, and fine marking pins give better control around curves, corners, and pattern repeats. For upholstery and drapery work, clips are useful as well, since some trims shift if you pin too aggressively through the weave.
Needles, feet, and attachment supplies
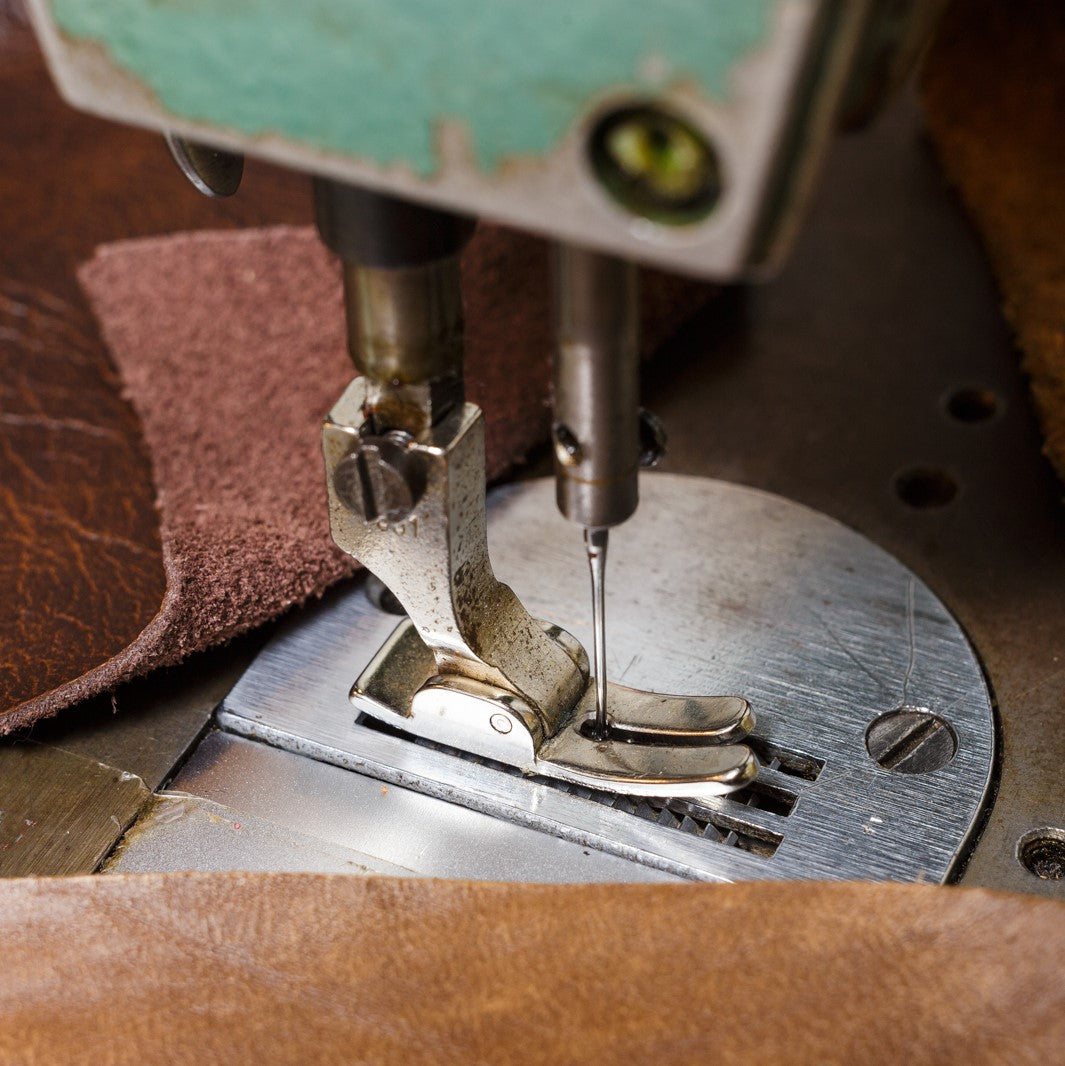
Needle choice changes the result. A hand-sewing needle with the right point for the fabric helps keep trim from shredding a delicate weave. For a closer look at matching needle type to thread and application, B-Sew Inn's sewing guide is a practical reference. On the machine side, an upholstery foot or piping foot helps control welt cord and keeps the trim centered as it feeds.
For adhesives, use products rated for upholstery-weight materials, not a light craft glue that gives up once the room warms up or the piece flexes. Fabric glue can help position gimp or hold an edge steady before final stitching. Hot glue has a place in fast decorative work, but it is the least forgiving choice on pieces that will be handled often.
Practical rule: if the trim is expensive or hard to replace, test on scrap before it touches the finished piece.
Why the substrate matters
No attachment method works well on a dusty or damp base. A credible installation guide treats substrate prep as part of the job, and that holds true in the workroom. Clean the surface thoroughly, let it dry completely, and dry-fit the trim before committing to final attachment, because fit problems show up early when you handle the piece loosely and late when the adhesive has already grabbed.
If you are comparing tools for a project that includes both sewing and mechanical fastening, Lewis and Sheron Textiles is one option in Atlanta for trim, workroom support, and the kind of material selection that keeps the finish cohesive from the start. For seam planning, their seam allowance guide gives a useful reference point for how much room the construction really needs.
The infographic below is the same checklist I would want on the table before starting a custom sofa skirt, a set of fitted panels, or a piped chair seat.
Measuring and Preparing Trim for a Flawless Finish
The prettiest trim in the world still looks wrong if the length is off by even a little. On custom drapery, that shows up at the leading edge. On a sofa skirt, it shows up in the corners. On an upholstered headboard, it shows up where the lines should read crisp but instead drift unevenly across the wall.
Measure the real path, not the fantasy version
Measure the exact route the trim will travel, including inside turns, outside turns, and any curve or panel break. A straight tape measure can lie to you on a skirt hem or around a rounded chair arm because it doesn't always reflect how the trim sits once tension is applied. For patterned trim, the repeat has to be accounted for before you cut.
That's where a lot of DIY installations go sideways. The person measures the obvious straight sections, forgets the turn or overlap, and ends up short by the time the final corner arrives. The safer move is to cut longer than you think you need, then trim back after a dry fit confirms the run.
Sort, inspect, and condition before cutting
Stack all trim by dye lot, texture, and width. Check for snags, crushed pile, loose braid, or uneven stitching before the piece is committed to the garment or furniture. On luxe fabrics, one bad section can stand out more than a slightly imperfect seam because the trim sits on the edge where the eye naturally lands.
For bias-cut piping or anything with a little give, conditioning helps. Steam or dampen the fibers gently, then let them settle before final cutting. That reduces the risk of stretch showing up later as a wave at the seam line. For peel-and-stick or hybrid decorative trims, a newer overview like peel and stick trim for 2026 can be useful context, but the same old rule still applies: don't trust a surface until you've dry-fit it on the actual piece.
Mark the attachment points before you cut
The best trim jobs don't start with cutting. They start with marking. On drapery leading edges, mark the start, stop, and return points. On cushion faces, mark the seam line and the midpoint so the trim lands symmetrically. On sofa skirts, mark the corners first, then work out the spacing so the hem doesn't drift.
A good workflow is simple:
- Calculate the run first: Measure seam allowances, corners, and any repeat before cutting.
- Inspect the material second: Separate flawless trim from anything that should be used only on hidden or short sections.
- Pre-shrink or relax the fibers third: Steam or condition trim that has memory or tension.
- Cut last: Add a little allowance, then mark where the trim will attach.
Practical rule: cut long, fit twice, and trim only when the run closes cleanly.
The workroom mindset beats the craft-store mindset. The point isn't to make a neat little sample. It's to install trim that still looks precise after the piece is moved, steamed, vacuumed, and lived with.
Attachment Methods for Every Trim and Fabric Combination
A silk fringe on a velvet drapery panel does not ask for the same attachment method as piping on a bench cushion or gimp on a custom chair frame. The right choice depends on the weight of the trim, how much handling the piece will take, the body of the fabric, and how visible the attachment line will be once the work is in the room. On custom furnishings, that decision affects both the look on day one and the way the piece holds up after repeated use.

Hand-sewing for the most delicate work
Hand-sewing is the safest choice for fragile fabric or trim that cannot afford much pressure from a machine foot. Silk fringe on a velvet drapery panel is a clear example, because the foot can crush the pile or leave marks that show in daylight. Hand-stitching also gives tighter control around curves, corners, and odd furniture shapes where the trim needs to turn without distortion.
The trade-off is time. Hand-sewing takes longer and demands a steadier rhythm, but it gives the cleanest result when the attachment has to sit close to the edge without advertising itself. It also gives more room for correction than adhesive, which matters on custom work that may later need alteration. If you want a practical comparison of stitch paths and finish quality, pro trim sewing techniques is a useful reference.
Machine-stitching for strength and consistency
Machine-stitching is the better fit for cushion seams, welt cord, and trim that has to stay anchored under regular use. Piping inserted into a cushion seam is the clearest case, because the machine can hold the line evenly and keep the spacing tight from end to end. On sturdy base cloths, a machine foot usually gives the most consistent finish.
The risk is overdriving the seam or twisting the edge when the operator moves too fast. That is why the setup matters as much as the stitch itself. A straight stitch is often the practical default, but feed control, presser-foot choice, and how the fabric is guided matter more than the stitch name when the trim is thick or the fabric has body.
Adhesive for a clean, no-stitch look
Adhesive works well where the goal is a clean visual line and minimal visible hardware. Gimp over a raw edge on an upholstered wall is a good example. The key is full contact without bleed-through, especially on lightweight face fabric that can show every excess bead of glue.
Hot glue is quicker, but it is the least forgiving option on pieces that will be handled, cleaned, or adjusted. I will use it for a decorative pillow tassel when the piece is low-stress and speed matters, but I would not rely on it for heirloom furniture or high-touch upholstery. Where the work calls for hidden mechanical fastening on larger pieces, an electric upholstery stapler is often the better tool because it keeps placement more consistent across a long run.
Lacing and weaving for thick corded trim
Thick cords and decorative braid sometimes need to be laced or woven into place instead of stitched straight through. That approach can produce a more integrated finish on heavy statement furniture, especially where the trim is part of the design language rather than a simple border. It takes patience, but the result often looks built into the piece instead of added at the end.
The method matters most on upholstery and structured drapery where the trim has to follow shape without bunching. It is slower than machine attachment and less forgiving than a stitch line, yet it handles bulk well and keeps thick decorative edges from looking forced. For pieces that need a hand-finished front with a hidden support strategy, lacing can be the better choice when the fabric cannot tolerate extra needle holes.
Practical rule: choose the least visible method that still survives real use.
Finishing Techniques and Common Mistakes to Avoid
The difference between good trim work and expensive-looking trim work shows up at the finish line. A clean edge, a controlled end point, and a neat transition around hardware or a zipper make the whole piece feel intentional. Miss those details and even beautiful trim can look fussy.
Practical rule: every end needs a plan before the first inch goes on.
Finish the ends with purpose
Fringe, braid, and cord all need secure endings that won't unravel or lift after handling. On soft goods, that usually means tucking the end into a return, capturing it under a seam, or locking it down with the same thread path used across the rest of the run. Decorative ends that are merely clipped flush rarely stay elegant for long.
Pressing matters too. A light steam after installation can settle the fibers and help the trim sit in line with the fabric surface. Don't over-press a delicate fringe or crush a raised braid, because the goal is to sharpen the edge, not flatten the character out of it.
Avoid the mistakes that ruin the line
The most common problem I see is pulling trim too tight during installation. That creates puckering at the next corner and tension marks along the stitch line. The second problem is adhesive bleed-through on lighter fabrics, which usually happens when too much product is applied or the fabric wasn't properly stabilized first.
Mismatched dye lots cause a different kind of disappointment. The trim looks fine in the sample wrap, then slightly off once the room light hits the whole run. If the job needs extra yardage later, compare it under the same light before it goes on the piece. Trimming too close to the stitch line is another avoidable failure, because it gives the seam no margin if the fabric shifts later.
Keep the finish clean over time
Luxury drapery and upholstery need maintenance that respects the trim. Vacuum with a soft brush on fringe and braided cord. Spot clean carefully, and don't saturate adhesive-backed sections because moisture can loosen the bond. On removable cushions or decorative pillows, check the edges after cleaning so you can catch lift early.
A practical maintenance routine is simple:
- Dust first: Use a soft brush or low suction so the trim doesn't snag.
- Handle fringe gently: Comb out tangles with fingers, not a stiff tool.
- Inspect corners and returns: These are the first spots to loosen.
- Re-secure before the damage spreads: A tiny lift is easy to fix, a full failure is not.
The strongest luxury pieces aren't the ones that never move. They're the ones that were finished well enough to move gracefully, then maintained without rough treatment.
When to Call in the Professionals for Custom Trim Work
Some trim jobs are satisfying DIY projects. Others are expensive lessons if they go wrong. Heirloom furniture, complex drapery stacks, and curved upholstery all reward experience, especially when the fabric can't be replaced without a second major purchase.
If the piece carries emotional or financial weight, professional help starts making sense fast. That's especially true for custom upholstered furniture in premium homes where the trim has to land cleanly on every visible face. A curved sofa arm, a pattern-matched drapery set, or a chair with multiple stitched transitions leaves very little room for correction after the fact.
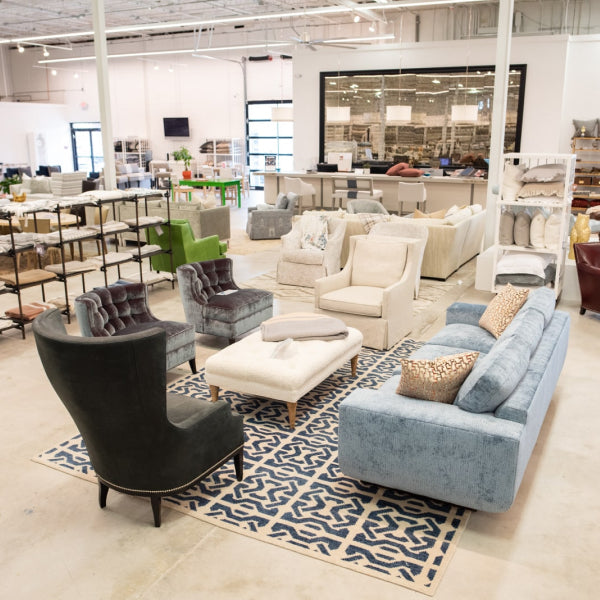
Lewis and Sheron Textiles' Design Center in Atlanta fits that kind of project well because it supports both trade professionals and DIY clients with in-stock trim, custom drapery, and upholstery services. Their workroom side is the right call when the piece needs made-to-order handling instead of improvisation at home. For a homeowner in Buckhead or Roswell deciding between a weekend project and a workroom order, that distinction matters.
Use a professional when the risk is high
Choose outside help when the fabric is irreplaceable, the trim run is long, or the finish has to stay consistent across multiple panels. A serious custom workroom can manage pattern matching, seam planning, and attachment choices in a way that protects the whole piece. That's especially useful in Atlanta's affluent neighborhoods, where designer furniture near me searches usually come from buyers who want the result to look settled for years, not just right on delivery day.
A good workroom conversation should cover the fabric, the trim type, the intended use, and the maintenance expectations. If the answer sounds vague, keep looking. If the team asks about the base material, the hand of the fabric, and the room conditions, you're probably in the right place.
Lewis and Sheron Textiles can help with trim selection, custom drapery, upholstery, and reupholstery for projects that need a cleaner finish than a DIY shortcut can deliver. If you're planning custom furniture Atlanta buyers would recognize as heirloom-quality, visit Lewis and Sheron Textiles to explore trim, fabrics, and workroom support that fit the scale of the project.